Location
Mount Vernon, WA 98274
Location
Mount Vernon, WA 98274
Discover the detailed workflow of resin-based 3D printing, from preparing your digital model to achieving smooth, high-precision results. This guide breaks down each stage-choice of photopolymer resin, slicing parameters, safety measures, print execution, post-wash and curing steps-so you can confidently transform digital designs into finished objects.
The allure of resin-based 3D printing lies in its ability to capture fine details and produce smooth surfaces with layer resolutions down to tens of microns. Unlike filament extrusion methods, resin printing builds each layer via photopolymerization, where a UV light source selectively solidifies liquid resin inside a vat. This opens the door to precision prototypes, intricate jewelry models, dental molds, and mechanical parts with moving hinges. In this guide, you’ll learn how to select the right materials and settings for your first resin print, walk through the complete printing and post-processing workflow, and pick up practical tips to optimize quality at every stage.
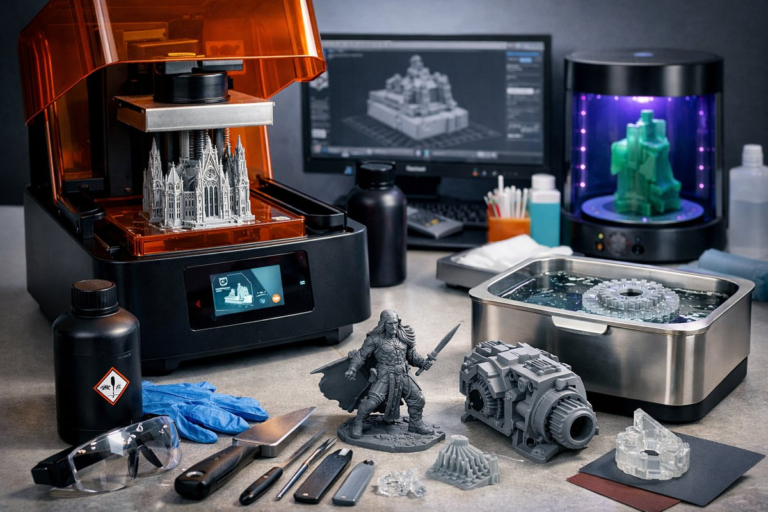
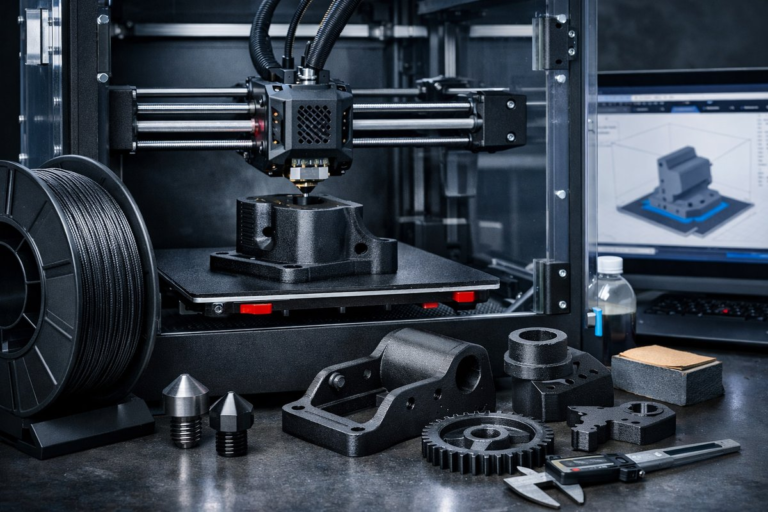
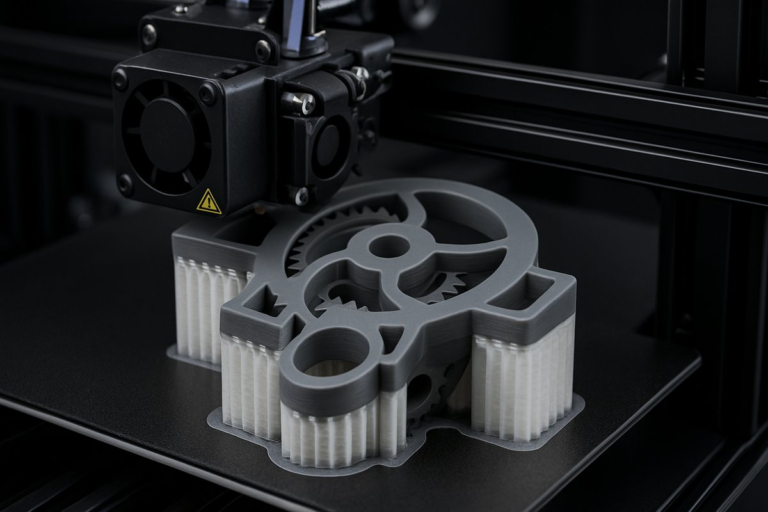
Before firing up your printer, start with a clean, watertight 3D model. Export your design as an STL or OBJ file and import it into resin slicing software. Generate supports strategically to shore up overhangs without scarring visible surfaces. Aim for support contact points under 0.5 millimeters to facilitate easy removal later. Orient the model so that flat surfaces aren’t perfectly parallel to the build plate; a slight tilt of five to ten degrees helps reduce suction forces and resin adhesion between layers. Finally, set layer thickness according to the level of detail you need-commonly 25 to 50 microns yields crisp results without drastically increasing print time.
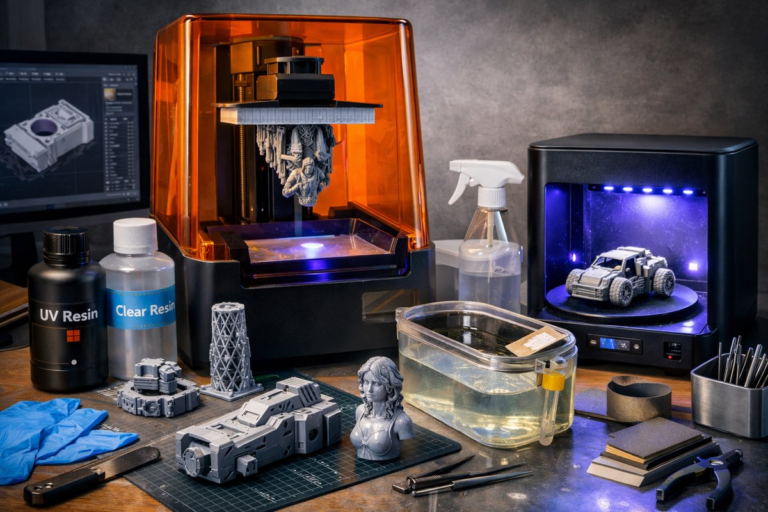
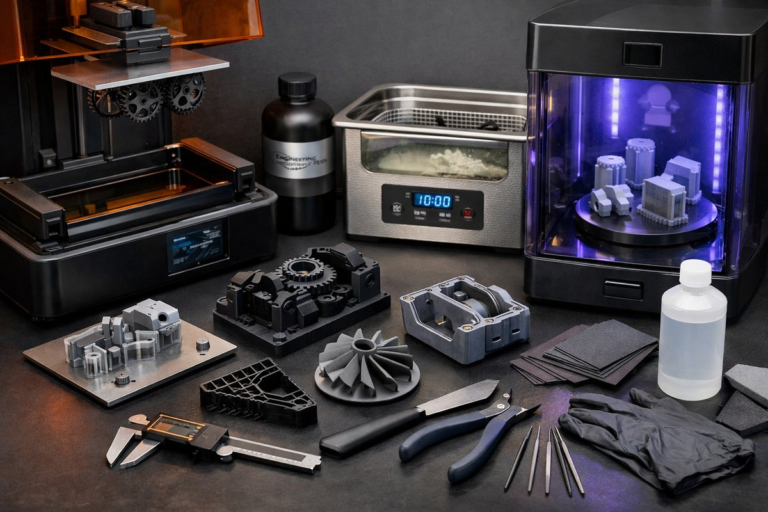
Selecting a photopolymer resin tailored to your application is critical. General-purpose resins deliver a balance of strength and surface finish for most prototypes. Specialty formulations such as rigid engineering-grade resin or flexible resin can handle functional testing or hinge elements. For jewelry or dental prototypes, high-precision low-viscosity blends ensure sharp edges and smooth curves. Always shake or gently invert the resin bottle to mix pigment, then allow it to rest for a few minutes to eliminate bubbles. Pour into the vat only enough for your build volume to minimize waste and make handling easier.
Safety and workspace setup are often underestimated. Photopolymer resins can irritate skin and eyes, so always wear nitrile gloves and safety goggles. Work in a well-ventilated area or under a fume extractor to remove odors and vapors. Keep a stack of lint-free wipes on hand to clean spills immediately, and store resin bottles upright with seals tightened. Label any containers that hold used or leftover resin clearly, and allow settled resin to separate before pouring fluid back into the bottle-discard stubborn residues responsibly according to local disposal regulations.
With your model and resin ready, configure print parameters. In slicing software, set exposure time for each layer based on your resin’s recommended profile-usually between five and ten seconds per 25-micron layer. Bottom layer exposure is longer, often 40 to 60 seconds, to establish a strong first bond to the build plate. Consider enabling a gradual exposure ramp for early layers to reduce peeling forces during layer separation. Check the software’s preview pane to estimate total print time and resin consumption, then confirm the build plate is clean, leveled, and free of debris before starting the job.
During the print, observe the first layers carefully through the printer’s viewport. Look for even resin flow, adhesion to the plate, and correct cure patterns. If you spot shadowing, under-cured patches, or excessive peeling noises, pause the job and inspect the vat film for nicks or debris. A damaged FEP or PTFE film can introduce air pockets or cause layer delamination. Periodically check resin clarity; if particles or cloudiness appear, filter the resin through a fine mesh strainer before continuing. Patience and a watchful eye at this stage guard against failed prints and wasted material.
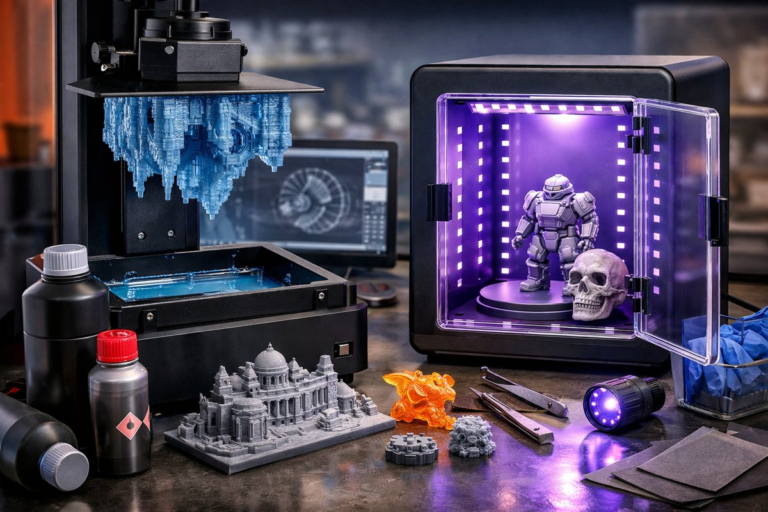
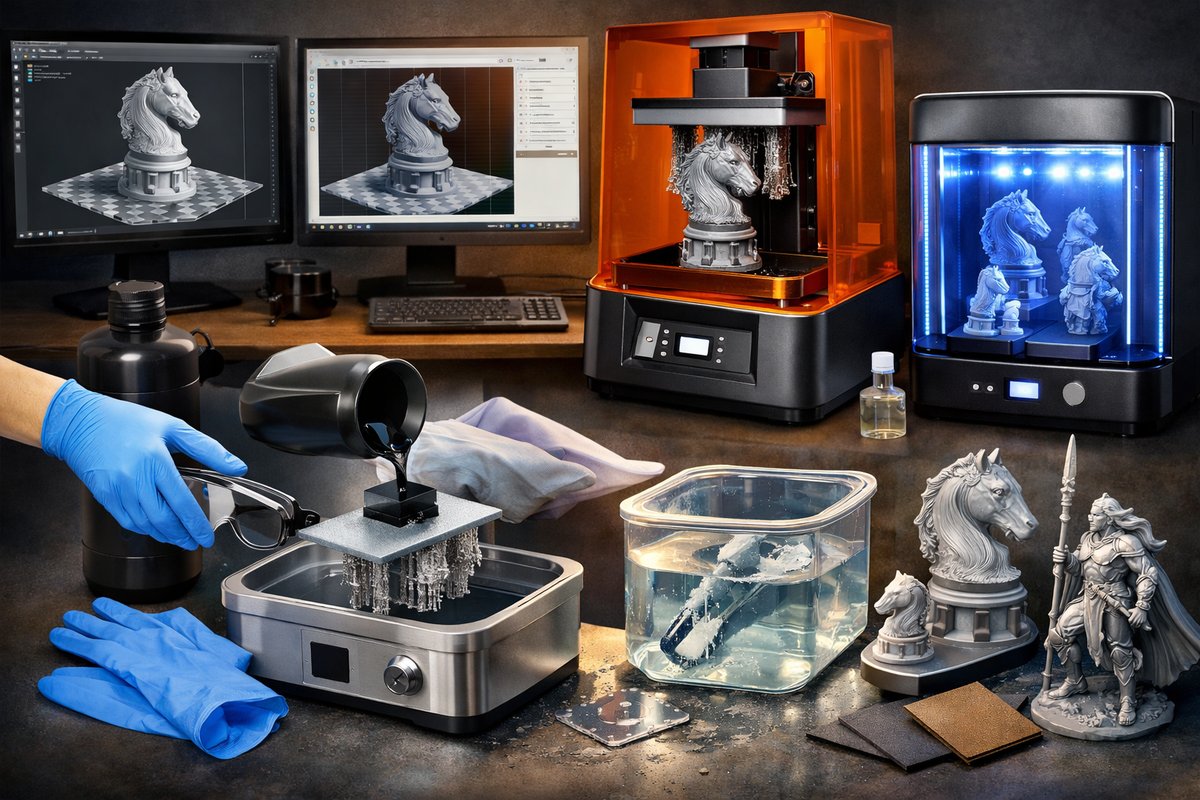
Once the printer completes its last layer and the build plate is raised, it’s time for post-processing. Remove the build plate and gently detach the part using a plastic scraper to avoid scratching. Immediately transfer the part to an isopropyl alcohol bath-ideally 90 percent or higher concentration-for initial washing. Agitate the solution or use a small nylon brush to dislodge uncured resin from crevices. Two rinses in fresh solvent help ensure all residual resin is removed, preventing sticky surfaces or tacky patches once the part is cured.
After washing, let the part air dry on a lint-free surface or use compressed air at low pressure to clear solvent from holes and undercuts. Next, move to a UV curing station. Position the part under uniform 405 nanometer UV illumination for two to five minutes, rotating as needed for even exposure. Fully curing the part increases mechanical strength and stabilizes dimensions; undercured prints can warp or develop surface blemishes over time. Once cured, the plastic takes on its final color and rigidity, ready for support removal and finishing.
Support removal can be a delicate process. Clip away support towers with flush cutters or fine pliers, then use a file or sanding stick to smooth contact points. For polished finishes, wet-sand the surface using progressively finer grit-400 to 1200 grit-and rinse in clean water between steps. If you need a glossy effect, apply a thin coat of clear acrylic spray or a specialized resin finish. Allow any coatings to cure fully before subjecting parts to mechanical stresses or painting.
Throughout the workflow, calibration and maintenance are ongoing tasks. Check build plate flatness and perform auto-level routines every few dozen prints. Replace the vat film after signs of wear or stress lines appear. Store resin bottles in a dark, cool environment to maintain shelf life, and clean resin spills immediately to prevent downstream curing on machine surfaces. Periodic UV chamber bulb replacements ensure consistent curing performance, while regular firmware updates to the printer can unlock new features or stability improvements.
Experimentation with multiple resin formulations can yield surprising results. Try a dual-color resin print by pausing at mid-print, swapping resins, and resuming to create bicolor prototypes without post-paint. Test high-temperature resin for functional parts that face heat or stress. And for flexible parts like gaskets or wearable prototypes, select elastomeric resin that stretches without brittle failure. Each resin type brings unique layer adhesion, surface finish, and mechanical performance-so build a small library of bottles over time to broaden your design possibilities.
For first projects, consider a small decorative figurine, a set of interlocking gears, or a custom-fit phone stand. Start simple, then tackle more challenging shapes like lattice structures, snap-fit components, or micro-joinery. Share your results in online communities for feedback on exposure tweaks, support strategies, and finishing tricks. As confidence grows, scale up to larger prints or hybrid projects combining resin and filament methods. The precision of resin printing opens doors to ever finer features and functional parts that once required complex machining.
Resin-based 3D printing demands attention to detail, but rewards your efforts with flawless surface quality and dimensional accuracy. By mastering resin selection, slicing settings, print monitoring, and post-processing, you’ll transform digital concepts into tangible prototypes ready for testing, display, or assembly. Take time to document each parameter tweak and create a record of successful profiles. With consistency and persistence, you’ll unlock the full potential of additive manufacturing and bring highly detailed, customized creations to life layer by layer.
Ready to explore resin printing firsthand? Gather your gear, choose a simple model, and dive into the workflow. As you refine parameters and experiment with different resins, you’ll build both a body of design work and expertise that carry across every project. Additive manufacturing is a journey of precision, creativity, and problem-solving-one thin cured layer at a time.