Location
Mount Vernon, WA 98274
Location
Mount Vernon, WA 98274
Discover how desktop stereolithography (SLA) turns digital designs into stunningly detailed parts. This guide walks you through choosing a low-shrinkage engineering resin, fine-tuning printer settings, post-processing techniques, and safety tips to help you create durable prototypes and intricate models at home.
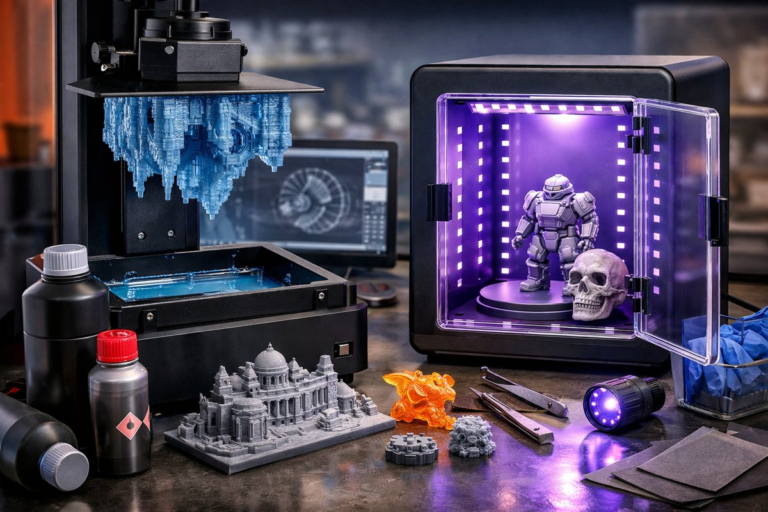
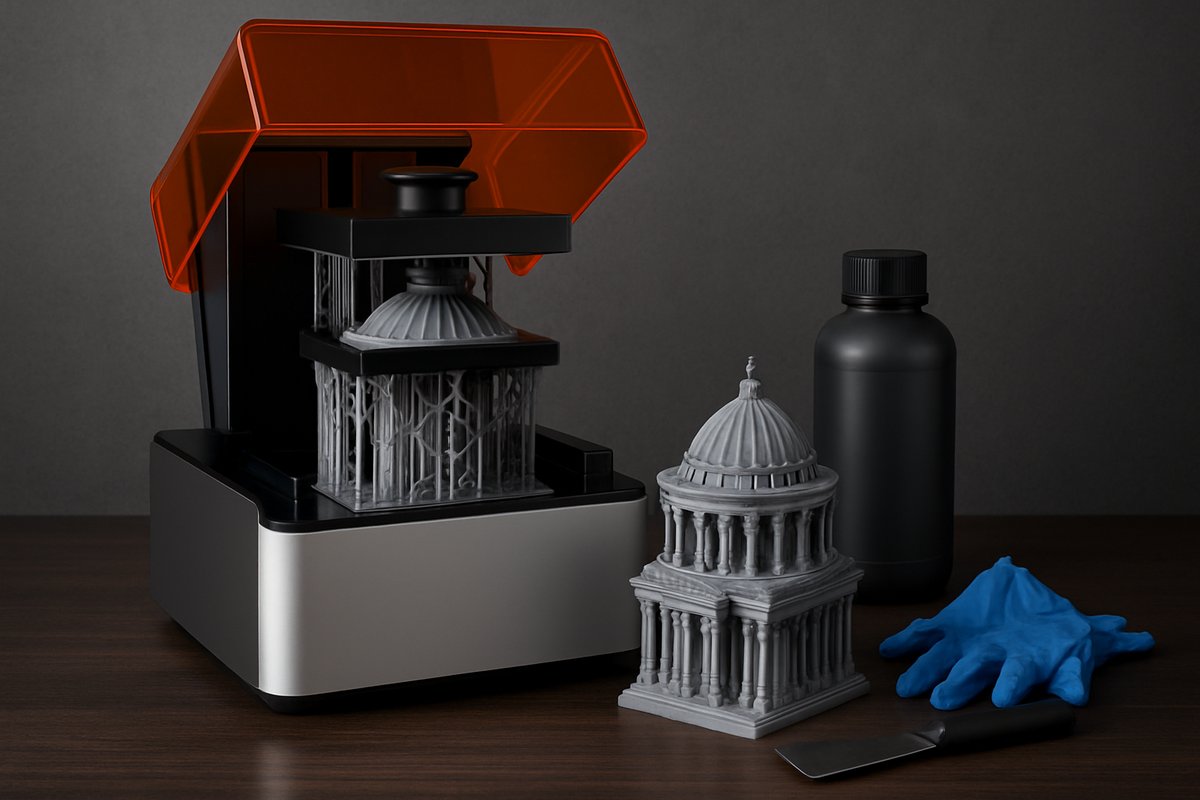
Desktop SLA resin printing unlocks a level of detail that’s hard to achieve with other additive processes. With layer resolutions down to 25 microns, SLA printers can faithfully reproduce complex geometries, organic curves, and fine text. Once reserved for dental labs and jewelry workshops, affordable resin systems are now in the hands of hobbyists, designers, and small-batch manufacturers. This guide focuses on an engineering-grade photopolymer resin that balances toughness, heat resistance, and minimal shrinkage, making it ideal for functional prototypes and end-use components.
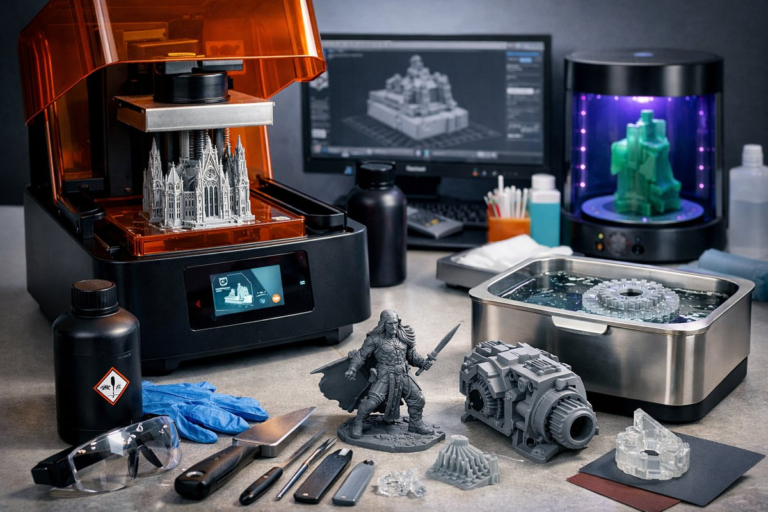
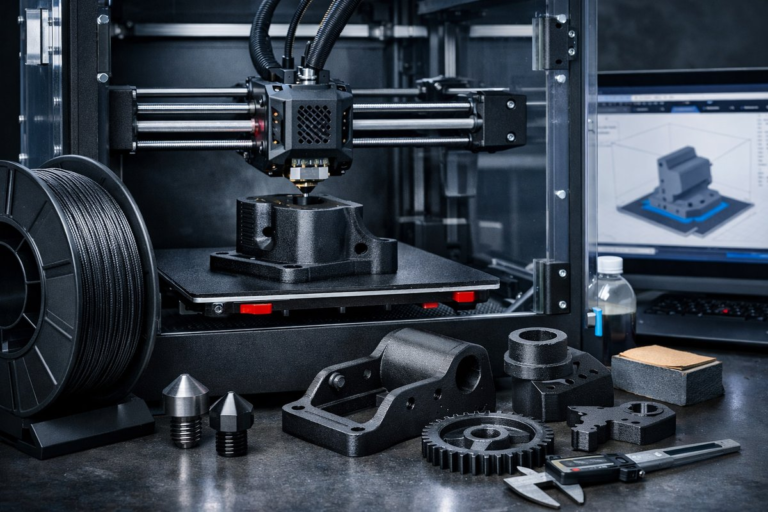
Before you hit “Print,” it’s essential to assemble the right toolkit. In addition to your desktop LCD or laser SLA printer, you’ll need a steady supply of low-shrinkage resin, a quality FEP replacement film for your resin vat, and a dedicated UV LED curing station. A precision digital caliper helps verify dimensional accuracy, and a small ultrasonic cleaner ensures uniform resin removal. Each component plays a critical role in achieving reliable results and a professional finish.
Start with a clean, level build platform. Most desktop SLA systems include an automated calibration routine. Pour your chosen engineering resin-formulated for toughness and heat deflection-into the vat, taking care not to exceed the fill line. Wear nitrile gloves and safety glasses to avoid skin contact with uncured resin. Close the lid to maintain a controlled environment and prevent dust contamination.
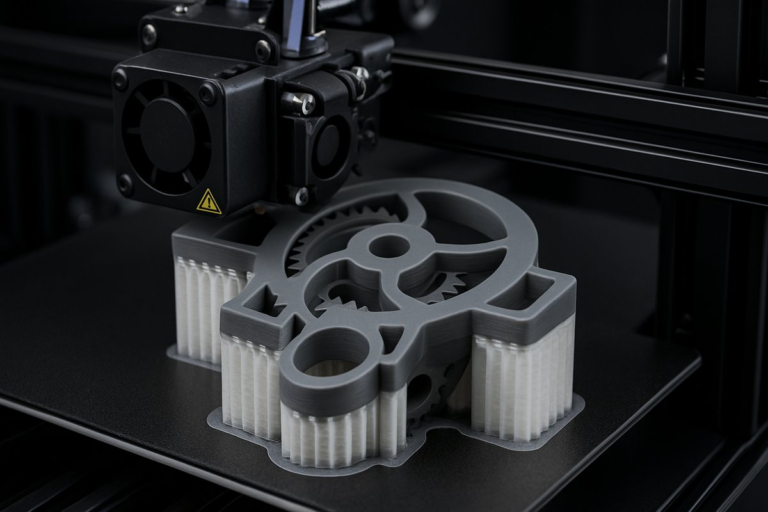
Next, load your STL file into slicing software. Orient the part so that flat surfaces lie at a slight angle to the build platform-this reduces suction forces and improves layer adhesion. Add supports where necessary, focusing on delicate overhangs and negative spaces. For engineering resin, set layer thickness to 50-75 microns and exposure times according to the resin manufacturer’s guidelines-typically 8-10 seconds per layer under a 405 nm light source. Thicker layers speed up print time but sacrifice fine detail. Thinner layers improve resolution at the cost of longer print durations.
When slicing is complete, send the job to your printer. The build platform will descend into the resin vat, and the light source will cure each slice in rapid succession. Keep an eye on the print through the printer’s side window-occasional pauses allow you to inspect support integrity. If you notice any delamination or shifting layers, stop the print and recalibrate your Z-axis or replace worn FEP film before trying again.
Once the print finishes, gently lift the build platform and let excess resin drip back into the vat for a minute. Transfer the part-still attached to the build plate-into an isopropyl alcohol bath. An ultrasonic cleaner running at low power removes uncured resin from crevices without damaging fine features. After 3-5 minutes of agitation, remove the part and shake or drip off excess liquid, then let it air-dry on a lint-free paper towel.
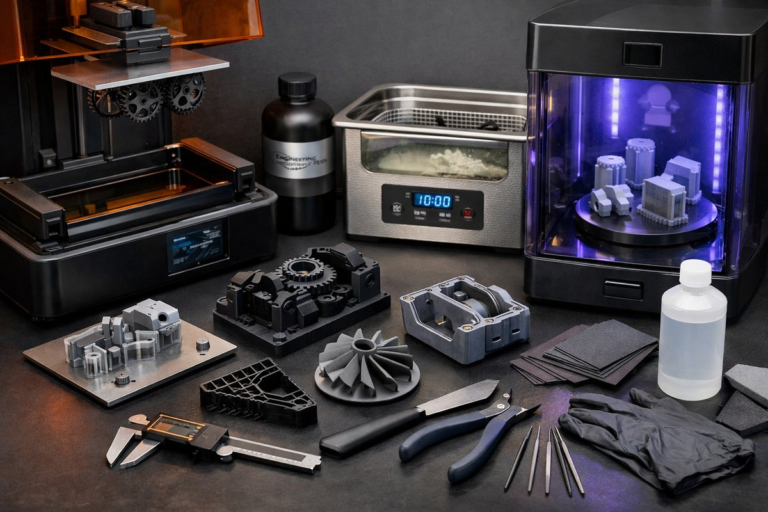
Removing supports is easier when the part is fully dry. Use flush cutters or a hobby knife to snip away support trees close to the part surface. Sand down any nubs with fine-grit sandpaper, and finish with a micro-mesh pad for a smooth surface. Now it’s time to cure. Place your part in a UV LED curing station, rotating it every few minutes to expose all angles evenly. Total cure time ranges from 5 to 15 minutes depending on part thickness and station power. Proper curing boosts mechanical strength and dimensional stability.
Dimensional checks are crucial if you’re prototyping functional parts. Use your digital caliper to measure critical features-holes, mounting tabs, snap-fits-and compare them to the original CAD model. If you find consistent offsets, adjust your slicing software’s compensation settings or modify the model dimensions to account for resin shrinkage. This feedback loop ensures that future prints hit spec on the first try.
Even with engineering resin, common challenges can arise. If you see layer lines or “elephant’s foot” at the base, raise your initial exposure time slightly or add a small chamfer to the model’s bottom. Warping can occur on large, flat parts; adding a thin skirt support around the perimeter reduces edge lift. For sticky surfaces after curing, give parts an extra minute in the curing station or try a post-curing rinse with a mild plastic-safe detergent.
Safety and sustainability go hand in hand. Always wear gloves when handling uncured material, and ventilate your workspace to disperse resin vapors. Store unused resin in sealed, opaque containers to prevent premature curing. When a print fails, strain the leftover resin through a fine mesh filter and return it to the bottle-this single filter preserves resin clarity and extends its usable lifespan. Dispose of any resin-soaked paper and cleaning fluids according to local chemical waste guidelines.
By mastering resin selection, print orientation, support strategy, and post-processing techniques, you’ll elevate your desktop SLA projects from crude prototypes to production-ready parts. Whether you’re crafting precision gears for robotics, detailed miniatures for tabletop games, or heat-resistant jigs and fixtures, this engineering resin workflow delivers consistent results. Embrace experimentation, document your settings, and refine your approach. With each layer you build, you’ll gain insights that turn curiosity into expertise-and ideas into reality.
Ready to bring your designs to life? Gather your components, fine-tune your settings, and let the layers stack up. The realm of desktop SLA printing awaits-and once you’ve tasted that razor-sharp detail, there’s no turning back.