Location
Mount Vernon, WA 98274
Location
Mount Vernon, WA 98274
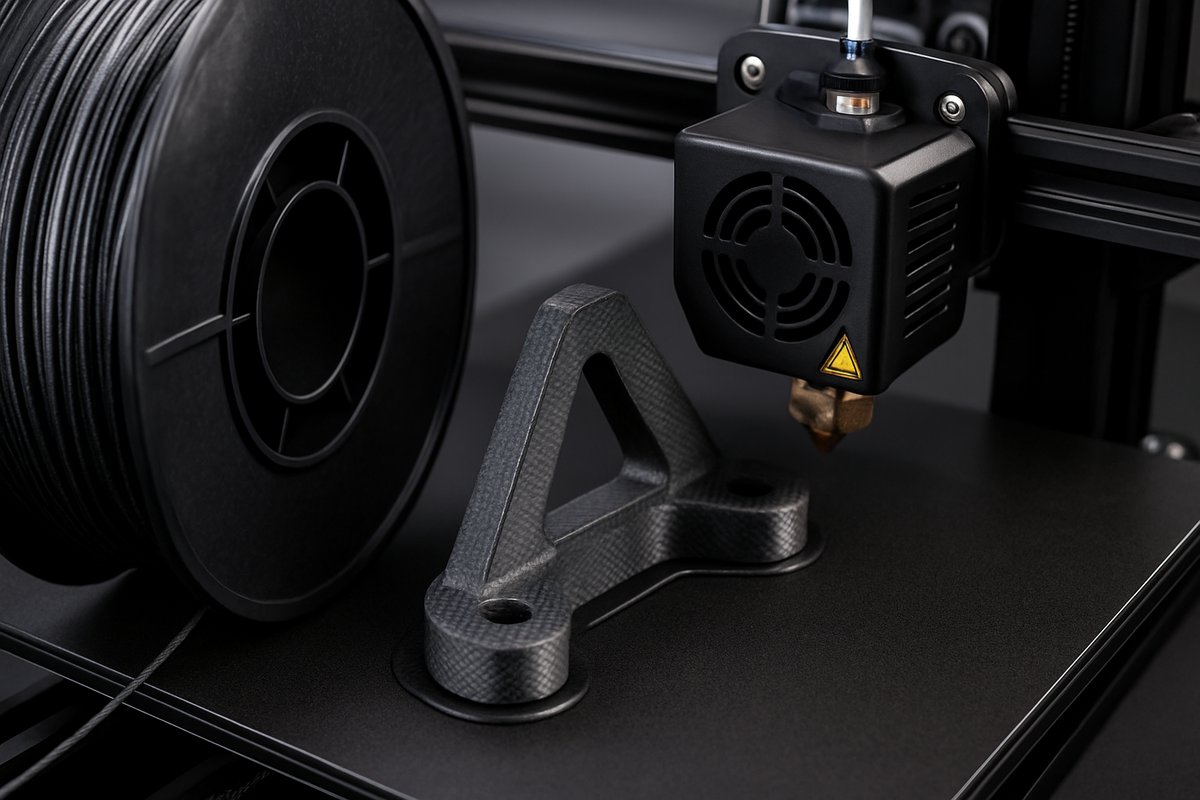
Unlock the strength and rigidity of carbon fiber-reinforced filaments on a standard FDM machine. This guide walks you through choosing the right nozzle, prepping your filament, optimizing slicer settings, and finishing sturdy, lightweight parts that rival industrial prototypes.
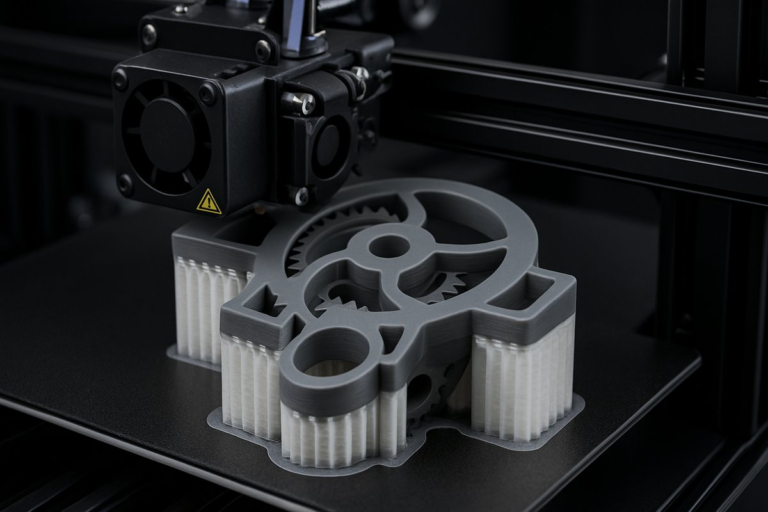
Carbon fiber composite filaments combine a polymer matrix-often PLA or PETG-with microscopic carbon fibers to deliver exceptional stiffness, dimensional stability, and a distinctive matte finish. Hobbyists and professional makers alike are drawn to these materials for functional prototypes, jigs, drone frames, and parts that need to resist bending under load. Printing with composite filaments does require adjustments to your usual workflow, but with the right components and techniques, you’ll be producing high-performance parts that look and feel like industrial-grade pieces.
This article breaks down each step, from upgrading your hotend to dialing in slicer parameters, so you can confidently explore composite printing on your existing FDM setup. By the end, you’ll understand why carbon fiber-reinforced PLA or PETG is the go-to choice for lightweight, rigid applications.
Standard brass nozzles wear quickly when extruding abrasive composites, leading to inconsistent flow and poor surface quality. A hardened steel or ruby-tipped nozzle extends lifespan and maintains precise extrusion. Look for a steel nozzle with a 0.4 mm or 0.6 mm orifice-small enough for detail, large enough to resist clogging. Swap it into your hotend and tighten to manufacturer torque specs.
Your heated bed must hold 50-60 °C for PLA-based composites or 80-100 °C for PETG blends. A glass plate or PEI sheet helps with adhesion and easy part release once cooled. Apply a thin coat of adhesive-such as a glue stick-when needed. Confirm bed leveling is spot-on; composite filaments don’t forgive large Z-offset errors.
Composite filaments can absorb moisture, leading to bubbling and poor layer adhesion. Always store spools in airtight containers with desiccant packs. Before printing, dry the filament at 50 °C for two to four hours-in a dedicated filament dryer or a temperature-controlled oven set well below the material’s glass transition point. Once dry, load the filament immediately to prevent re-exposure.
Use a filament guide tube or PTFE coupler to keep your feed path clear. Check that the spool spins freely and doesn’t tangle. Smooth feeding avoids sudden jerks that can break delicate fibers or trigger clogs.
Open your slicer and create a dedicated profile for composite PLA or PETG. Start with manufacturer recommendations: 210-230 °C for PLA composites, 240-260 °C for PETG composites. Print a small temperature tower to fine-tune the sweet spot between flow consistency and surface quality.
Set retraction to minimal values-1-2 mm at 25-30 mm/s-to prevent grinding the filament. Lower print speeds to 30-45 mm/s to give fibers time to align and extrude smoothly. Enable coasting or wipe features if available to reduce oozing at layer changes. Layer height of 0.15-0.25 mm balances detail with reliable flow.
With hardware and slicer dialed in, load the dried composite filament and preheat your nozzle and bed. Watch the first layer closely: it should settle into place without gaps or bulges. If corners lift, adjust bed temperature up by 5 °C or add a brim. Once the initial layer looks solid, leave part cooling fans at 30-50 % to prevent warping while avoiding rapid cooling that can weaken interlayer bonds.
Monitor the print for consistent extrusion. Composite blends may cause slight variations in sound as fibers pass through the nozzle. If flow seems starved, increase temperature in 2 °C increments or slow speed by 10 %. For over-extrusion, reduce flow rate by 3-5 %.
Carbon fiber composites produce a subtle, grainy texture. For a polished look, start with 220-grit sandpaper to remove layer lines, then work up to 400-600 grit. Be sure to wear a dust mask-carbon particles can irritate lungs. After sanding, apply a light coat of matte spray sealant or thin epoxy to lock in shine and further stiffen the part.
For functional assemblies, tapping holes directly into the plastic can strip. Instead, press-fit brass or nylon threaded inserts using a controlled heating method-slide the insert onto a soldering iron tip and gently seat it into a pre-drilled hole. The result is a durable thread that withstands torque.
Always operate in a well-ventilated space or under a fume extractor. Fine carbon dust or off-gassing at high temperatures can be harmful over prolonged exposure. Clean your printer regularly-use a brass brush on the nozzle and vacuum any spilled powder or debris with a HEPA-filtered vacuum.
Recycle failed prints by grinding them into pellets for experimental compounding, or send them to a filament recycling service. Composite scrap can still reinforce new batches of filament or serve as filler in industrial processes.
By upgrading your nozzle, mastering filament drying, and tuning slicer settings, you can unlock the full potential of carbon fiber-reinforced materials on your FDM printer. Whether you’re prototyping a custom drone arm, crafting a lightweight bracket, or experimenting with jigs and fixtures, this technique delivers the stiffness, precision, and sleek finish that set composite prints apart.
Gather the tools, dial in your settings, and start layering your way to parts that feel-and perform-like they came straight from an engineering lab.