Location
Mount Vernon, WA 98274
Location
Mount Vernon, WA 98274
Discover how to transform your standard FDM printer into a craftsman's tool by using wood-filled filaments. This guide walks you through the hardware adjustments, slicing settings, and post-processing techniques needed to achieve authentic wood-like finishes and open new avenues for creative prototypes and functional objects.
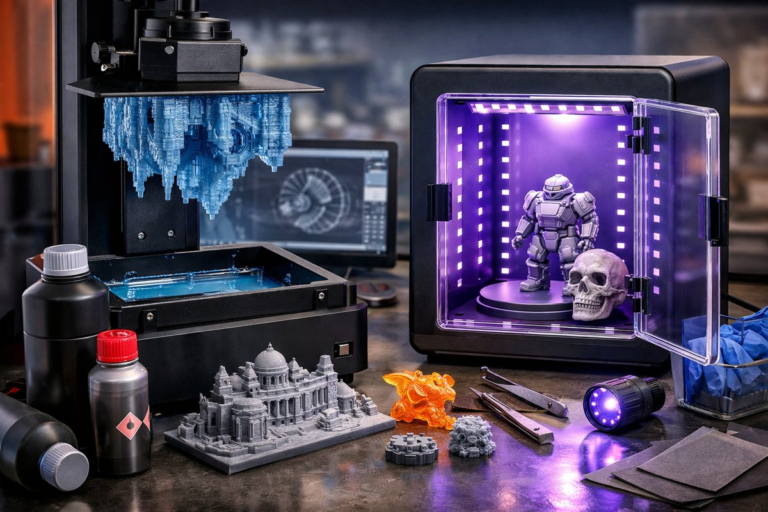
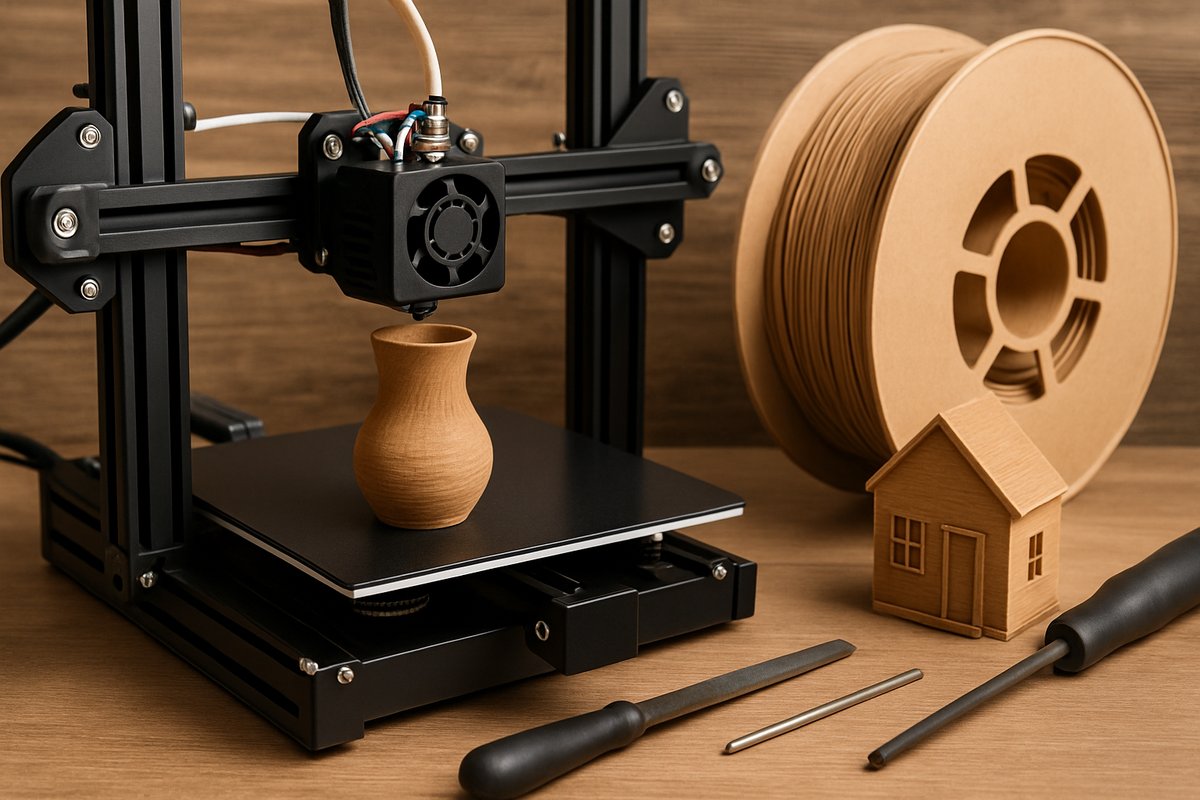
Layer by layer, additive manufacturing can imitate stone, metal, ceramics-and even wood. Wood-filled filaments blend polymer binders with real wood fibers, giving prints a unique tactile warmth and grain pattern. Whether you’re prototyping furniture details, crafting decorative homeware, or building natural-feeling miniatures, this technique unlocks a new realm of material expression on desktop FDM machines. In this guide, we’ll review everything you need to know: from the right nozzle and build surface to slicer profiles and post-print finishing. By the end, you’ll be ready to bring wooden creations to life with precision and style.
Wood-filled filaments are typically PLA-based blends that incorporate up to 30 percent fine wood particles. That ratio provides genuine texture while retaining PLA’s easy printability. The resulting parts sand and stain much like real wood and even emit a faint woody aroma during extrusion. But wood content also means greater abrasion on standard brass nozzles, a narrower processing window, and subtle changes to extrusion viscosity. Careful calibration and the right accessories will keep your prints smooth and consistent.
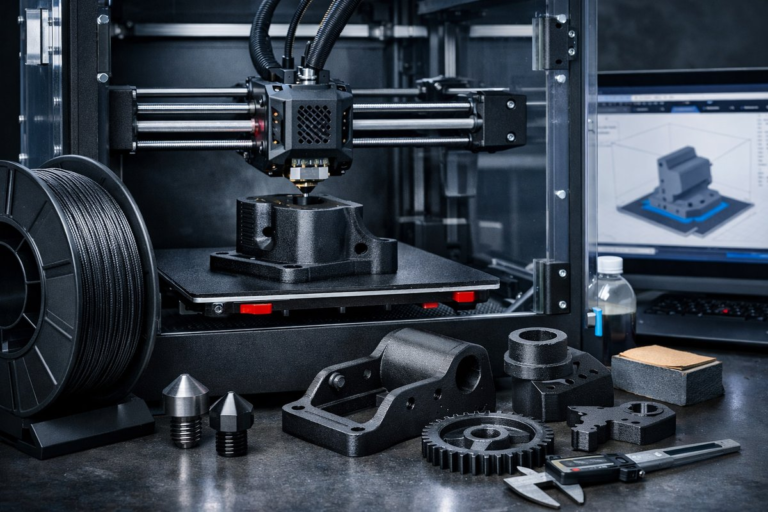
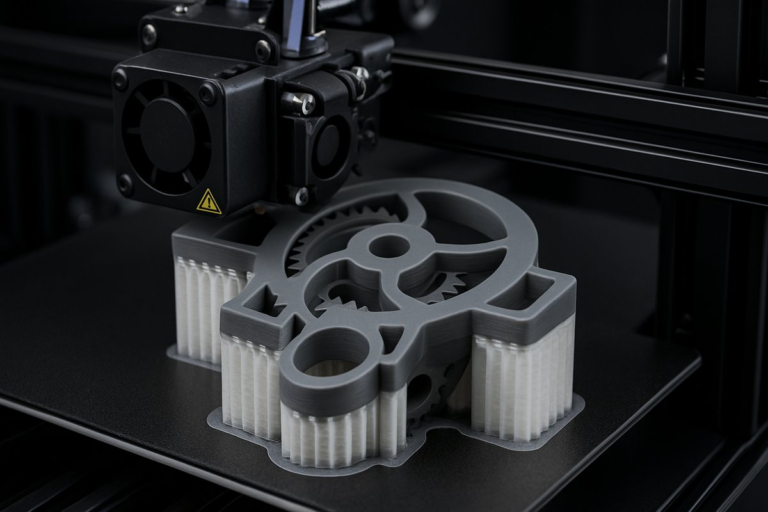
A solid foundation begins with hardware suited to composite materials. If you’re using a hobby-grade FDM printer, check whether your hotend and nozzle can handle abrasive filaments. Hardened steel nozzles are a small investment that yield big returns in longevity and consistent flow. They resist wear from wood particles far better than brass, which softens and erodes over time.
Build surface choice matters, too. A PEI-coated spring steel sheet or a textured print bed helps maintain first-layer adhesion without adhesives or tapes. Wood-filled PLA cools and retracts differently than standard PLA, so reliable bed adhesion combats warping and lifts. If you don’t have PEI, a light coating of PVA-based glue stick provides a removable adhesive layer that releases cleanly once the part cools.
Begin with a thorough mechanical tune-up: clean and lubricate rails, ensure belts have the right tension, and check that extruder gears are free of filament dust. Wood particles can accumulate in gear teeth, so a quick brush-out reduces slippage. Make sure your filament path is smooth and that the spool spins without binding.
Next, tighten your nozzle firmly to the recommended torque. On many all-metal hotends, hand-tight plus a quarter turn with a wrench is sufficient. Avoid overtightening, which can damage heatblock threads. When installing a hardened nozzle, clip any protective cap from the tip first to avoid melting residue into the barrel.
Every slicer offers unique features, but the core settings follow a similar pattern:
In your slicer’s material library, save these settings under a custom profile. That way, future prints with the same brand and type of wood-filled filament load instantly with optimized parameters.
Wood-filled PLA can feel slightly stiffer than pure PLA. Before loading, measure the filament diameter at several points-small variations can cause under- or over-extrusion. Enter the average diameter into your slicer if it differs from 1.75 or 2.85 mm. Heat the hotend to your chosen extrusion temperature, then gently feed the filament until you see a steady, even line of molten plastic extruding from the nozzle.
Trim the leading end at a clean 45° angle so it glides through the extruder smoothly. If you encounter grinding or the extruder clicking, pause and clear out any dust or wood fragments. A quick burst of cold filament retraction can help purge any hardened wood bits from the drive gear.
During the first few layers, watch for signs of under-extrusion (gaps, thin walls) or over-extrusion (smeared detail, bulging corners). Adjust the extrusion multiplier by 2-3 percent as needed. If you see stringing between features, increase retraction by 1 mm or slow down travel speed.
Wood-filled prints often smell like fresh cut lumber during extrusion. If you detect excessive smoke or burning odor, immediately pause and inspect the nozzle for clogged wood fibers. A quick cold pull with nylon filament can remove debris from the hotend throat.
Keep print cooling fans at 100 percent after the first two layers. Controlled cooling prevents saggy overhangs and sharpens wood grain patterns. For delicate details, a flicker of air flow helps smooth droplets into crisp lines.
One of the joys of wood-filled prints is post-print finishing. Once the print cools, remove it from the bed and lightly sand with 220-grit paper to remove layer lines and reveal the embedded wood fibers. For a polished look, follow with 400- to 600-grit sanding.
Staining based on wood types can deepen the effect. Use water-based wood stains or diluted acrylic inks to tint the surface. Apply with a brush or cloth, wipe off excess stain before it fully dries, and let cure for 24 hours. The stain settles into tiny gaps, creating authentic grain contrasts.
For longevity, seal your piece with a clear matte or satin varnish. Apply several light coats, allowing each to cure. This locks in color and shields against moisture, especially for planters or kitchenware prototypes.
With each new object, reflect on how wood-filled prints behave differently than pure PLA. The warmth under your fingertips and the scent of wood shavings bridge digital design with artisanal craft.
Wood-filled filament printing demonstrates the versatility of additive manufacturing. It turns a plastic extruder into a cabinetmaker’s lathe, expanding the emotional and aesthetic range of desktop FDM. As you master temperatures, speeds, and finishes, you’ll find new applications across prototyping, decoration, education, and sustainable design experiments.
Now that you’ve seen the key steps-from hardware selection to post-processing-gather your tools and prepare for a printing session that feels more like woodworking than 3D magic. With patience and practice, you’ll achieve results that surprise both hobbyists and professionals looking to add a human touch to layer-by-layer fabrication.
Happy printing, and may your next project be as warm as wood and as precise as your digital vision.