Mastering Water-Soluble Support for Complex FDM 3D Prints
Unlock the power of water-soluble PVA support to produce intricate overhangs, hidden cavities, and interlocking mechanisms on your FDM printer. This guide walks you through setup, slicing, print parameters, and post-processing to achieve clean, professional results.
This post contains affiliate links. If you buy something, I may earn a small commission—no extra cost to you, and it helps keep the lights on.
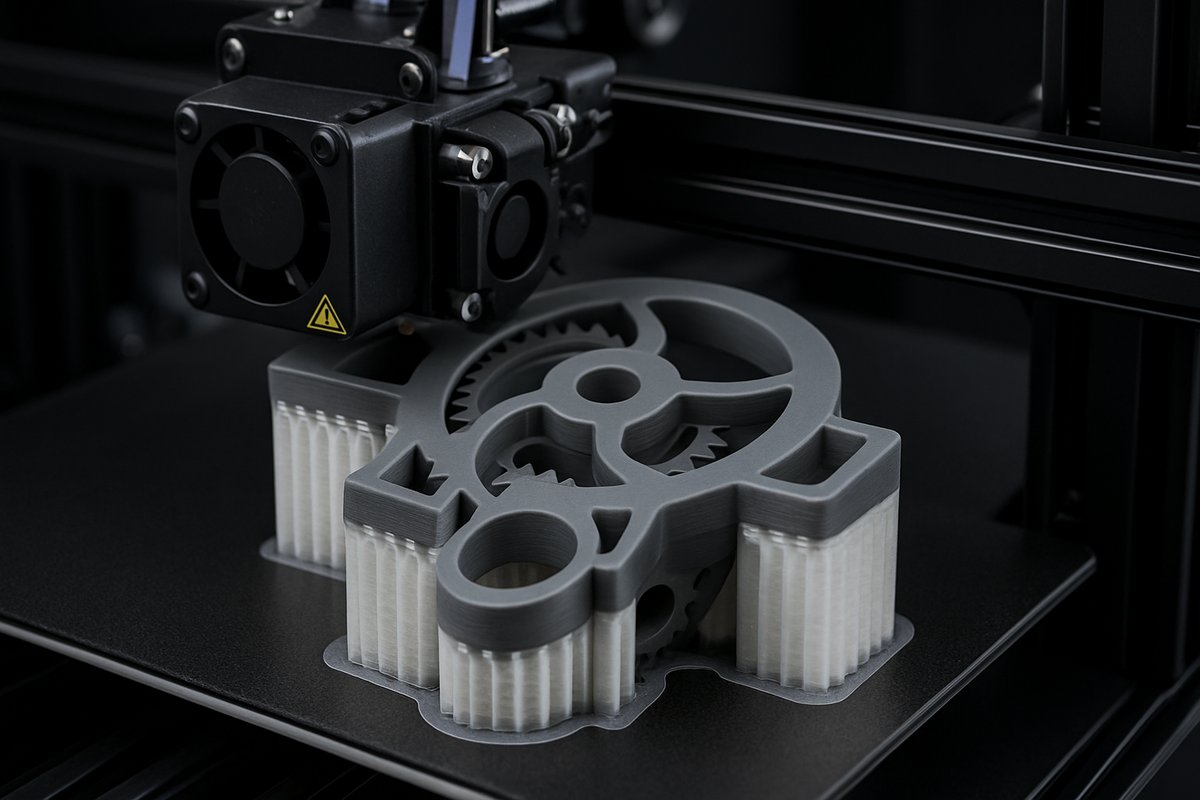
Additive manufacturing has come a long way, but even the most advanced FDM machines struggle with deep overhangs, internal channels, and complex undercuts. Enter water-soluble support: a game-changing technique that uses a second extruder loaded with PVA filament to build temporary scaffolding. Once your model is complete, a simple soak in water dissolves the supports, leaving pristine geometry in its wake. Whether you’re prototyping fluid channels, printing articulated sculptures, or fabricating intricate molds, mastering PVA support expands the possibilities of your desktop 3D printer.
Setting Sail: Why Water-Soluble Support?
Traditional breakaway or raft supports can mar delicate surfaces, require plungers or picks to remove, and often leave behind scratches or stress marks. Water-soluble support solves these issues by bonding cleanly to your build material-commonly PLA or PETG-then disappearing in warm water. This technique lets you:
Print internal voids like ductwork or fluidic pathways without disassembly.
Produce overhangs beyond 70° with confidence.
Create self-interlocking assemblies that require no manual support removal.
Experiment with micro-features and mesh-like patterns for artistic or functional designs.
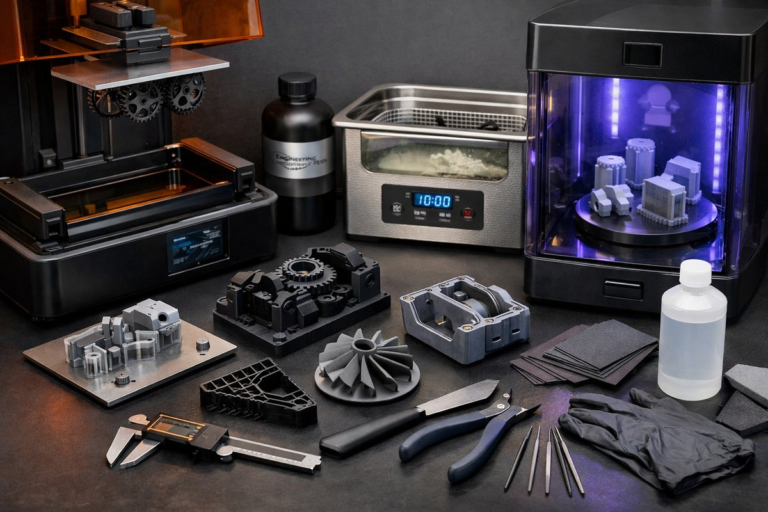
Arming Your Workshop: Essential Components
Before embarking on this journey, assemble the right tools:
Dual-extrusion FDM printer with independent or dual-nozzle setup to switch seamlessly between build and support materials.
PVA water-soluble support filament (1.75 mm) formulated for reliable adhesion and clean dissolution.
Build material spool such as PLA, PETG, or a specialty composite that bonds well to PVA.
Filament drying system or sealed storage with desiccant to keep moisture-sensitive PVA dry.
Slicing software capable of assigning different extruders for support and primary material, and customizing support density and interface layers.
Warm water bath for post-processing, optionally with gentle agitation or circulation pump.
The Ritual of the Slicer: Preparing Your Model
Careful slicing ensures your supports do their job without over-constraining the print. Follow these steps:
Load your digital model and enable dual-extrusion mode in your slicer.
Assign your build material (PLA) to Extruder 1 and PVA to Extruder 2.
Configure support settings:
Support Pattern: Choose grid or gyroid for strength with easy dissolution.
Interface Layers: Add 2-3 interface layers between PVA and PLA to improve adhesion without fusing them permanently.
Support Density: 15-25% strikes a balance between stability and fast removal.
Support Infill Threshold: If available, use ‘only below overhang angle’ with 60° as a guideline.
Adjust temperatures:
PLA Nozzle: 200-210 °C depending on your filament’s specification.
PVA Nozzle: 225-235 °C to ensure smooth extrusion and layer bonding.
Bed Temperature: 50-60 °C for stable first layers of PLA.
Set retraction separately for each extruder to avoid stringing-4-6 mm at 35-45 mm/s is a solid starting point.
Slice and preview the layers, verifying that PVA support occupies only the intended regions.
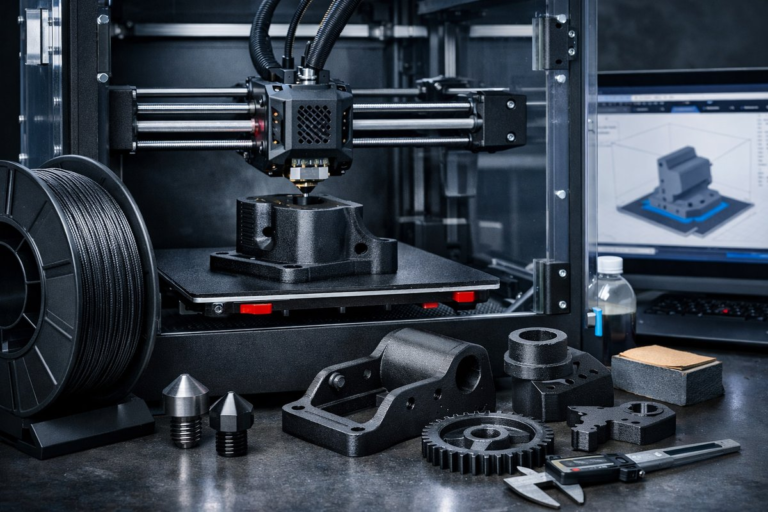
Bringing Your Print to Life
With your G-code in hand, run through this checklist:
Dry Your Filament: Load PVA and PLA into your dryer box or sealed container for at least 4 hours before printing. Dry filament prevents clogs and weak layers.
Level the Bed: Dual extrusion demands high precision. Re-level your bed or recalibrate your auto-leveling sensor.
Prime Both Nozzles: Before each print, run a quick purge line from each extruder to confirm smooth flow.
Monitor the First Layers: Ensure PLA adheres firmly and PVA follows accurately. Pause and adjust if a nozzle drags or a filament under-feeds.
Maintain Clean Nozzles: Clear any oozed material between tool changes to avoid blobs dragging across sensitive areas.
Once the printer hums along, you’re free to watch the magic: fine PVA lattices weaving beneath PLA contours, building a scaffolding designed to vanish.
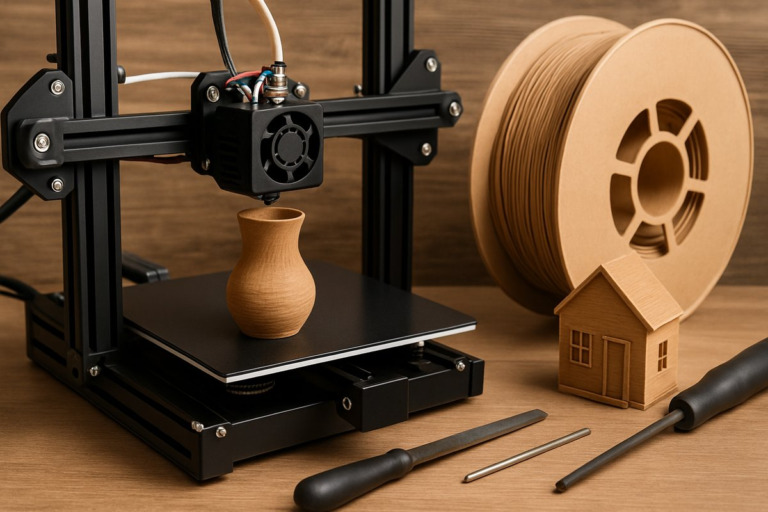
The Alchemy of Removal
The true beauty of PVA support emerges in post-processing. After you unhook the cooled print from the bed:
Fill a container with warm water (about 40 °C) and submerge the part completely.
Gently agitate every 30 minutes to encourage dissolution. A magnetic stirrer or small pump can speed things up.
Expect full dissolution in 2-6 hours depending on support volume. Dense internal channels may take longer-be patient for pristine results.
Rinse the model under tap water and let it air-dry. Inspect hidden cavities to ensure no residue remains.
Once dry, your model surfaces gleam uninterrupted by support scars. Test your moving parts or fluid pathways, and appreciate details that would be impossible with manual removal.
Wisdom from the Workshop: Troubleshooting & Tips
Even seasoned makers encounter hiccups. Here are common issues and remedies:
Under-Extrusion of PVA: Increase nozzle temperature by 5 °C, slow print speed by 10%, and ensure the filament is bone-dry.
Support Fails to Adhere: Boost interface layer count or slightly raise bed temperature to 65 °C for better first-layer bonding.
Stringing Between Supports: Tweak retraction speed and distance for the PVA extruder, and enable coasting if your slicer supports it.
Warping at Base: Use a brim or raft under the PLA layers. A small brim around the support region also stabilizes tall scaffolds.
Slow Dissolution: Chop large support chunks away once pliable. A gentle scrub with a soft brush speeds up the process without damaging fine features.
Next-Level Experiments
Once comfortable, push the boundaries of what you can achieve:
Combine materials: print rigid PLA exteriors with flexible TPU interiors, using PVA supports to manage the interface.
Microfluidic devices: create channels as narrow as 0.5 mm and test fluid flow with colored dyes.
Complex assemblies: embed hardware, magnets, or electronics in-place by pausing mid-print, then resume to lock them in.
Artistic lattices: explore gyroid or Voronoi patterns for lightweight structures with organic aesthetics.
By mastering water-soluble support, you elevate your FDM printer from a single-material workhorse to a multi-material powerhouse. Every new project becomes an invitation to rethink what’s possible, layer by layer.
Gather your tools, calibrate with care, and watch as your designs spring to life unencumbered by the constraints of traditional support. The next frontier of 3D printing awaits-you just need to dissolve the limits.
To support curiosity and clarity, we use cookies to understand how our site is used and to improve your experience. You can choose which types of cookies you’re comfortable with. Your privacy matters, and your consent helps us keep things transparent and playful.
Functional
Always active
Needed to make the site work.
Preferences
Used to remember your settings and preferences.
Statistics
The technical storage or access that is used exclusively for statistical purposes.Helps us understand how visitors use the site.