Location
Mount Vernon, WA 98274
Location
Mount Vernon, WA 98274
Unlock the precision of SLA resin printing for robust functional prototypes and end-use components. This guide reviews engineering-grade photopolymer resin, provides step-by-step slicing and print settings, and highlights essential post-processing tools to help you achieve strong, high-detail results.
Stereolithography (SLA) resin printing has evolved beyond hobbyist miniatures to deliver functional prototypes, jigs, and end-use parts with exceptional detail and mechanical performance. Engineering-grade photopolymer resins bridge the gap between concept and reality, offering heat resistance, tensile strength, and fine feature resolution all in a desktop footprint. This how-to article walks you through each stage of the process-from digital model preparation to final curing-so you can confidently tackle complex designs and produce ready-to-use parts.
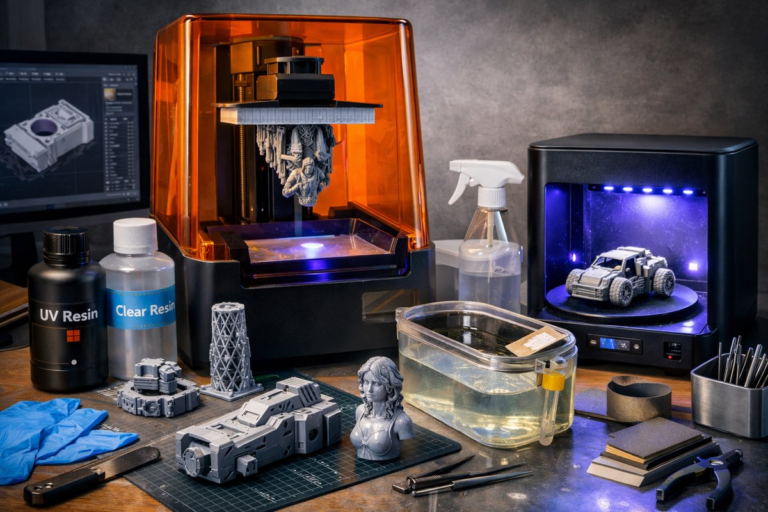
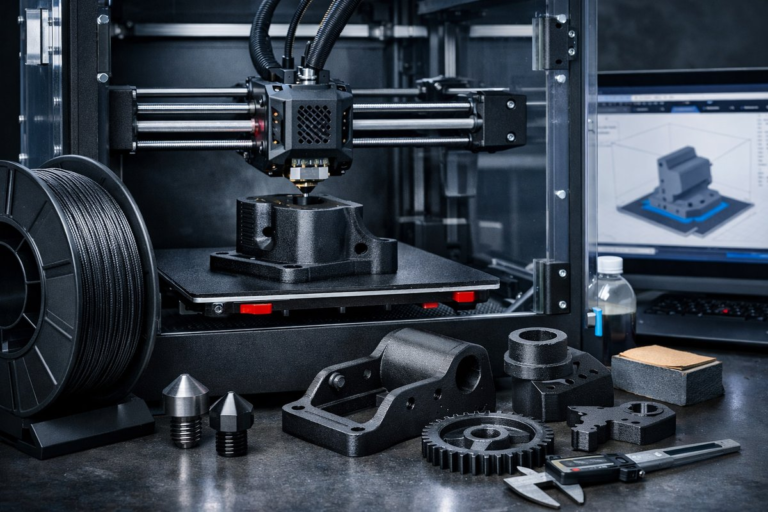
Before diving in, gather the essentials that ensure a smooth print cycle and reliable results. Key items include:
• Resin 3D printer with reliable peel mechanism and temperature control (e.g., 405 nm wavelength UV lamp array)
• Engineering photopolymer resin formulated for toughness, heat resistance, or impact strength
• Magnetic FEP film resin vat or replacement tank with built-in quick-release mechanism
• UV LED resin curing station with adjustable wattage and turntable for uniform exposure
• Precision digital caliper for dimensional verification
• Isopropyl alcohol (IPA) wash station or ultrasonic cleaner
• Nitrile gloves, disposable paper towels, and splash guard for safe handling
These components form the foundation of a repeatable workflow. Investing in a quality resin dispensing bottle with integrated filter funnel can also reduce contamination over multiple print runs.
A watertight, correctly scaled 3D file is critical for engineering-grade prints. Start by exporting your CAD model in STL or OBJ format, then import it into your preferred slicer. Follow these practices:
1. Check manifold integrity and wall thickness. Aim for a minimum thickness of 1.0 - 1.5 millimeters on load-bearing features to prevent fracture under stress. Fine details as small as 0.3 - 0.5 millimeters can still print reliably in engineering resin.
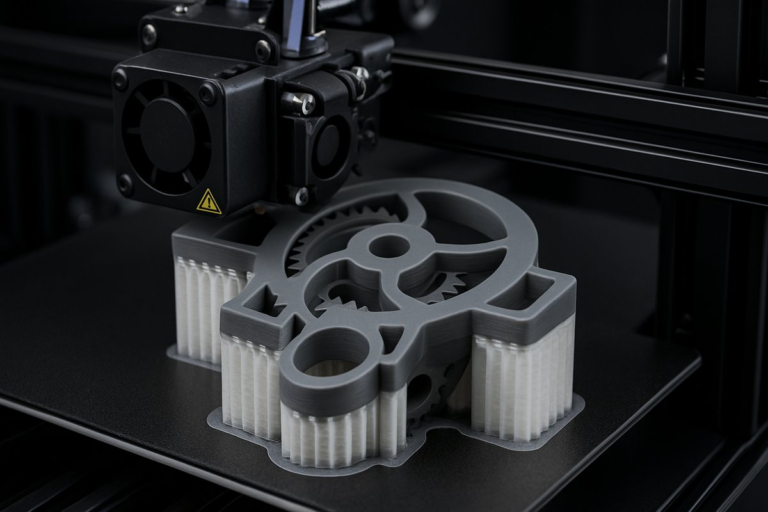
2. Orient the part to balance support volume and surface finish. Critical surfaces that require high detail should face away from the build platform to minimize layer stepping and support scarring.
3. Add custom support structures. Engineering resins tend to resist peel forces better than standard resins, but parts with overhangs beyond 45° still need supports. Use variable-density supports to reduce post-processing cleanup time.
4. Hollow out large solid volumes where possible. Internal lattices or drain holes can greatly reduce material usage and light scattering during exposure.
A well-prepared digital file sets the stage for a successful print. Spend extra time on support placement and wall thickness analysis if your design has cantilevers or fine pillars.
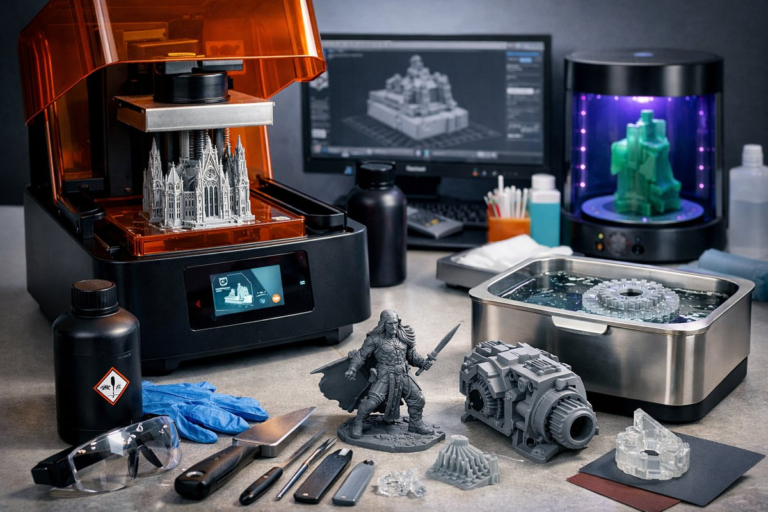
Proper calibration ensures dimensionally accurate parts and consistent layer adhesion. Here’s a quick calibration checklist:
• Level the build platform to within 0.05 millimeters of parallel to the resin vat.
• Clean or replace the FEP film if you notice creases or clouding that can distort laser path or LED light distribution.
• Warm up the printer chamber to the resin manufacturer’s recommended 25 - 30 °C range for optimal cure kinetics.
When slicing, input engineering resin-specific parameters: lower layer height (typically 0.025 - 0.05 millimeters) for fine detail, and adjust bottom layer exposure time to ensure a strong foundation. For example, set bottom layer count to 6 - 8 with 30 - 40 seconds exposure each, then reduce to 4 - 6 seconds per normal layer. Always verify these numbers against your resin’s datasheet, as each formulation has unique viscosity and photoinitiator concentrations.
Choosing the right engineering resin depends on your end-use requirements. Common formulations include:
• High-Temperature Resin: Glass transition temperatures above 100 °C make it ideal for applications near heat sources or for mold masters.
• Tough Impact Resin: Enhanced elongation at break and improved tensile strength simulate some ABS-like properties.
• Flexible Resin: Shore hardness in the 50 - 70A range for gaskets, grips, and damping components.
Pour the resin slowly into the vat to minimize bubbles. Gently swirl the tank for 30 seconds to allow trapped air to escape, and wait an additional minute before starting the first layer. Bubble-free resin ensures uniform cure and prevents voids under critical features.
Consistency is key to reproducible engineering prints. Consider the following recommendations:
• Print Speed: Keep normal layer exposure times on the higher end of the resin’s spec sheet if you need maximum strength. Slower cure yields deeper crosslinking.
• Layer Height: Use 0.05 millimeters for a balance of speed and detail. Drop to 0.025 millimeters for small parts with fine text or intricate lattice.
• Support Density: Engineering resins support slimmer struts, so you can lower support diameter to 0.3 - 0.4 millimeters and still hold overhangs.
• Peel Force Settings: If your printer allows, reduce peel speed to protect delicate features. Thicker resins may require slower peel to avoid print failures.
Run a small test coupon-a simple 20 × 20 × 20 mm cube-when you switch resin types or adjust layer height. Use the cube to measure dimensional accuracy, surface finish, and check for undercured volumes or layer adhesion issues.
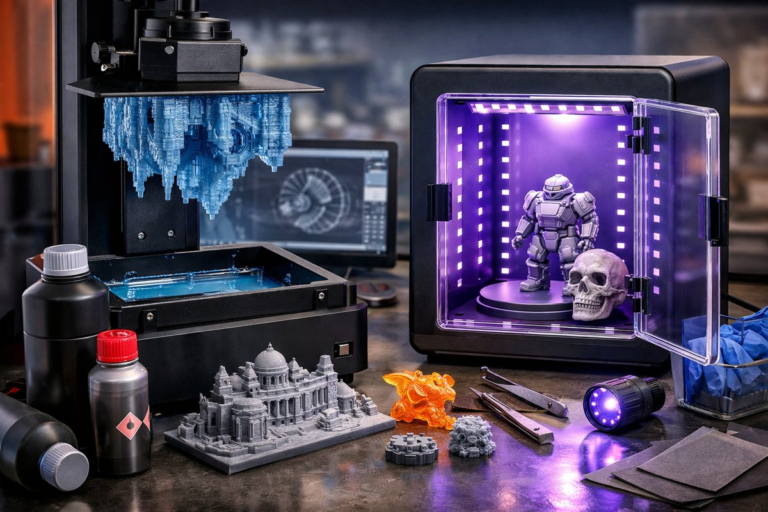
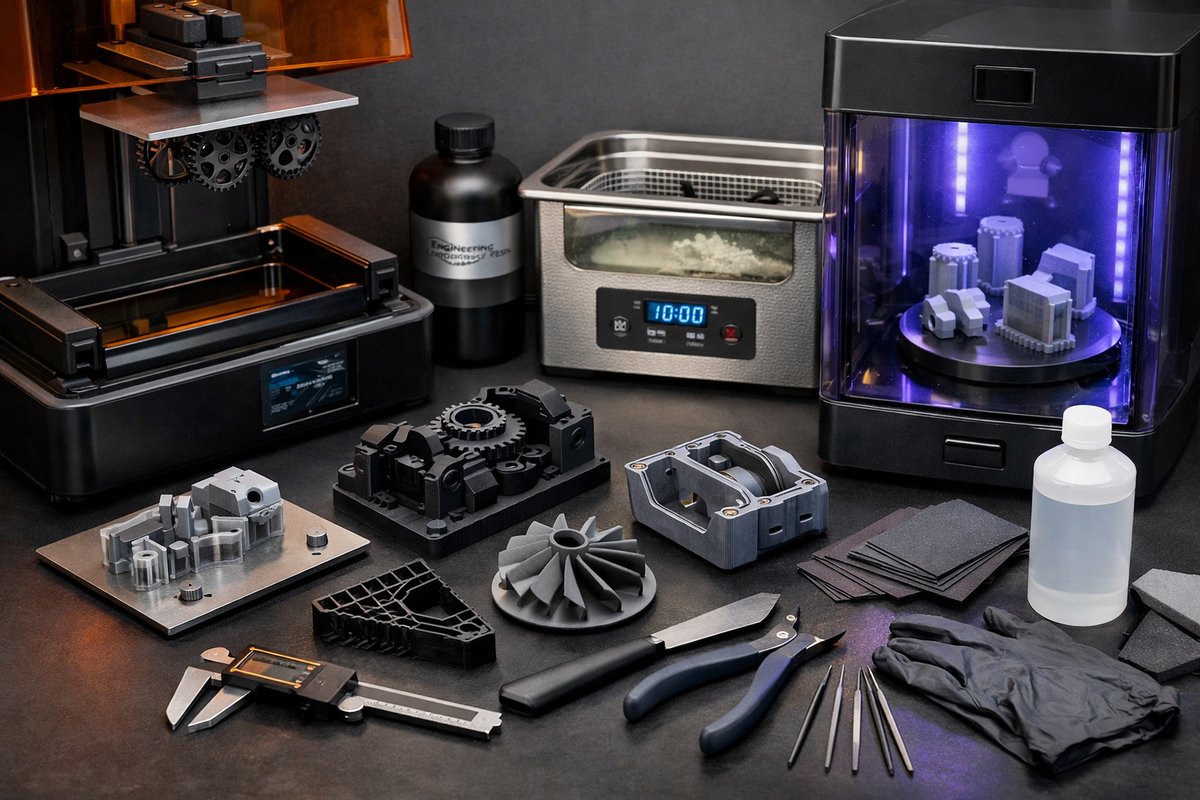
Engineering parts demand robust post-cure steps to achieve their full mechanical potential. Follow this sequence:
1. Rinse the freshly printed part in 90%+ isopropyl alcohol for 2 - 3 minutes. An ultrasonic cleaner can remove resin trapped in microfeatures faster.
2. Remove any support structures with flush cutters, taking care not to stress fine details. Lightly sand support marks with 400-600 grit wet sandpaper if you need a smoother finish.
3. Post-cure the part in a UV LED curing station at 2 × the recommended wattage for standard resin. Rotate the part on a turntable for even exposure. For high-temperature resins, cure in two stages: first at room temperature for 30 minutes, then in an oven at 60 °C for an hour to drive out residual monomers.
4. Inspect for pinholes or uncured regions. Oil-free compressed air can clear trapped IPA or debris. Re-cure localized spots with a handheld UV torch if necessary.
Proper post-curing raises tensile strength by up to 30% compared to undercured prints. It also stabilizes dimensions and reduces hygroscopic expansion in humid environments.
Armed with best practices for SLA engineering resin printing, you can prototype end-use parts, functional prototypes, and precision jigs that rival injection-molded components. Experiment with different resin grades to match your project’s thermal, mechanical, and surface finish requirements. Track each batch’s exposure times, chamber temperature, and post-cure cycle in a print journal to build a library of optimized settings.
Whether you’re a product designer validating snap-fit enclosures or a mechanical engineer crafting custom end-of-arm tooling, engineering resins enable the leap from rapid prototyping to small-batch production. Layer by layer, your ideas gain form-and functional resilience-in the build chamber. Now it’s your turn to hit print and see how far high-detail, high-strength resin parts can take your next project.