Location
Mount Vernon, WA 98274
Location
Mount Vernon, WA 98274
Discover the ins and outs of stereolithography (SLA) resin printing, from selecting a reliable desktop resin 3D printer to refining print settings and post-processing. Learn practical tips for getting razor-sharp details, handling resin safely, and troubleshooting common challenges to create stunning prototypes and functional parts.
Additive manufacturing spans a broad spectrum of technologies, yet stereolithography (SLA) resin printing remains one of the most precise and versatile methods for creating highly detailed parts. Using a focused light source to cure liquid photopolymer resin layer by layer, SLA machines capture fine features that can be difficult to achieve with filament-based systems. In this guide, we’ll review the essentials of SLA printing, highlight a specific desktop resin printer setup, and walk through each stage of the workflow. You’ll come away motivated to experiment with intricate jewelry prototypes, dental models, miniature figures, or even mechanical parts with smooth surfaces.
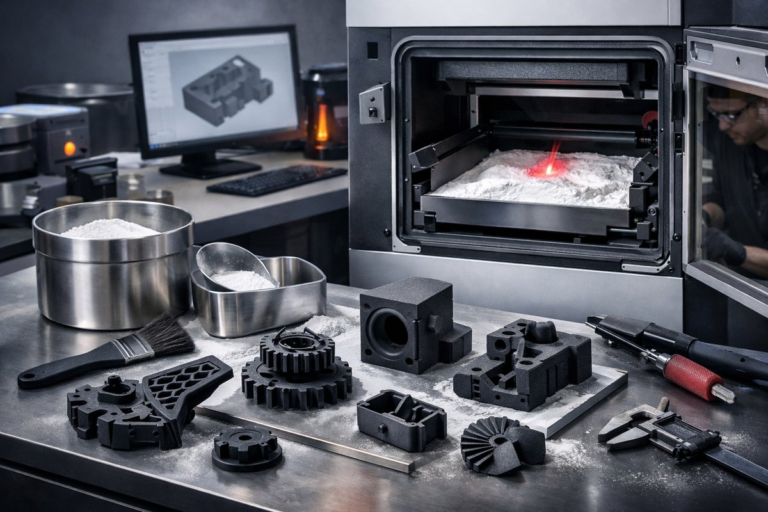
SLA printers work by aiming a UV laser or a digital projector under a transparent resin vat, selectively hardening thin slices of resin. Once one layer is cured, a build plate lifts to allow fresh resin to flow, then returns to the vat for the next exposure. The result is a part with exquisitely smooth finishes and detailed geometry as small as a few hundred microns. Compared with fused filament fabrication (FFF/FDM), SLA excels at capturing organic forms, fine textures, and overhangs with minimal visible layer lines. The trade-off is that resin handling, post-processing, and equipment setup require more attention to safety, cleanliness, and calibration.
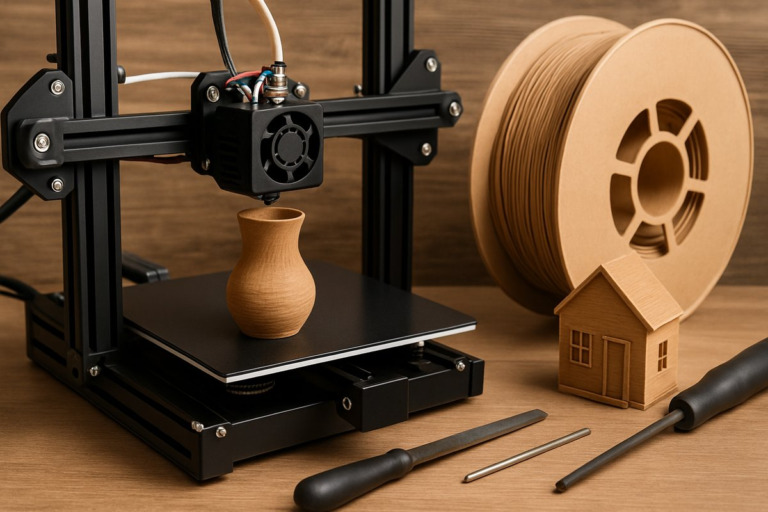
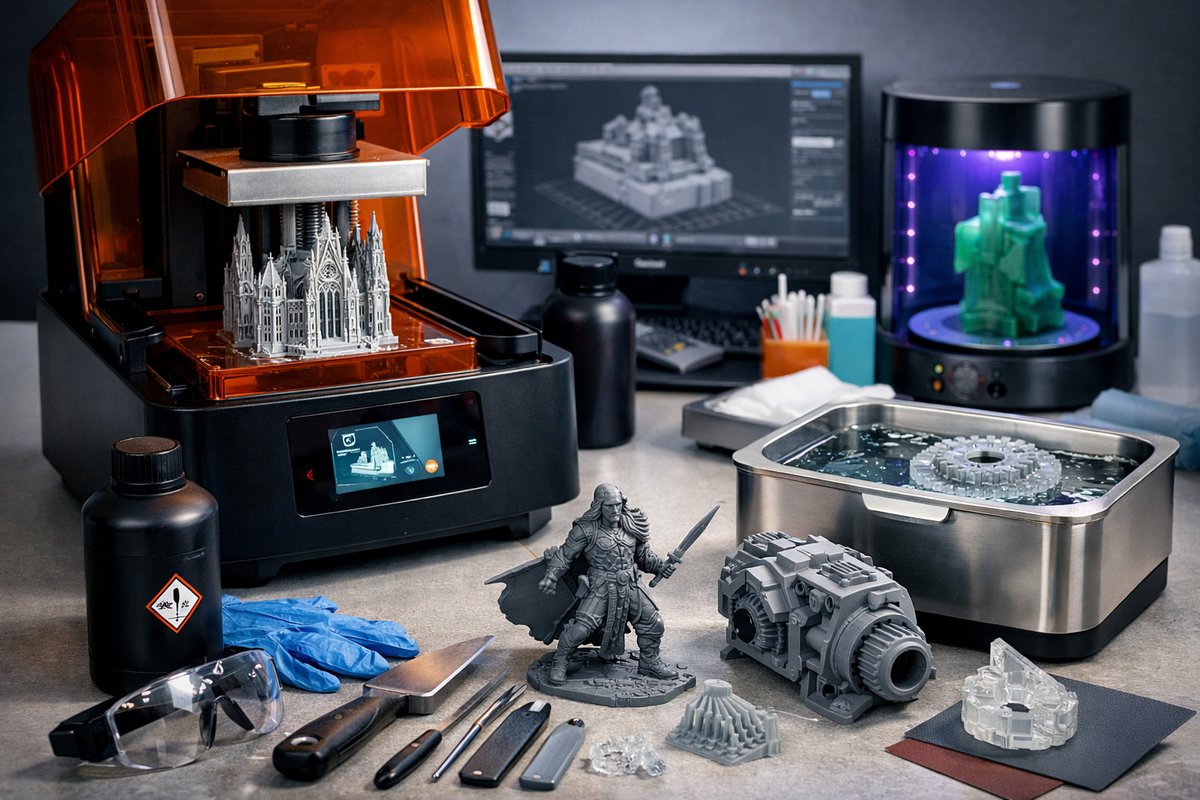
Before diving in, gather the core components of an SLA system: a desktop resin 3D printer featuring a UV light source or projector, a suitable photopolymer resin, a vat assembly with a durable FEP release film, and a UV curing station for post-processing. You’ll also need cleaning supplies such as isopropyl alcohol (IPA), a pair of nitrile gloves, silicone spatulas for scraping, and filtered containers for resin storage. While starter kits can bundle many of these items, selecting higher-quality consumables level by level will yield more reliable results and open the door to advanced techniques.
Choosing the right desktop resin 3D printer hinges on build volume, resolution, and light source type. Entry-level units often use a fixed UV LED array with an LCD mask (MSLA) to expose entire layers at once. These deliver fast print times and fine XY resolution tied to the pixel pitch of the screen. More advanced models rely on a laser galvanometer to trace each layer, offering extreme precision on small parts but slower overall throughput for larger objects. When evaluating machines, look for robust leveling systems, a removable resin tank, and a sturdy Z-axis to minimize wobble. A consistent light power supply also helps avoid exposure variability.
Photopolymer resin selection is the next critical step. Standard resins are formulated for general-purpose prototyping, balancing detail, strength, and affordability. For functional parts, engineering resins offer higher toughness, heat resistance, or flexibility. Dental and jewelry applications demand biocompatibility or castable formulations without ash residue. Transparency, color, and post-cure properties vary by formula, so match resin type to your project. When ordering resin, consider batch expiration dates, storage instructions, and the manufacturer’s safety data sheet. Always filter resin through a fine mesh filter before returning unused material to the vat.
Designing for SLA follows many of the same CAD and digital sculpting workflows used in other 3D printing methods. Software such as open-source modelers or commercial suites can export STL or OBJ files. Before slicing, inspect your model for non-manifold edges, intersecting faces, or zero-thickness geometry. Repair any issues in mesh editors to avoid print failures. Next, import the clean file into a slicing application optimized for your printer. Choose an appropriate layer height-typical settings range from 25 to 100 microns depending on the level of detail you need and the resin’s cure characteristics.
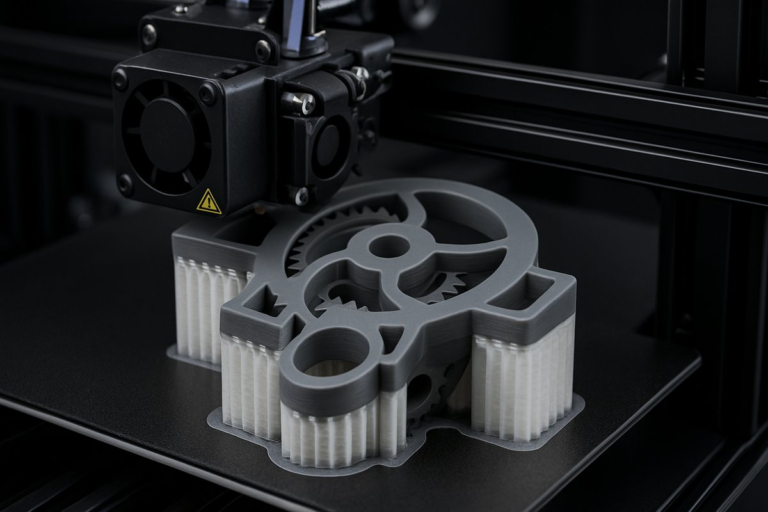
Support generation is often the most delicate part of preparing SLA prints. Floating parts must cling to support structures that hold them in place while reducing contact area to minimize scarring. Automated support generators can place hundreds of tiny cones and tree-like branches, but you’ll benefit from manual pruning and repositioning. Orient the model to reduce overhangs and allow resin drainage, typically angling the longest axis between 30 and 45 degrees from horizontal. Add light touch-point supports on flat surfaces to prevent suction against the build plate during peel cycles.
After leveling the build platform and securing the resin tank, pour filtered resin into the vat up to the recommended fill line. Slide the build plate down until it lightly contacts the film, then zero your Z-offset per the printer’s calibration routine. Close the lid and start the print. Keep the ambient temperature within the resin’s specified range-often between 20°C and 25°C-to ensure consistent cure times. Some resins become too viscous when cold, resulting in incomplete layer formation or resin tearing.
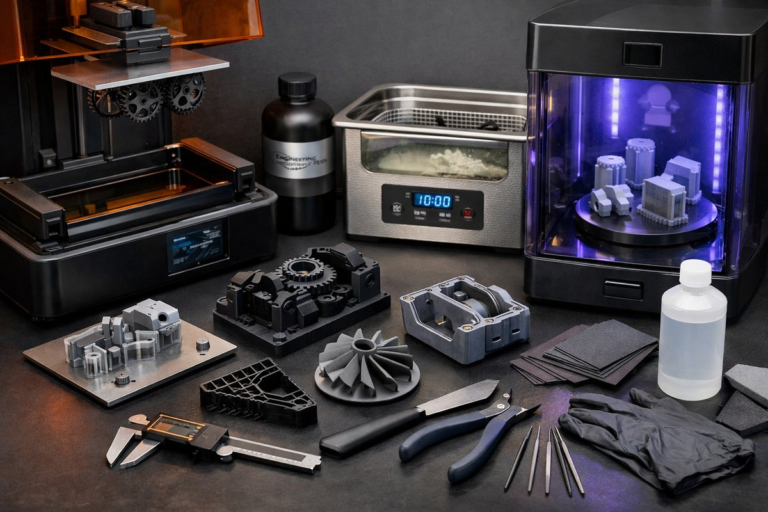
Once printing completes, allow the build platform to lift slowly, then remove the plate and vat carefully. Wearing gloves, scrape the part off the plate onto a silicone mat or tray. Drop the part into an IPA bath for a first rinse, swirling gently to dislodge uncured resin. Transfer to a second fresh IPA bath for a cleaner finish. After washing, let the part air-dry or use compressed air to speed evaporation. At this point, fine support scars and surface textures will be visible, so handle the piece gently to avoid introducing blemishes.
Final curing transforms the part from a fragile raw shape into a fully hardened component. Place washed models in a UV curing station or build a DIY enclosure with UV LED strips. Rotate parts slowly to achieve even exposure, or use a turntable for automated coverage. Cure times vary by resin type but generally fall between 2 and 10 minutes under a 405 nm UV source. Be careful not to over-cure, which can make parts brittle or cause yellowing. During the cure, check periodically and remove any residual supports once the plastic has reached its optimal hardness.
After post-processing, minor finishing steps can elevate the appearance. Sand support marks with fine-grit sandpaper, starting around 400 grit and working up to 1200 grit for a polished look. If you plan to paint the part, apply a primer formulated for plastics, then airbrush or spray in thin layers. Clear coats, matte or glossy, can seal the surface and protect against UV yellowing. For functional assemblies, test fit all mating parts before final finishes-tiny resin tolerances can shift during curing, so a light touch from a hobby knife or micro drill may be needed.
To maintain print consistency, keep resin fresh and mix gently before each use to re-suspend pigment and additives. Regularly clean the FEP film by draining the vat and wiping with IPA to remove cured debris. Replace the film as soon as you notice cloudiness or sticking issues. Calibrate layer exposure times by printing test coupons that measure cure depth and peel force. Tracking these values in a logbook or spreadsheet helps you spot gradual shifts caused by resin aging, light source dimming, or ambient temperature changes.
Even the best setups encounter hiccups. If layers delaminate during print, check for underexposure or a loose Z-axis. If prints stick too firmly to supports, reduce contact diameter or tweak exposure settings. Surface tackiness after curing often indicates incomplete wash or under-curing-add extra IPA rinses or extend cure time. Warping and curling can result from rapid peel movements or insufficient support density. When prints fail unpredictably, run a known test model to isolate whether the issue lies with hardware, resin, or slicing parameters.
The environmental impact of resin printing can be mitigated through careful material handling and recycling. Filter leftover resin through a fine nylon mesh, then store it in amber bottles to reduce UV degradation. Dispose of resin waste and IPA baths according to local hazardous material guidelines. Some users reclaim cured resin scraps as filler in epoxy for small repairs. A well-organized workstation with spill trays, dedicated waste containers, and good ventilation minimizes resin exposure and keeps your workspace safe and sustainable.
Once you’ve mastered standard SLA workflows, explore advanced techniques like mixing clear and colored resins for custom gradients, embedding objects mid-print for co-molding, or printing flexible elastomer-like parts with specialized formulas. Resin-based composites loaded with ceramic or metal powders open new avenues for post-print sintering or casting. Each experiment deepens your understanding of photopolymer chemistry, light-matter interactions, and design for additive manufacturing.
From rapid prototyping of high-resolution miniatures to functional jigs, dental molds, and jewelry molds, SLA resin printing offers limitless creative and engineering possibilities. By combining a reliable desktop resin 3D printer with quality photopolymer resin and a well-tuned workflow, you’ll unlock detailed parts that feel like they emerged from a laboratory rather than a printer. Gather your components, follow these steps, and treat each print as a chance to refine settings and push the boundaries of what you can create. Your next breakthrough could be just one cured layer away.