Location
Mount Vernon, WA 98274
Location
Mount Vernon, WA 98274
Discover how desktop vat photopolymerization brings digital models to life with unmatched detail. From selecting the right resin to postcuring your parts, this guide breaks down each stage to help you achieve stunning results and explore the true potential of resin-based additive manufacturing.
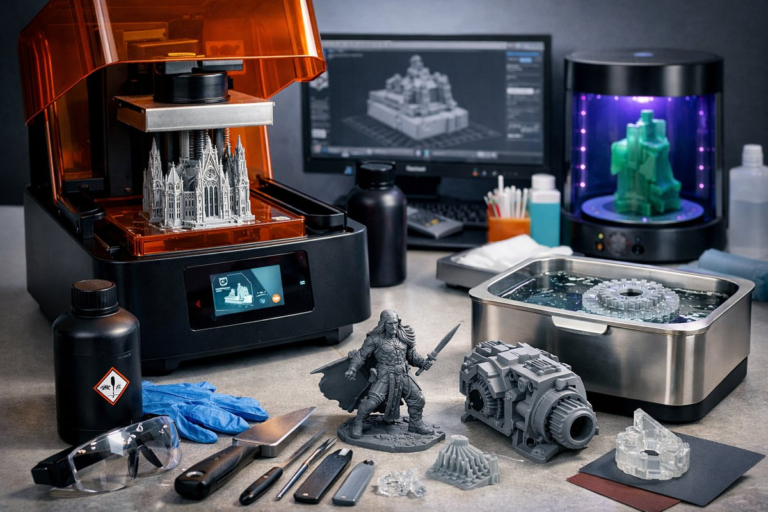
Additive manufacturing once seemed limited to industrial giants, but desktop resin 3D printing has transformed the landscape. Vat photopolymerization lets you create intricate details, sharp overhangs, and smooth surfaces that are difficult to achieve with filament printers. If you want miniatures with crisp edges, dental models with accurate anatomy, or jewelry prototypes that rival cast pieces, this technique opens doors. Below is a deep dive into mastering vat photopolymerization from setup through postprocessing, highlighting key components and tricks to fuel your curiosity and guarantee successful prints.
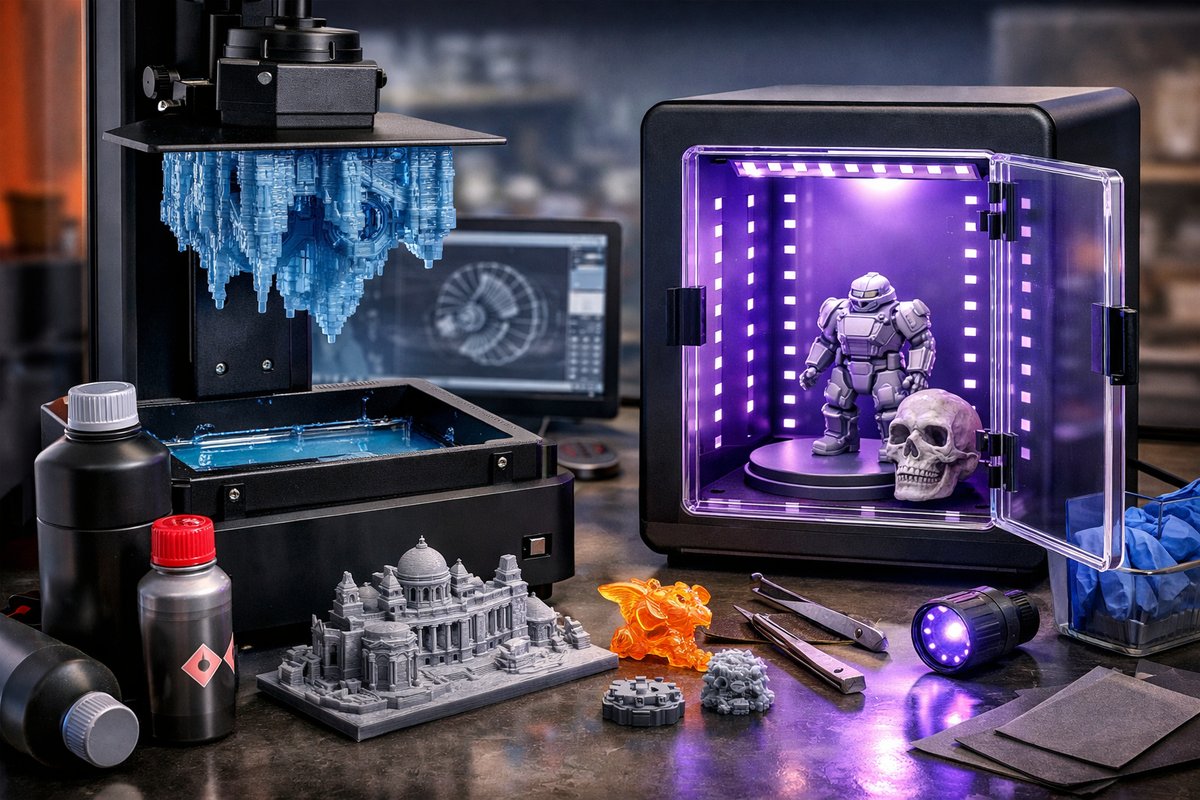
Vat photopolymerization relies on a light source-typically an array of LEDs or a laser-projecting patterns into a tank of liquid photopolymer resin. Each exposure solidifies a thin layer, the build platform lifts, and a fresh layer of liquid resin flows in. Layer by layer, your digital design materializes in high resolution. Follow these steps to harness precision, dependability, and the magic of light-induced polymerization.
Understanding Your Resin 3D Printer
Begin by familiarizing yourself with the core components: the resin vat with a transparent bottom, a build platform, the light engine, and a touchscreen or PC interface. The resin vat holds the photopolymer fluid, while a replaceable film at the bottom-usually made of fluorinated ethylene propylene-must remain clear and scratch-free. A sturdy build platform ensures parts stay adhered during lifting, so calibration is critical.
Calibration Tips
Selecting the Right Photopolymer Resin
Resins vary in viscosity, toughness, color, and specific applications. Standard resins deliver fine detail and smooth finishes, while engineering resins add flexibility or high-temperature resistance. Biocompatible resins cater to dental models or prosthetic molds. When choosing, consider:
Preparing Your 3D Model
A good print starts in the slicer. Import your model and inspect for nonmanifold edges or thin walls. Add supports strategically beneath overhangs between forty and sixty degrees. Use light touch supports for delicate areas and thicker anchors where the model meets the build platform. Balance support density and contact size: too dense and removal will mar surfaces; too sparse and parts may detach midprint.
Optimize your slice settings:
Safety and Environment
Working with liquid resin requires care. Always wear nitrile gloves and safety glasses. Work in a well-ventilated area or use a filtered enclosure to capture volatile organic compounds. Keep paper towels or disposable wipes on hand to clean spills promptly. After printing, trap uncured resin in sealed containers until proper disposal following local guidelines.
The Printing Process
Once setup is complete and your resin is poured into the vat, start the print. Monitor the first layers closely. If you notice areas lifting or incomplete curing, pause and adjust Z-zero or exposure time. A transparent side panel in the printer can help you watch events without disturbing the build.
Throughout the print:
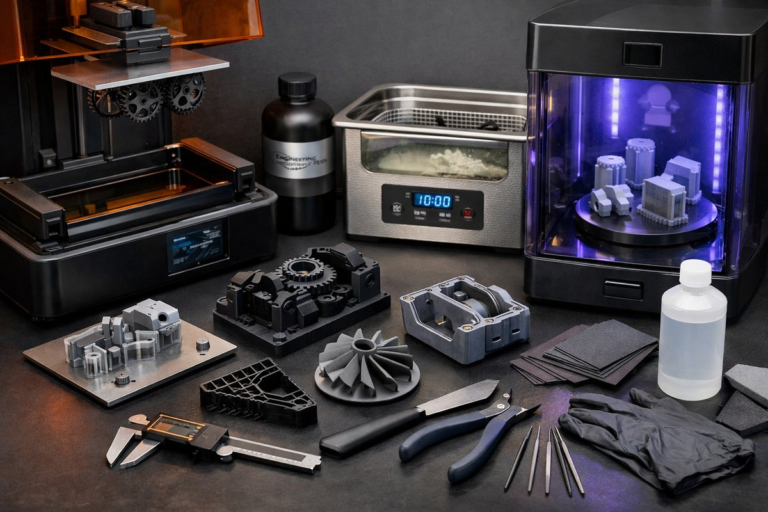
Postprocessing Best Practices
When the printer finishes, remove the build platform and carefully peel cured parts from its surface using a resin scraper. Rinse in a dedicated container of isopropyl alcohol, gently swirling until uncured resin washes away. For deeper crevices, use a soft brush to clear trapped resin.
After washing, parts still contain uncured photoinitiators that can remain sticky. Place pieces in a UV LED curing station for ten to twenty minutes depending on resin instructions. Rotate parts midcycle for even exposure. Postcured models gain mechanical strength and final color while eliminating tacky surfaces.
Finishing Touches
Once cured, supports can be clipped away with flush cutters, and excess nubs sanded smooth with fine-grit sandpaper. For a glass-like finish, progress from six hundred to two thousand grit, then polish with a buffing compound. Thicker parts can be painted with acrylics or automotive primers for added durability and aesthetics.
Troubleshooting Common Issues
If prints lift off the build platform, check your calibration and increase bottom layer exposure by five to ten seconds. Layer lines or incomplete curing often trace back to a dirty film or underexposed layers-clean the film and lengthen layer exposure by a few seconds. Warping can appear in large flat areas; add more supports underneath, or print two parts side by side to distribute forces.
When resin appears cloudy or discolored, it may have gelled from excess UV exposure or contamination. Pour it through a mesh filter back into the bottle, and consider discarding the resin if filter cloth is heavily clogged.
Unlocking Creative and Practical Applications
Vat photopolymerization shines in fields that demand precision. Dentists craft patient-specific dental crowns. Engineers validate fluidic channels in miniature heat exchangers. Hobbyists create gaming miniatures with razor-sharp details that wow collectors. From lightweight drone components to molds for silicone casting, the possibilities expand with every new resin formulation.
Embrace experimentation. Try flexible resins for hinges, castable resins for jewelry prototypes, or high-temperature resins for functional holds. Swap between matte and clear finishes to achieve contrasts and layered transparency. The next breakthrough idea could spring from testing an offbeat resin blend or a custom support pattern.
Fueling Sustainable Practices
Vat photopolymerization reduces waste compared to subtractive methods. Unused resin can often be reclaimed, and supports generate minimal solid waste relative to entire block carving. By refining your slicing and support strategies, you minimize resin use and postprocessing chemicals. Recycle isopropyl alcohol via distillation kits designed for lab glassware, and explore biodegradable resin options entering the market.
Your First Successful Resin Print
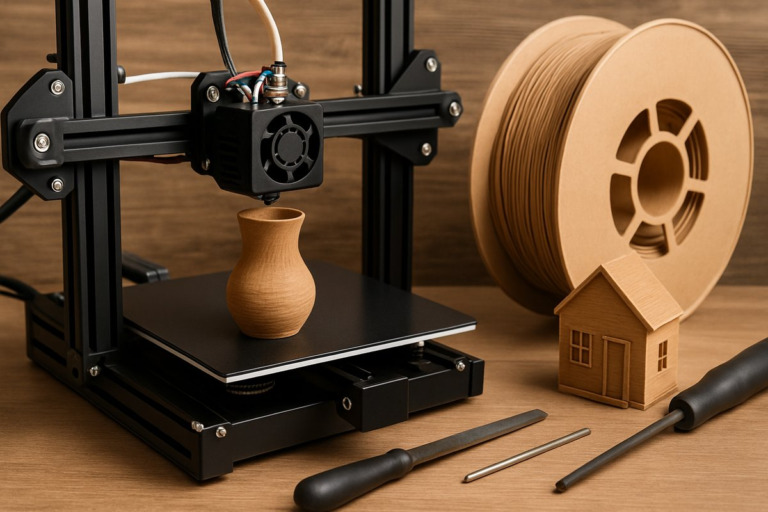
Hands-on learning accelerates progress. Begin with a simple model-a hollow vase or a small figurine-then refine your settings. Document each change: layer height, lift speed, exposure time. Record results with photos. This empirical approach builds institutional memory and reveals patterns you can replicate on more complex designs.
By following these guidelines, you transition from curious beginner to confident resin artisan. Every calibration tweak, resin swap, and postcure cycle deepens your understanding of vat photopolymerization’s nuances. Soon you’ll be pushing boundaries-crafting parts that solve real problems, delight the eye, and spark the imagination.
Creative applications, precise functional parts, and sustainable workflows converge when you master vat photopolymerization. With the right components and practices, you’re only limited by your design software and your vision. Ready to light up your ideas and bring them into the tangible world? Collect your supplies, calibrate with care, and let the polymerization begin.