Location
Mount Vernon, WA 98274
Location
Mount Vernon, WA 98274
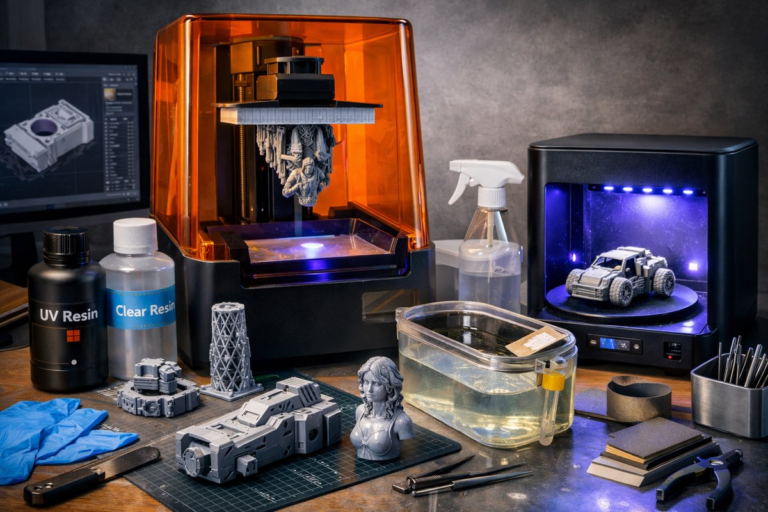
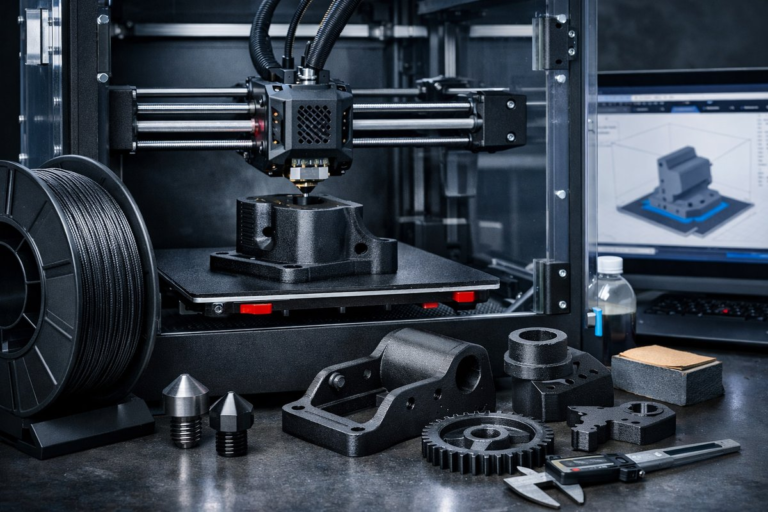
Selective Laser Sintering (SLS) brings industrial-grade freedom to desktop additive manufacturing. This guide walks you through every step-from design optimization and powder handling to machine setup and post-processing-to help you produce robust, isotropic nylon parts that need no support structures. Rediscover nylon's versatility and take your prototypes and end-use components from concept to completion.
Selective Laser Sintering (SLS) has long been the domain of industrial service bureaus, but with the advent of more accessible machines, small shops and dedicated makers can now tap into its unique advantages: fully supported, complex geometries; excellent mechanical properties; and a truly layer-free finish along the X-Y plane. In this article, you’ll learn how to use a desktop SLS system with nylon powder to create high-performance parts-without sacrificing detail or durability.
Understanding SLS and Its Benefits
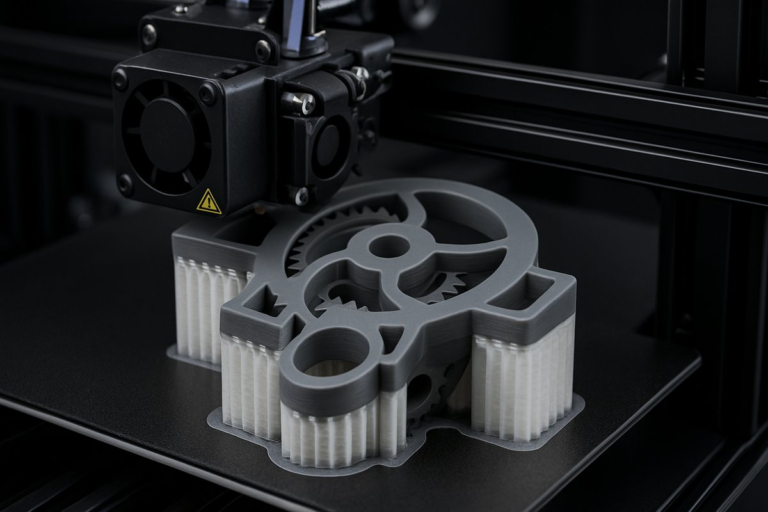
Layer-by-layer, SLS fuses powdered polymer with a laser beam, sintering each cross section into a solid structure. Because the unsintered particles around your build act as natural supports, you can realize overhangs, intricate lattices, and interlocking assemblies without traditional support removal. Nylon (commonly PA 12) delivers wear resistance, good thermal stability, and chemical resilience. The result: true isotropy in X, Y, and Z directions unlike FDM, where Z-axis strength often lags.
Step 1: Preparing Your 3D Model for SLS
Designing for SLS is not just about pushing complexity-you also need to think about part density, wall thickness, and gas escape paths. Aim for 1.5-2.0 mm as a minimum uniform wall thickness for most nylon parts. Thicker walls can trap heat; thinner walls risk incomplete sintering. If your part encloses voids, add vents or perforations to allow trapped gas and unsintered powder to evacuate cleanly during cooling. Use a slight draft angle (1°-2°) on vertical walls to facilitate powder removal, and consider lattice or honeycomb infill features if you need to reduce weight without sacrificing rigidity.
Step 2: Powder Handling and Safety Protocols
Working with fine polymer powders demands care. Always handle nylon powder in a well-ventilated area or under a fume hood. Wear a P3-rated respirator mask, nitrile or neoprene gloves, and static-dissipative clothing. Transfer powder in closed containers to minimize airborne particles. Before loading your build chamber, sift the powder through a 100-micron mesh sieve to break up agglomerates and ensure consistent layering. Weigh fresh and recycled powder to maintain blend tolerance-most manufacturers recommend up to 30% recycled powder mixed with virgin material to preserve mechanical properties.
Step 3: Machine Setup and Parameter Tuning
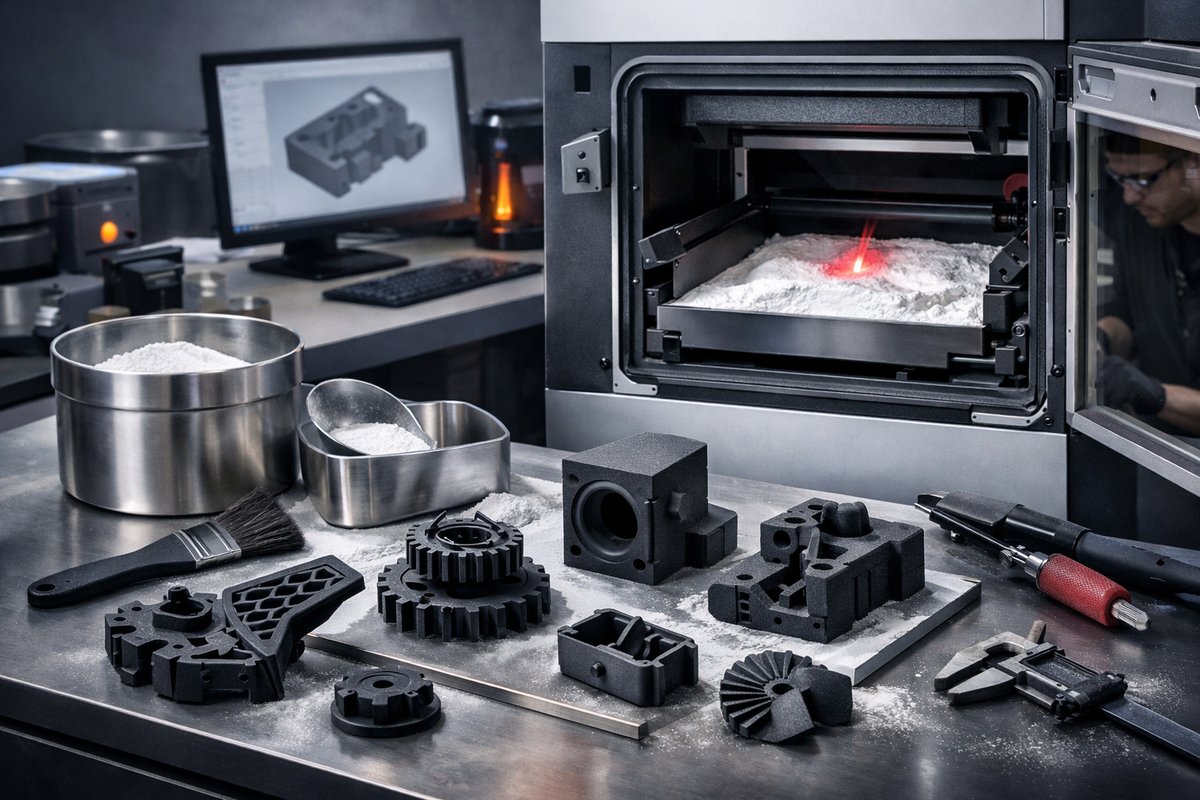
Every SLS system varies, but key parameters include bed temperature, laser power, scan speed, and layer thickness. Preheat the build chamber to just below the sintering temperature of nylon-typically around 170°C-and maintain it within ±1°C during printing. Set a layer thickness of 100 µm for standard resolution; drop to 60 µm if you need finer detail at the expense of longer run times. Adjust laser power and scan speed in tandem: higher power or slower speed yields denser consolidation but can introduce thermal stresses. Consult your machine’s material data sheet and run small test cubes to dial in optimal settings.
Step 4: Running Your First Print
Once your model is nested on the virtual build plate, verify part spacing-leave at least 3-5 mm between each object and 2 mm from the chamber walls. Initiate the build and monitor the first few layers through the system’s camera or viewing port. If you observe curling or incomplete sintering, pause the job, adjust preheat temperature, or tweak laser power. Avoid frequent door openings during the run; consistent chamber temperature is critical for even layer fusion. Depending on build volume and layer thickness, prints can take anywhere from 6 to 20 hours.
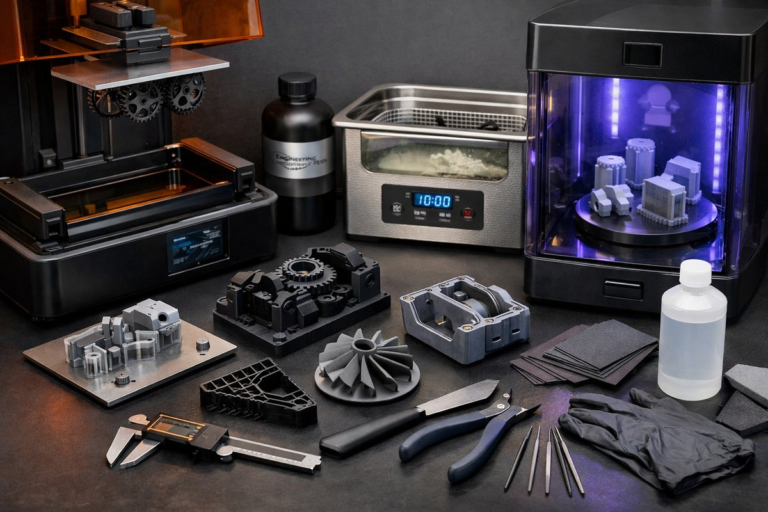
Step 5: Powder Recovery and Part Extraction
After the build completes and the chamber cools to around 60°C, unlock the build piston and slowly raise it to expose the unsintered powder bed. Remove the excess powder using a soft-bristled brush and a low-pressure vacuum system equipped with a HEPA filter. Collect the swept powder, pass it back through your sieve, and record the weight of powder reclaimed. Blend recycled and fresh powder according to your manufacturer’s guidelines before your next run.
Step 6: Post-Processing with Bead Blasting
Unbound powder clinging to intricate features can obscure detail and lead to inconsistencies. Use a bead blasting cabinet with glass beads or fine aluminum oxide media at low pressure (30-40 psi) for a uniform matte finish. Work in short bursts to avoid over-abrading sharp corners or thinning thin walls. After blasting, rinse parts in warm water or use an ultrasonic cleaner to clear residual media from deep channels.
Step 7: Secondary Treatments for Enhanced Performance
Depending on your application, additional finishing steps can elevate aesthetics and functionality. For smoother surfaces, consider vapor smoothing with an appropriate solvent in a closed chamber-exercise caution and follow all safety protocols. To improve dimensional stability, oven‐post‐cure parts at 60°C for 2 hours to relieve internal stresses. You can also dye nylon parts in specialized polymer dyes to achieve uniform coloring; immerse parts in hot dye bath and agitate gently until desired shade is reached.
Applications and Design Inspiration
Desktop SLS stands out for functional prototypes, custom fixtures, and end-use tooling. Engineers use it to create jigs with complex cavities for electronics assembly. Designers craft ergonomic handles with internal lattices that balance strength and weight. Medical innovators prototype patient-specific orthotic braces, leveraging nylon’s biocompatible clears. Hobbyists fabricate interlocking miniature terrains or fully articulated action figures with hinge joints built right into the print. Let your curiosity roam and refine your workflow with small test prints before scaling up.
Troubleshooting Common Challenges
• Warping or curling: check chamber temperature stability and verify your part spacing from walls. • Powder caking: ensure your powder is properly dried and sifted before each build. • Surface imperfections: dial back blasting pressure or experiment with different bead media sizes. • Inconsistent fusion: run a laser calibration routine and warm up the machine for at least 30 minutes before printing.
Why SLS Might Be Your Next Additive Technology
While FDM and resin-based workflows excel at rapid prototyping and fine detail, SLS delivers parts with unmatched mechanical isotropy and geometric freedom. You skip support removal labor, access durable nylon material properties, and can create assemblies in one build. With more user-friendly desktop SLS printers arriving on the market, the barrier to entry is lower than ever-opening doors for startups, makerspaces, and research labs.
Embarking on your SLS journey may feel intensive at first, but mastering the interplay of powder, laser, and process parameters can unlock a new tier of performance for your parts. Gather your powder, calibrate your machine, and get ready to sinter nylon into functional masterpieces-layer by meticulous layer.