Location
Mount Vernon, WA 98274
Location
Mount Vernon, WA 98274
Discover how to combine Fused Filament Fabrication with a desktop CNC router for a one-machine hybrid workflow. This guide dives deep into setting up an extruder on a CNC platform, calibrating axes and extrusion, slicing both additive and subtractive paths, and finishing parts with precision end mills.
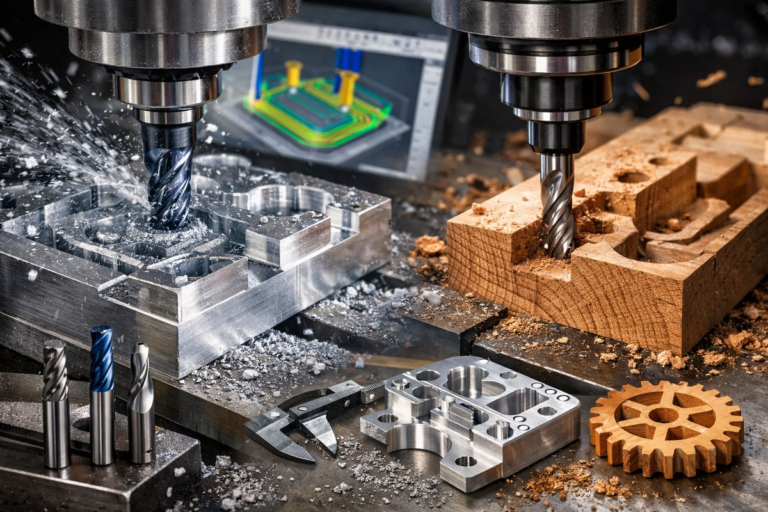
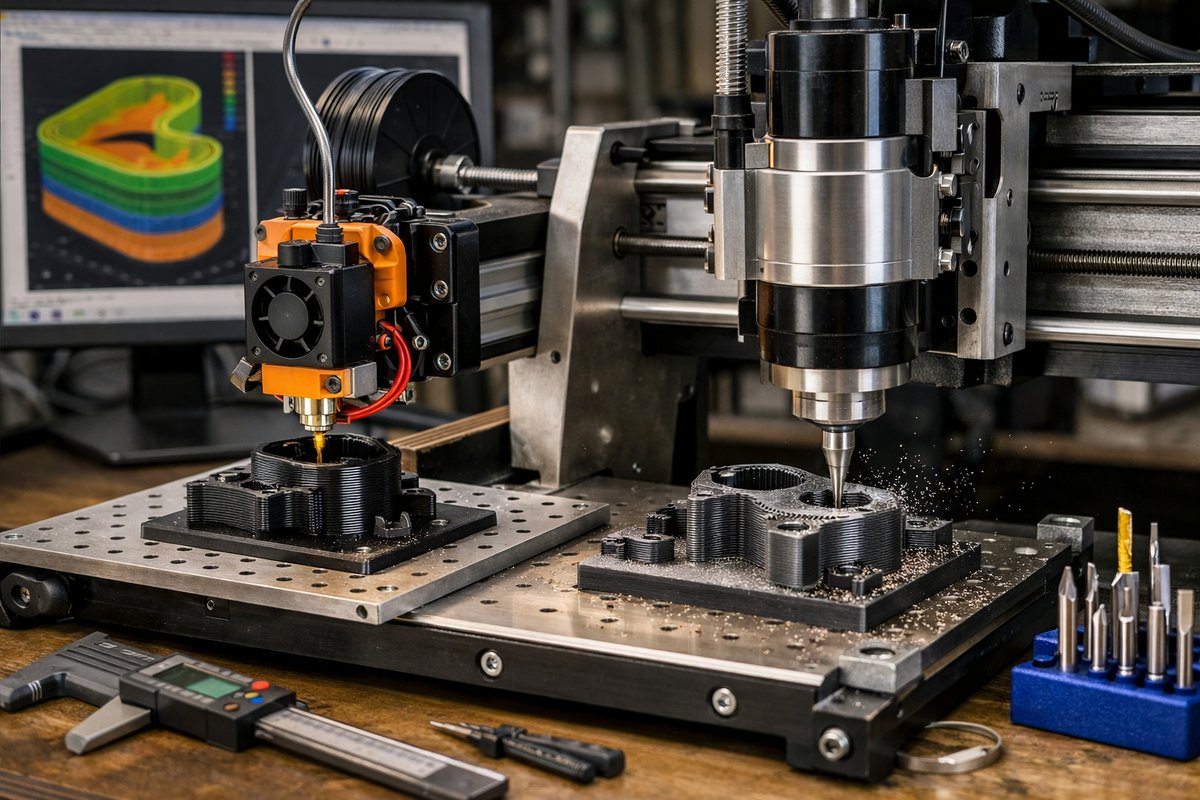
In the evolving landscape of digital fabrication, makers and small-scale shops are finding new ways to blend material-adding techniques with classic subtractive operations. By mounting an all-metal hotend extruder onto a desktop CNC router, you transform a conventional milling platform into a hybrid tool capable of printing thermoplastics and then carving or smoothing layer lines with end mills. This versatile approach helps reduce part count, speed up design iterations, and elevate surface quality without jumping between machines.
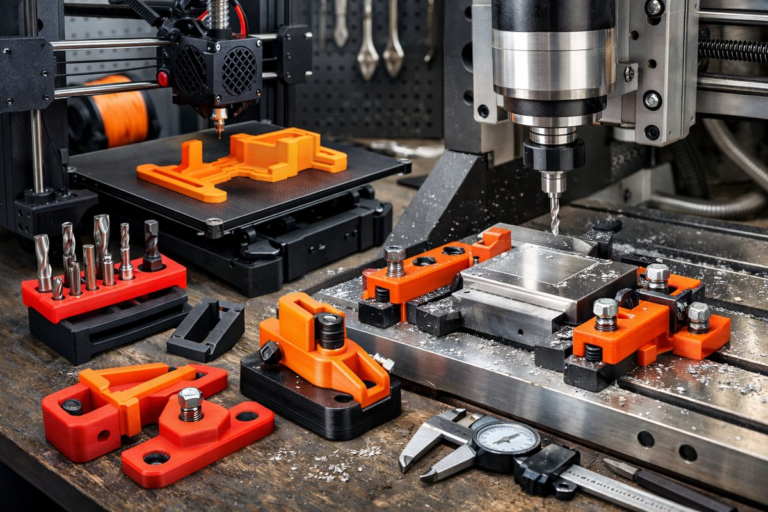
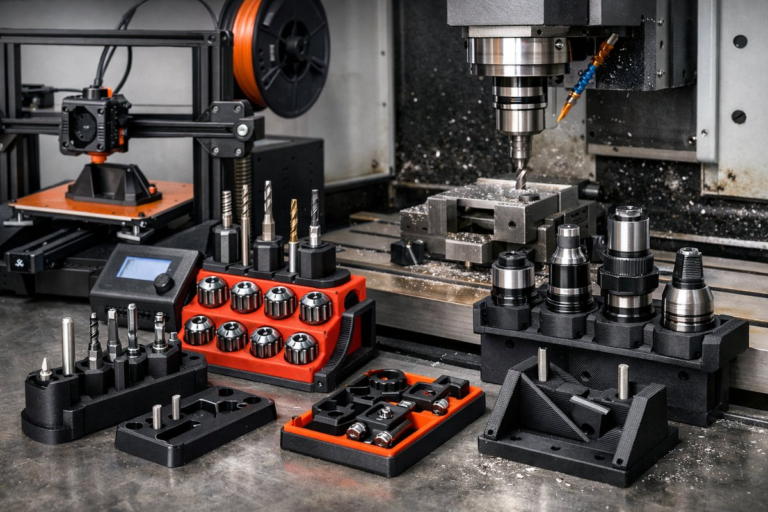
The first step is selecting a CNC router that offers a rigid gantry and ample Z-axis travel. A machine with linear guide rails and stepper motors rated for consistent holding torque ensures that both extrusion and milling motions stay accurate. Once the router’s mechanical base is in hand, attach an extruder carriage that aligns with the existing spindle mount. Make sure there’s clearance for the filament feed tube, and secure the hotend so it stays square, avoiding any twisting that could offset your printed layers.
Calibrating the extrusion system on a moving gantry presents unique challenges. Begin by loading filament-ideally a PLA or PETG blend for its dimensional stability-and heating the nozzle to its recommended setpoint. Use a precision digital caliper to measure a 100 mm extrusion test: mark the filament at the entry point, command a 100 mm feed, then measure any over- or under-extrusion. Adjust your steps/mm for the extruder motor until the measured output matches the target. Repeat this at two or three flow rates to confirm linear behavior.
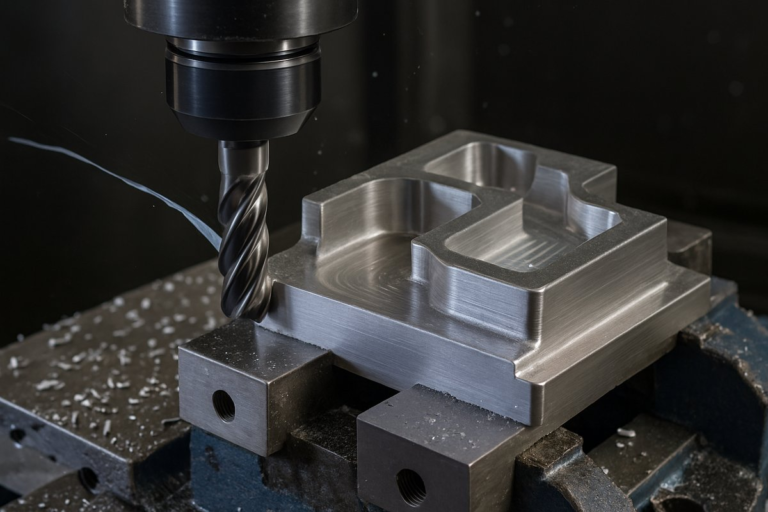
With calibration complete, switch to your favorite slicing software and define two toolpaths: one for depositing plastic, another for milling. Set the extrusion path with a layer height that balances detail and speed-0.2 mm often hits the sweet spot for desktop hybrid setups. Use a nozzle diameter between 0.4 mm and 0.6 mm depending on how fine you want the filament beads. After layer-by-layer extrusion, import the printed model again, assign a micro end mill-0.8 mm or smaller-for a finishing pass over horizontal surfaces and contours. This clears whiskers, evens out layer lines, and offers a near-polymer-injection look.
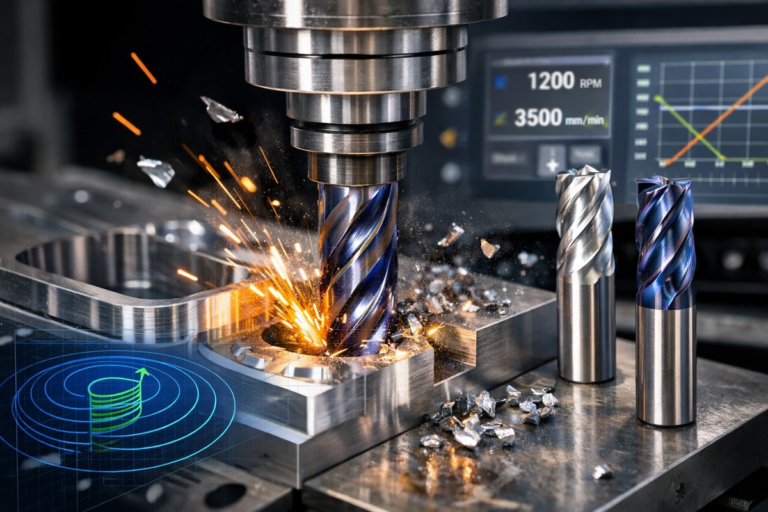
When you start the run, monitor the first few layers closely. Hybrid setups can introduce extra vibration if the router’s belt tension or thrust bearings aren’t optimized. Tuning the feed rate during extrusion and the spindle speed during milling prevents chatter and under-extrusion. If you see arc-like blobs or ridges, pause and adjust your retraction settings-eliminating oozing is crucial before any subtractive cleanup.
Once the print is finished, switch to the milling tool. Clamps or double-stick tape can secure the model if your CNC router’s vacuum hold isn’t sufficient for plastic. Engage the end mill at conservative depths-0.5 mm per pass is a safe starting point-and let the machine gently skim across layers at moderate spindle speeds. Watching the first finish pass helps you dial in surface finish: increase spindle RPM to reduce chipping, or slow down feed rate to smooth out tiny oscillations.
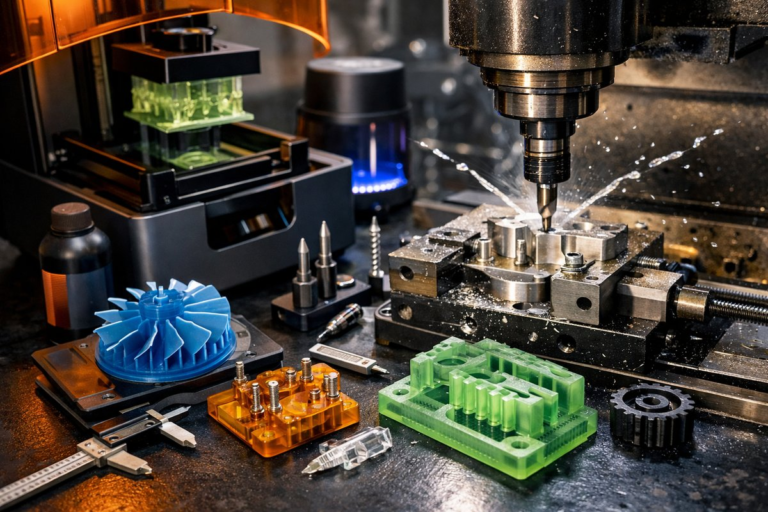
This hybrid cycle excels with functional prototypes, intricate reliefs, or one-off enclosures that benefit from shell printing and then precise lettering or sealing surfaces. By fusing additive freedom with subtractive control, you minimize support structures and post-processing time. You’ll avoid hours spent sanding layer lines by hand, reclaiming that energy for design exploration and material experimentation.
Sustainability also shines through this method. Instead of scrapping failed prints or milling away entire blocks of plastic, you repurpose filament scraps for infill patterns. You can print hollow geometries and reinforce them with CNC-milled cavities for brass inserts or threaded channels. It’s a gentle dance between adding only what’s needed and taking away just enough to reveal crisp details.
Embracing this hybrid craft demands patience and curiosity. Expect some trial runs as you find the right balance of extrusion temperature, print speed, spindle RPM, and end-mill geometry. Keep a log of each adjustment and the resulting surface quality. Over time, your machine will practically whisper optimal settings, and you’ll take quiet pride in parts that transition seamlessly from CAD file to polished prototype.
Whether you’re a hobbyist looking to raise the bar or a small-batch shop seeking rapid turnarounds, the hybrid CNC router approach offers a bridge between two worlds. By treating the router as both mill and printer, you consolidate your workspace and embody the spirit of continual refinement. The silent, steady pass of an end mill can become as thrilling as the rhythmic extrusion of filament, each complementing the other in a shared pursuit of precision.
If you’ve ever marveled at injection-mold quality on the one hand and the playful layering of filament on the other, this guide gives you the roadmap to bring them together. Gather your router, extruder, end mills, and calibration tools, and embark on a workflow that honors both addition and subtraction. Your next prototype might just emerge as a testament to that quiet balance.