Location
Mount Vernon, WA 98274
Location
Mount Vernon, WA 98274
Discover how stereolithography (SLA) 3D printing can revolutionize your machining workflow by producing high-resolution patterns and jigs. This detailed guide reviews key resin printing techniques, design tweaks, and essential tooling to help you bridge the gap between additive freedom and subtractive accuracy.
Diving into Resin Printing
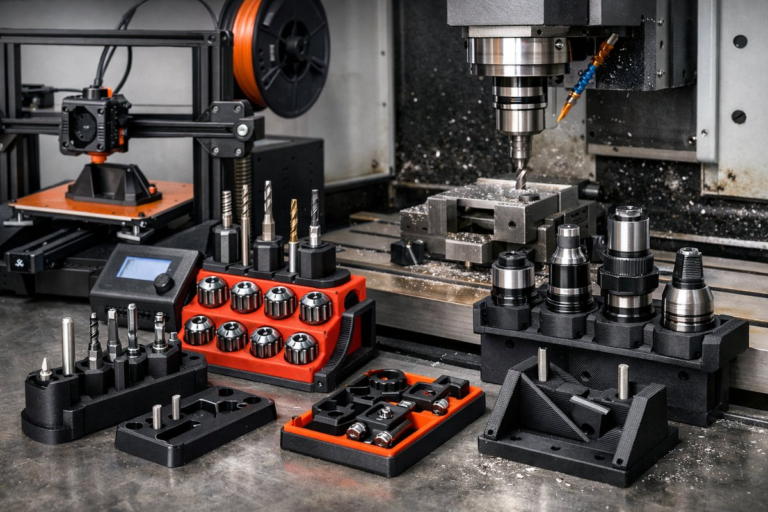
The world of machining often feels defined by what you remove from a blank, but there’s a secret pathway that draws on the strengths of both additive and subtractive technologies. Stereolithography (SLA) puts razor-sharp detail within reach of any workshop, creating patterns, jigs, and molds that slot perfectly into a CNC mill or router. This guide takes you through each stage of the SLA process-from resin selection to design refinement-before showing how SLA outputs can seamlessly integrate with your mill, end mills, and router bits to unlock new levels of efficiency and finish.
Choosing the Right Resin
SLA resins vary widely in viscosity, cured hardness, and thermal properties. For machining fixtures such as drilling guides or soft jigs, a medium-rigidity resin with good dimensional stability is ideal. Look for resins labeled “engineering” or “tough” that claim minimal shrinkage. If you’re creating patterns for investment casting molds, opt for a castable resin formulated to burn out cleanly. Always check the manufacturer’s tech sheet for exposure parameters and post-cure temperatures.
Printer Setup and Calibration
Accurate SLA results start with a level build platform and a clean resin tank. Before every run, loosen the platform knobs, lower the build plate into the resin to float freely, then tighten evenly using a star pattern. Inspect the resin tank for cured debris and replace the FEP film if you notice clouding or scratches. Calibrate layer thickness to 50 microns or finer for the sharpest edges around holes and slotted features. Running a small test print with a calibration coupon helps validate z-axis consistency.
Design Tips for Machining Fixtures
Unlike FDM prints, SLA can hold thin walls and small radii, but you still need to account for post-processing and resin behavior. Add chamfers instead of sharp internal corners to ease stress concentration. Where you intend to drill or tap holes later on a mill, design a 0.2 mm oversize to compensate for any post-cure shrinkage. For jigs that clamp to round stock, include light relief pockets under the clamping surfaces so your vise jaws can apply pressure without rotating the printed part.
Post-Processing Best Practices
After printing, let parts drip excess resin for a minute before dunking in isopropyl alcohol baths. Begin with a 90 percent bath for bulk rinse, follow with an 80 percent bath for fine cleaning, then air-dry completely. Post-cure under a UV lamp or in a curing chamber according to resin guidelines-often around 405 nm for 10 minutes per side. Do not skip light sanding on critical contact surfaces to remove tiny surface peaks and ensure intimate contact when the part meets the CNC bed or clamped jaws.
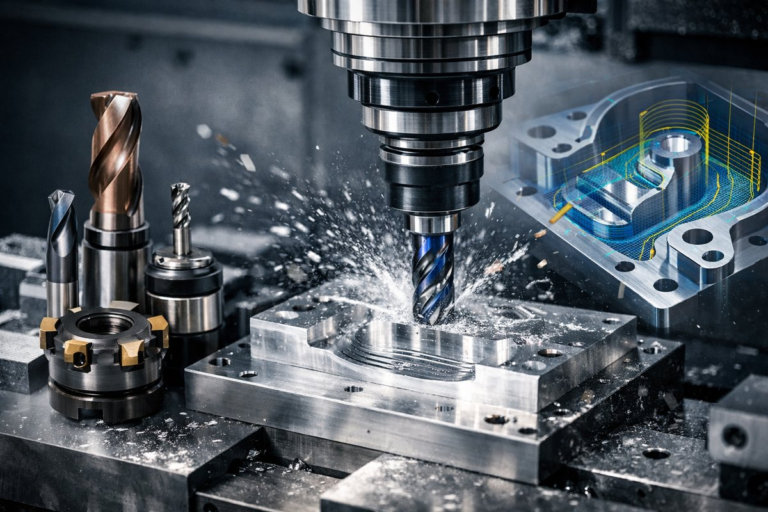
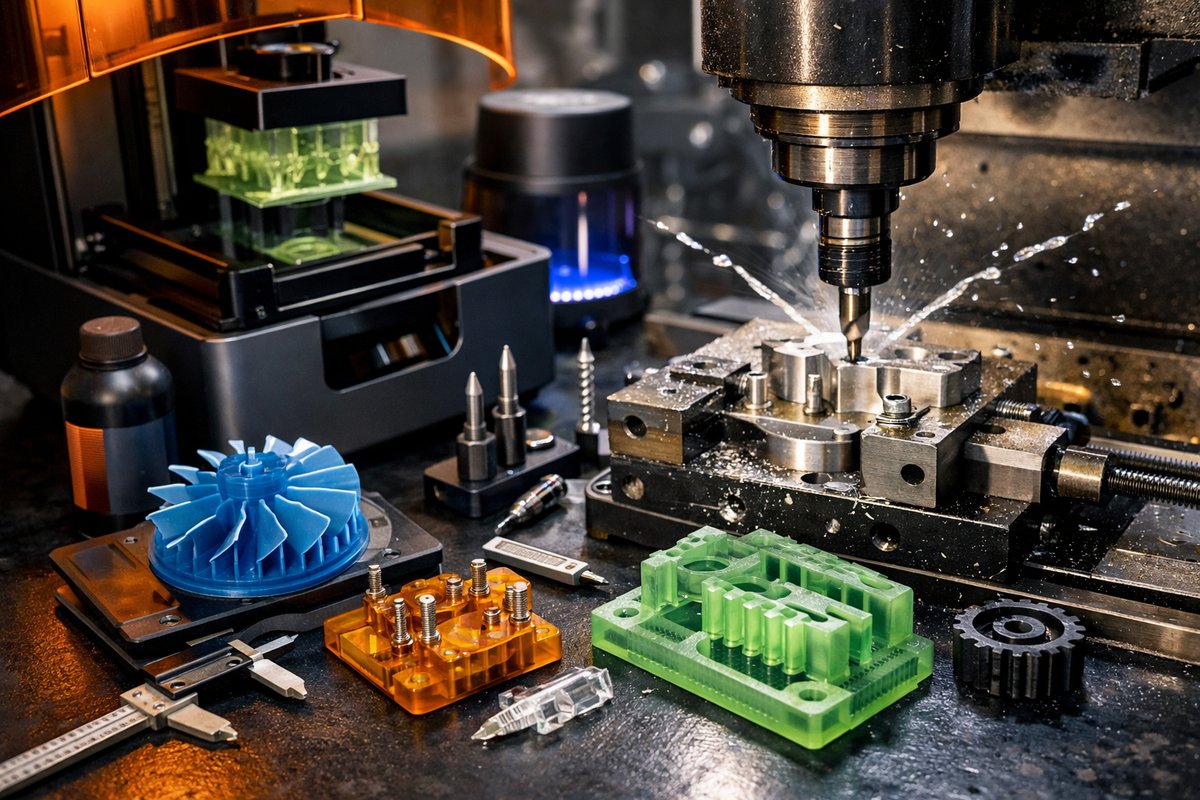
Integrating SLA Outputs with CNC Milling
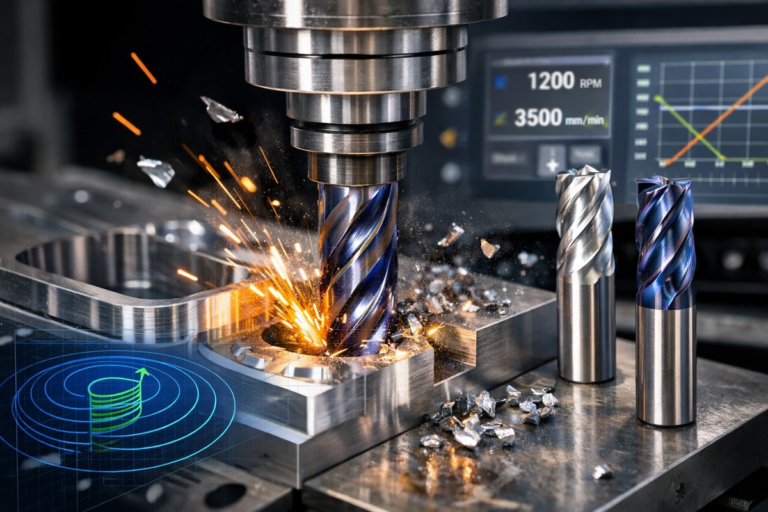
Once cured, your printed fixture or pattern can act as a sacrificial mold, a soft jaw, or a direct pattern for casting. To secure it in a CNC vise, rough up the contact faces with a few strokes of 220-grit sandpaper so it won’t slip under torque. When you run a drilling or pocketing toolpath, choose a high-speed steel end mill with two flutes and a 30-degree helix. That geometry shears cleanly through resin without chipping. Start with a conservative feed of 800 mm/min and a spindle speed of 12,000 rpm. If you notice chattering, reduce depth of cut or increase spindle speed by 1,000 rpm increments.
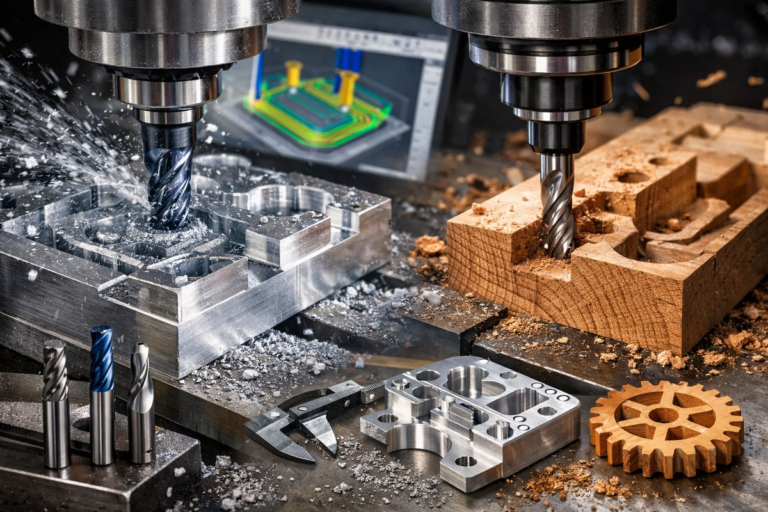
Routing Jigs on a CNC Router
For wood or foam substrates, SLA-printed templates can guide a CNC router bit to carve repeatable contours. Mount the template to the spoilboard using double-sided tape or low-profile clamps. Select a compression router bit to minimize tear-out along both faces of plywood or laminate. A ¼-inch bit with a 10 degree helix provides a blend of smooth finish and fast chip evacuation. Carve your outline in one pass at 6 mm depth, then use a finishing bit (like a 1/8-inch ball nose) for edge blending.
Testing and Iteration
Nothing replaces a quick trial on scrap material. Clamp your printed pattern in place, run a single contour cut or drill cycle, then inspect the fit of the mating part or guide hole. If a hole feels tight, bump it out by 0.1 mm in the design file and print again. If the part shows stress cracks at thin sections, increase wall thickness by 0.2 mm. Each tweak gets you closer to a ready-to-use fixture that brings down setup times and elevates accuracy.
Beyond Fixtures: Casting and Molding
For those ready to explore investment casting, SLA patterns open up a whole new manufacturing realm. Print your pattern hollow if it has internal cavities-this helps resin escape during burnout. Attach thin gating sprues around the part’s base so molten ceramic slurry can flow uniformly. Post-cure for longer to ensure no uncured resin remains inside. When invested in plaster, the pattern will vaporize cleanly, leaving a flawless cavity for molten bronze or aluminum.
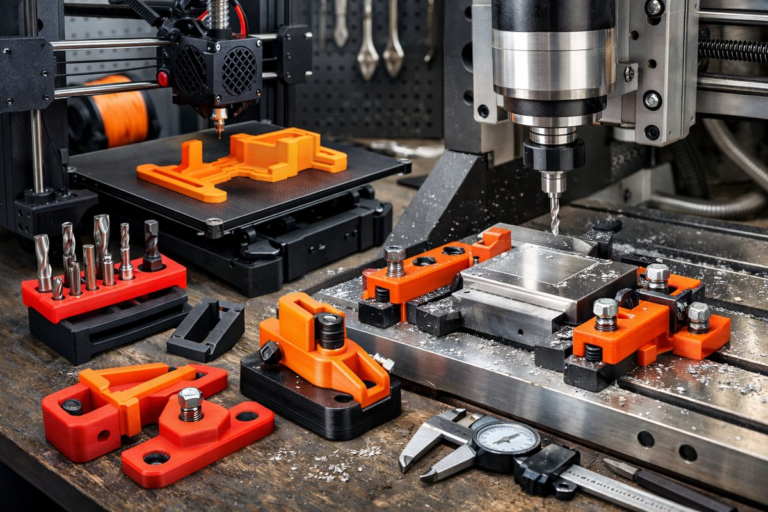
Tools of the Trade
Precision in both additive and subtractive steps demands reliable tooling. A high-resolution SLA printer with a 4K LCD panel yields finer details on thin posts and small holes. Keep extra FEP film liners and resin filters on hand. In the milling stage, invest in a micro-grain carbide end mill set for harder fixture materials, and a selection of router bits-including compression, V-cut, and ball nose-for template routing. Quality collets and soft jaws help maintain concentricity without damaging prints.
Unveiling New Possibilities
Bridging SLA and CNC machining transforms your workshop into a hybrid foundry, capable of short runs, custom fixtures, and intricate castings. By layering additive freedom with subtractive precision, you’ll accelerate prototyping, improve surface finishes, and free up time for creative iteration. As you master resin parameters, print orientation, and end mill strategies, you’ll find a powerful new workflow that honors both the art of additive detail and the discipline of precision subtraction.