Location
Mount Vernon, WA 98274

Location
Mount Vernon, WA 98274
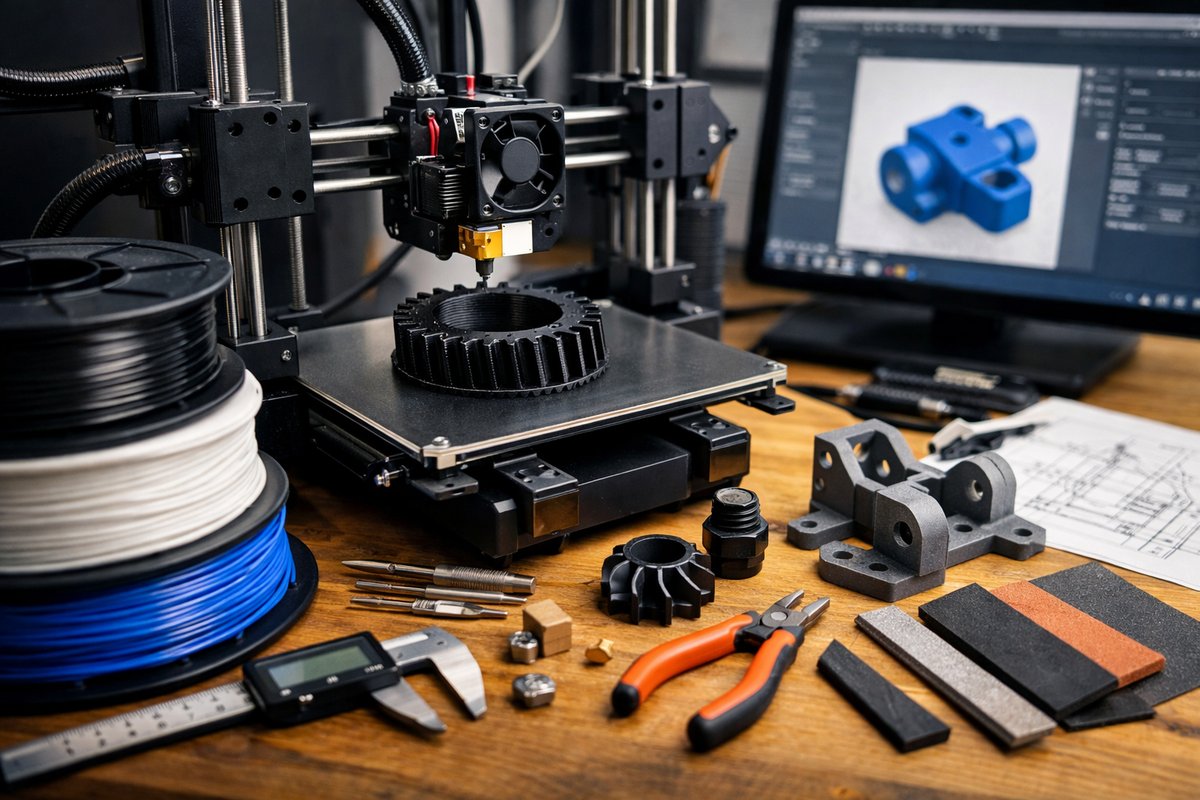
Discover the step-by-step process for creating durable, precise parts with Fused Deposition Modeling (FDM). From selecting the right filament to fine-tuning print settings and post-processing techniques, this guide empowers curious makers and novice admins to transform digital ideas into tangible reality.
Fused Deposition Modeling (FDM) remains one of the most accessible and versatile forms of additive manufacturing. Whether you’re crafting functional prototypes, playful figurines, or precision medical models, the core principle remains the same: a thermoplastic filament melts and deposits layer by layer to build complex shapes. This guide takes you through every essential step-hardware setup, material selection, slicing parameters, print management, and post-processing-so you can confidently pursue your 3D printing projects and minimize trial-and-error.
Every successful FDM print starts long before the first layer extrudes. You’ll need a reliable desktop FDM 3D printer with a stable frame, a smooth-running extruder assembly, a heated build platform, and a compatible spool holder. Choose a model that offers easy-to-access bed leveling and clear firmware menus for temperature control. A sturdy metal frame or well-reinforced acrylic chassis reduces resonance during movement, while a full-enclosed or semi-enclosed design helps maintain consistent ambient temperatures when printing heat-sensitive filaments.
Your material choice will define not only the strength and appearance of the final part but also how you calibrate your machine. PLA filament remains a beginner favorite: it flows at relatively low temperatures, adheres well to build surfaces, and resists warping. For functional prototypes needing a bit more toughness and heat resistance, PETG offers a balanced blend of flexibility and rigidity with minimal shrinkage. ABS demands higher nozzle and bed temperatures but produces parts that can endure automotive-grade durability. If you’re aiming for sustainability, consider recycled or bio-derived filaments made from waste plastics or wood-filled composites. Quality matters: select spools with tight diameter tolerances (±0.02 mm) to prevent clogging and under-extrusion.
Once you’ve loaded your chosen filament, begin by preparing the build platform. Clean it of dust or oil residue using isopropyl alcohol, then affix a build surface sheet or tape to improve adhesion. Leveling the bed is critical: adjust the distance between nozzle and platform at multiple points until a thin sheet of paper can slide under the nozzle with slight friction. Proper first-layer height ensures uniform contact and prevents warping or detachment during long prints. Next, preheat the nozzle and heated bed to the recommended temperatures for your filament type-typically 200 °C for PLA nozzle and 60 °C for the bed.
With your hardware primed, turn to the slicing software. This digital workflow transforms your 3D model into machine-readable G-code. Start by importing your STL or OBJ file, then choose layer height, infill density, wall thickness, print speed, and support structures. A 0.2 mm layer height yields a good balance of detail and print time, while 20 percent infill offers structural integrity for most non-load-bearing parts. Adjust wall lines to at least two or three perimeters for solidity. Enabling retraction settings-retraction distance around 5 mm and retraction speed near 45 mm/s-minimizes stringing between separate sections of your model. Always preview the sliced layers in the software’s layer-by-layer view to catch potential overhang issues or thin walls that need reinforcement.
Hitting “Print” initiates the transformative moment when layers accumulate into form. Watch the first few layers carefully: ensure the filament extrusion matches the line width on the build plate, and adjust live flow rate or Z-offset if the filament either squishes too much or fails to adhere. During long prints, occasional monitoring can catch unexpected filament tangles, temperature dips, or power fluctuations. If you’re running an extended overnight job, consider adding a simple webcam or time-lapse setup for remote observation-this fosters peace of mind without invading privacy.
After the print finishes, allow the platform to cool before gently removing your piece. Sudden flexing of a hot bed can warp or crack delicate geometry. Use an edge of a scraper or peel the build surface sheet to release the part cleanly. If your print used support structures, carefully trim them away with flush cutters or a craft knife, taking care not to gouge the part’s surface. For visible layer lines or rough edges, sanding with fine-grit paper or a micro-abrasive pad creates a smoother finish. On more advanced prints, a gentle chemical smoothing bath-such as vapor polishing for ABS-can give surfaces a glossy appearance.
To refine accuracy and surface quality further, run calibration tests. Print temperature towers that adjust nozzle temperature in fixed increments to determine the optimal flow for your filament. Retraction test models help you zero in on the right settings to reduce stringing and oozing. Dimensional calibration cubes reveal how closely your printer reproduces specified measurements; adjust E-steps or extend pause-and-flow parameters to improve dimensional fidelity. These experiments not only elevate print quality but also foster a curious, data-driven mindset that welcomes iteration.
Maintaining peak performance means tackling common wear-and-tear. Over time, nozzles can accumulate burnt filament residue, leading to inconsistent extrusion. A straightforward nozzle cleaning kit-featuring micro-picks and brass brushes-enables regular upkeep without disassembling the hot end. Filaments exposed to moisture often suffer from bubbling or hydrolysis; storing spools in airtight containers with desiccant packs prevents dampness. For precision parts, a filament dryer keeps your material at recommended humidity levels before printing. Replacing build surface sheets periodically ensures reliable first-layer adhesion and reduces print failures.
Beyond technical proficiency, additive manufacturing thrives on creative confidence and collaboration. Embrace failures as learning opportunities: a warped corner prompts better bed adhesion techniques, while a clogged nozzle signals the need for gentler extrusion settings. Join forums and makerspaces to share profiles, trade slicer presets, and gain insights from seasoned practitioners. By prioritizing privacy-sharing G-code snippets rather than entire design files-you respect intellectual property while fostering community support.
The real thrill emerges when you hold a completed print in your hand. That slim phone stand you modeled in CAD, tailored precisely to your device’s dimensions. A medical-grade anatomical replica that aids in patient education and surgical planning. An architectural scale model displaying intricate truss patterns once deemed impossible through subtractive methods. FDM transforms abstract ideas into tangible forms, layer by layer, empowering you to test form, function, and aesthetics rapidly.
As you venture deeper into 3D printing, consider expanding to multi-material prints, dual-extrusion techniques, or hybrid processes combining machining and additive steps. Investigate eco-friendly filament blends made from recycled coffee grounds or algae-based polymers. Contribute your refinement data back to open-source firmware projects to help others improve machine reliability and energy efficiency. By coupling technical know-how with sustainability and emotional intelligence, you not only elevate your own practice but also advance the broader additive manufacturing community.
This hands-on journey through FDM additive manufacturing reveals that success lies at the intersection of solid hardware, high-quality materials, meticulous slicing, thoughtful maintenance, and creative experimentation. With every iteration, your prints will grow more precise, more functional, and more inspiring. Dive in, embrace the layers, and transform your next design from pixel-perfect render to a 3D-printed reality.












