Location
Mount Vernon, WA 98274

Location
Mount Vernon, WA 98274
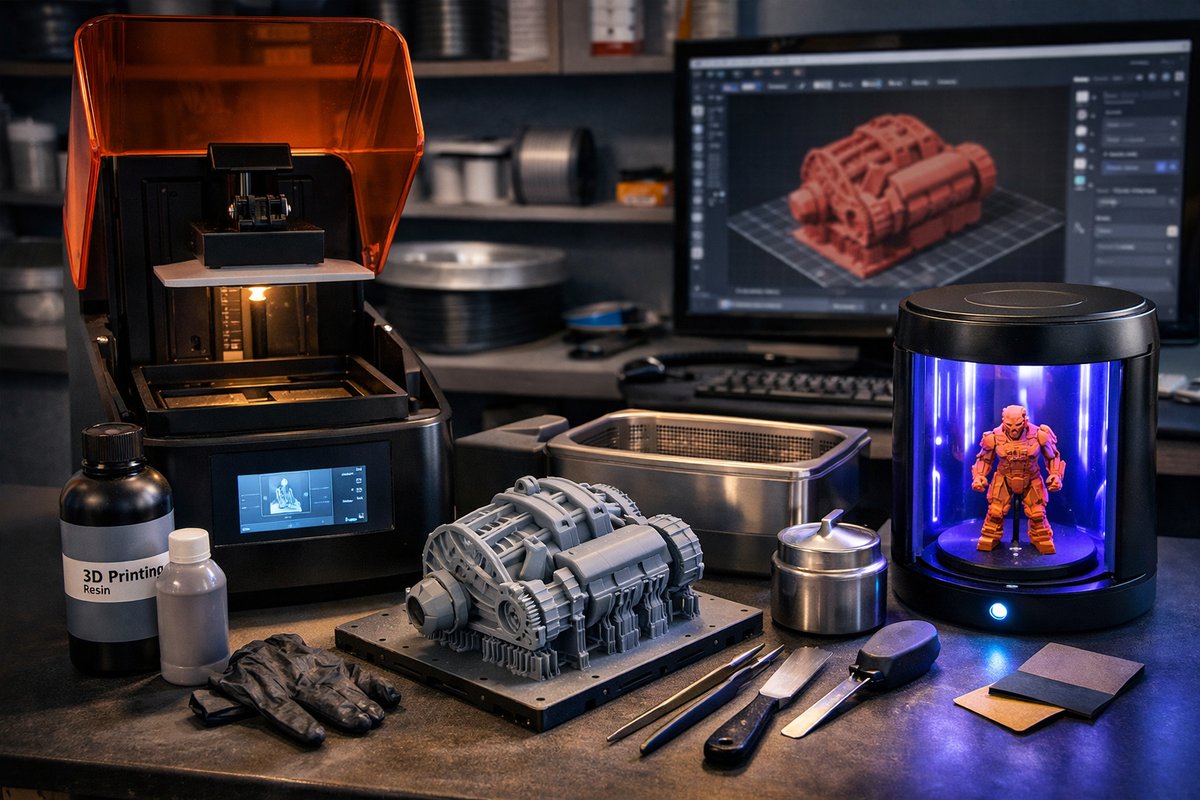
Discover how desktop DLP (Digital Light Processing) 3D printing transforms digital designs into high-resolution prototypes with speed and detail. This step-by-step guide covers the essentials-from choosing the right printer and resin to post-processing and troubleshooting-to help you dive into precision additive manufacturing with confidence.
Additive manufacturing has grown beyond hobbyist filament extrusion into a realm of photochemical precision. Desktop DLP 3D printing stands at the intersection of clarity and speed, using a UV projector to cure entire layers of photosensitive resin in seconds. Whether you’re designing microfluidic channels, detailed miniatures, or functional jigs, mastering DLP opens a new tier of resolution that traditional FDM can’t match.
Understanding DLP fundamentals is the first step. Instead of tracing each layer with a laser or depositing melted plastic, a DLP printer projects an image slice onto a liquid resin surface. Each pixel on the projector corresponds to a tiny square on the build plate, locking geometry in place layer by layer. Because the entire layer cures at once, print times shrink dramatically compared to SLA and SLS. Pixel size determines XY resolution, while precise Z-stage control governs layer height. This combination yields razor-sharp edges, smooth surfaces, and fine internal features-ideal for jewelry molds, dental models, and detailed architectural samples.
Selecting your desktop DLP printer involves balancing build volume, projector specs, and resin compatibility. Look for a projector with at least 50 microns per pixel resolution; higher pixel densities translate directly into crisper details. Many entry-level units feature a 1080p or 2K UV LED projector; stepping up to 4K brings even finer accuracy. Consider the maximum build volume-smaller vats cost less and cure faster, but larger platforms offer flexibility for multi-part assemblies. Open-source firmware and community support can simplify upgrades and custom profiles. Check that the printer’s resin vat and build plate are easily removable for cleaning and leveling, and that spare parts are readily available.
Essential components extend beyond the printer itself. High-quality photopolymer resin tailored for DLP ensures consistent viscosity, rapid curing, and strong mechanical properties. Standard grey resin often provides a good balance between detail and durability, while specialty resins deliver flexibility, biocompatibility, or heat resistance. A durable resin vat with a silicone or FEP film bottom guarantees even layer separation. The build platform should be machined flat, with a replaceable surface film or textured sheet for optimal adhesion. A small digital scale helps you measure resin additives and mix pigments, while a set of resin mixing cups and stirring tools keeps batches homogeneous.
Safety and workspace preparation cannot be overlooked. Photosensitive resins can irritate skin and eyes, and chemical odors may accumulate in enclosed areas. Always wear disposable nitrile gloves and chemical-resistant goggles when handling uncured resin. A respirator mask rated for organic vapors protects against fumes during pouring and cleaning. Work in a well-ventilated space or use a fume extractor near the printer. Cover your workbench with absorbent paper towels or silicone mats to catch drips, and keep isopropyl alcohol and lint-free wipes on hand for immediate spill cleanup. Label resin containers clearly and store them in a cool, dark area to slow degradation.
The typical DLP workflow starts in the design or slicing software. Export your 3D model in a compatible file format, then import it into the slicer. Orient parts to minimize unsupported overhangs and reduce the need for extensive scaffolding. Supports should anchor to broad areas of the model, distributing stress and preventing breakage during layer separation. Choose a layer height between 25 and 100 microns-thinner layers yield finer vertical resolution at the cost of longer print times. Slice the model, generate preview images, and transfer the print file via USB or Wi-Fi to your printer.
Once the file is loaded, level the build plate according to the manufacturer’s procedure. Ensure the resin vat is clean and the FEP film is free of scratches. Pour resin into the vat until it just covers the film bottom. Start the print and monitor the first few layers to confirm proper adhesion. Most DLP printers offer a preview of time per layer, so you can estimate total print duration. The machine will project each slice sequentially, allowing fresh resin to flow under the part as the Z-stage raises and lowers.
After printing, carefully remove the build plate and detach parts using a plastic scraper. Transfer the uncured pieces into an isopropyl alcohol bath-either a simple container or a closed cleaning station-to dissolve tacky residue. Agitate gently for one to three minutes, then transfer parts to a second rinse if necessary. Allow pieces to air dry on a lint-free surface before moving to post-curing.
Post-processing brings out the full mechanical strength and optical properties of the resin. A UV curing station ensures uniform exposure on all faces; rotate parts or use a turntable feature if available. Typical curing cycles range from five to twenty minutes, depending on resin chemistry and lamp intensity. After curing, remove any remaining support marks with fine-grit sandpaper or micro-files. For a glossy finish, wet-sand with progressively finer paper and finish with a polishing compound. If you plan to paint or coat the part, lightly scuff the surface and apply a primer formulated for plastics.
Even with careful settings, common issues can arise. Layer separation or delamination often points to improper resin temperature or exposure time-try increasing layer curing by two to five seconds or warm your resin to room temperature (20-25 °C). Prints with missing sections may require better vat leveling or a deeper resin fill. Opaque or cloudy surfaces suggest inadequate rinsing; extend the alcohol bath or use a soft-bristle brush for stubborn areas. If parts adhere too strongly to the film, inspect the FEP layer for damage and replace it if scratched or warped.
To keep your DLP printer running smoothly, adopt sustainable maintenance habits. Strain and filter resin before pouring it back into the bottle to remove cured flakes. Inspect and replace the FEP film at the first sign of clouding or ink buildup. Clean the build plate after each job, wiping away cured droplets with alcohol and a plastic scraper. Store unused resin in sealed, light-blocking bottles to extend shelf life. Schedule routine firmware updates to benefit from performance improvements and community-developed profiles.
By understanding the nuances of desktop DLP 3D printing-projector resolution, resin chemistry, and post-processing techniques-you’ll unlock levels of detail that elevate prototypes from functional to astonishing. The combination of speed, accuracy, and material versatility offers a playground for designers, engineers, and educators alike. Dive in, experiment with different resins, tweak exposure settings, and refine your workflow. In no time, you’ll be creating parts once thought impossible, layering light into material reality with pinpoint precision.












