Location
Mount Vernon, WA 98274

Location
Mount Vernon, WA 98274
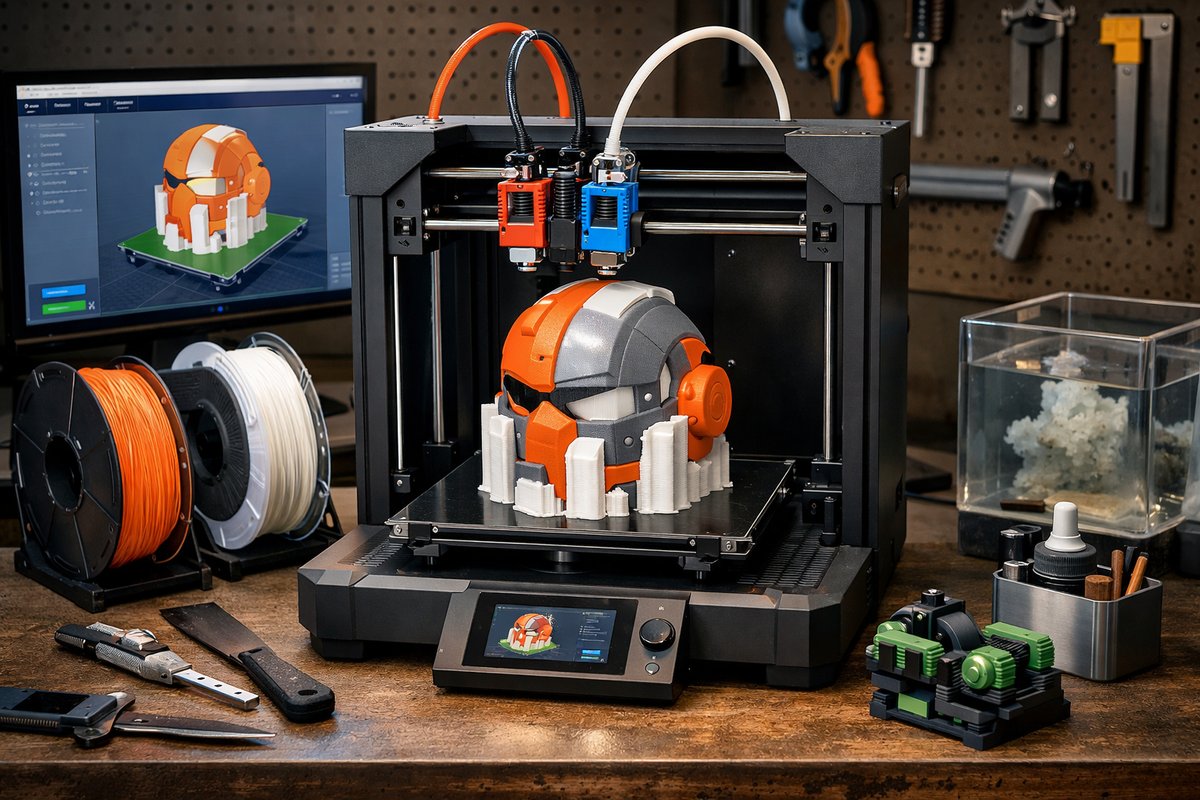
Discover how dual-extrusion fused deposition modeling makes complex, multi-material 3D printing accessible at home or in a small workshop. This step-by-step guide reviews hardware setup, filament choices like PLA and PVA soluble supports, slicer configuration, calibration routines, and post-processing tips to help you unlock new design possibilities.
Taking a single-extrusion 3D printer to a dual-extrusion setup opens the door to colorful prints, complex internal geometries, and effortless removal of support structures. Instead of sanding away brittle rafts and scaffolding, you can print soluble PVA supports alongside your main PLA or PETG model, then simply dissolve them in water. The result? Clean overhangs, delicate lattice details, and multi-colored parts that once looked like prototypes from an advanced machine shop.
Before diving in, consider what you need: a dual-extrusion FDM printer, two reliable filament spools, and software that handles multiple tool heads. If you already own a single-extruder machine, upgrading to a dual hotend or feeding a second extruder via an independent module can be an exciting first project. Confirm the electronics support two nozzles, and look for a heated bed with consistent temperature distribution. A stable frame and low-vibration motion system will minimize issues when one head parks and the other continues a print.
Choosing the right filaments is essential. PLA remains the easiest to print for your main model-its low warping, pleasant color range, and consistent extrusion at 190-220 °C make it ideal for artistic prototypes or functional parts. For supports, water-soluble PVA filament is the industry standard. It fuses well with PLA during printing, bonds just enough to hold overhangs, and then disappears in a warm water bath. Store PVA in a sealed bag with desiccant to prevent moisture pickup, which can lead to bubbling, stringing, and poor layer adhesion. A simple filament dryer or dry box can extend the life of every spool.
Once your hardware and materials are ready, launch your slicer. Popular programs support dual extruders by letting you assign each model component to a specific nozzle. Load your STL of the main object, then import support geometry or configure automatic PVA generation. In slicer settings, set the nozzle temperatures for each filament: typically 200 °C for PLA and 215 °C for PVA. Calibrate retraction parameters independently for each filament to minimize oozing-PVA often needs slightly higher retraction distance but lower speed to avoid grinding. Enable a purge tower or ooze shield so that each head extrudes a small amount off-model during tool changes, preventing blobs on the actual print.
Bed adhesion is another critical factor. Apply a thin coat of adhesive sheet or glue stick to ensure both materials stick evenly. A glass bed with a removable adhesive sheet or PEI spring steel plate provides a reliable surface. Heat the bed to around 60 °C; cooler settings may work for PLA, but PVA prints best with consistent warmth. Clean the surface before each run to remove oils or residue-this simple step can save hours of frustration with lifting corners or warped edges.
Calibration is where precision meets patience. First, level the bed carefully with the correct gap for both nozzles. Use the smaller nozzle tip or feeler gauge for a single-layer test, then print a calibration cube that uses both materials. Measure dimensions with a digital caliper, note any offset between colors, and adjust the XY offsets in your firmware or slicer. Print a small purge block to verify retraction settings and smooth tool transitions. Fine-tune flow rates independently-under-extrusion in PVA often shows as thin strands, while over-extrusion in PLA can smear detailed surfaces.
When the calibration tests look promising, experiment with a complex design featuring overhangs, bridges, and internal cavities. Orient the model so that PVA supports build up beneath cantilevers, windows, and arches. Keep support densities low-20-30% is usually enough for PVA, since it dissolves cleanly-while ensuring structural stability. The slicer will generate a support tree that branches out, holding delicate areas without encasing the model and making removal messy.
After the print completes, let it cool on the bed to prevent sudden contraction that can crack thin features. Gently remove the part using a scraper or fingertips, taking care not to break fragile sections. Submerge it in warm water-around 30-35 °C-in a container deep enough to immerse the entire part. Over 2-8 hours, depending on support volume, the PVA will soften and detach. Agitate the water or use a mild pump to circulate fluid for faster results. Once no visible residue remains, rinse under running water and pat dry with a lint-free cloth.
If you notice fine stringing or pitting on the surface, a quick polishing with fine sandpaper (400-600 grit) can restore smoothness. For a glossy finish, apply a thin coat of clear acrylic spray in a well-ventilated space. Multi-material prints often reveal slight color variation at layer lines; these finish steps can unify the look.
Even with careful setup, dual-extrusion printing brings unique challenges. Filament jams in one head can stall the other, so keep spare PTFE tubing, clean the hotends regularly, and consider installing a filament run-out sensor. If PVA clogs the second nozzle, heat-soak the molten chamber and use a cleaning filament to flush residual particles. Monitor humidity in your workspace-a dehumidifier can be a game-changer when running moisture-sensitive materials.
As you refine your process, dive into more advanced techniques: try nylon in one head and water-soluble support in the other, or experiment with flexible TPU and rigid PLA combinations. Designers have printed living hinges, interlocking gears, and even battery housings-all in a single build. Schools and makerspaces use dual-extrusion printers to teach advanced engineering concepts without outsourcing to a fabrication house.
Dual-extrusion fused deposition modeling brings true additive manufacturing capability to desktop machines. By mastering hardware calibration, choosing complementary filaments, and fine-tuning slicer settings, you can produce prototypes and end-use parts that rival industrial systems. Whether you’re an educator demonstrating structural principles or a hobbyist crafting detailed figurines, soluble supports and multi-color prints unlock a new realm of creativity. Gather your components, run test prints, and soon you’ll be pushing the boundaries of what desktop 3D printing can achieve.












