Location
Mount Vernon, WA 98274

Location
Mount Vernon, WA 98274
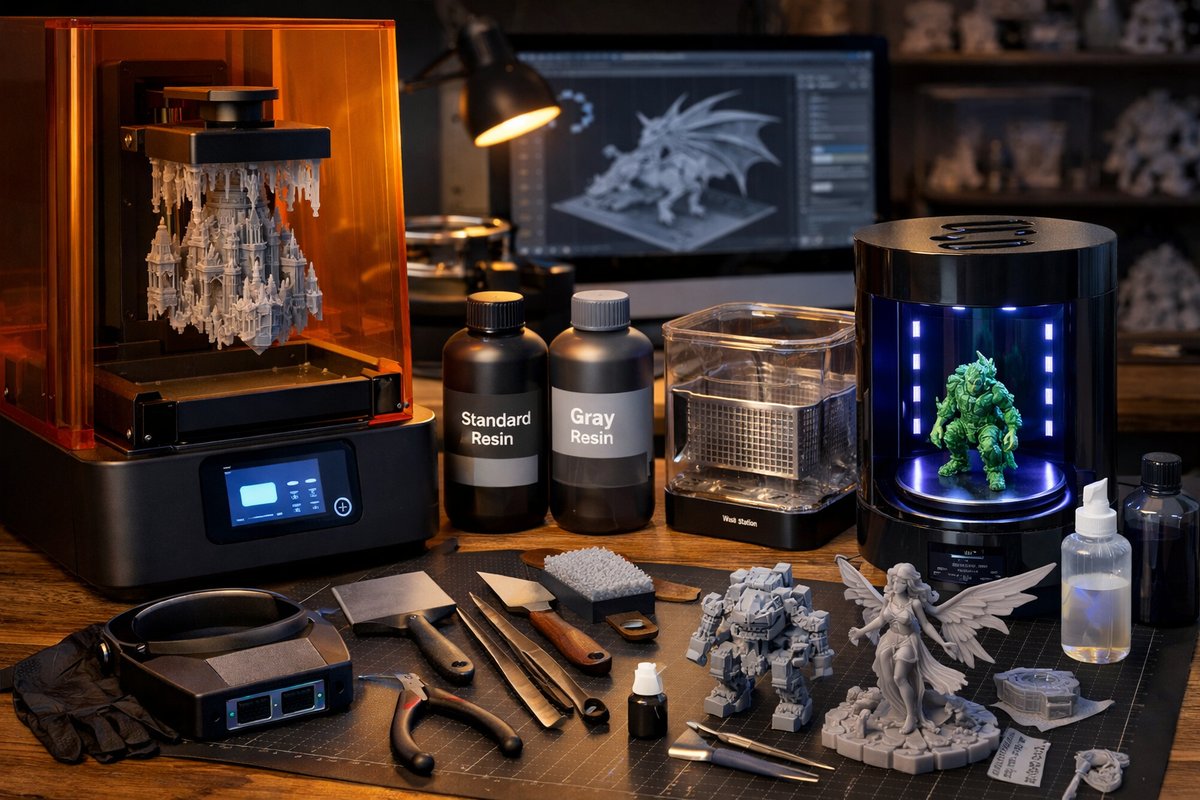
Explore the precision and versatility of stereolithography (SLA) 3D printing in this detailed how-to article. From choosing the right resin to mastering post-processing, you'll discover the essential tools and techniques to bring intricate digital designs to life.
Stereolithography, often abbreviated SLA, invites makers into the world of high-resolution additive manufacturing by curing liquid resin layer by layer with a focused light source. Unlike filament-based processes, SLA delivers razor-sharp detail, smooth surfaces, and delicate features-qualities that make it indispensable for dental models, jewelry prototypes, and intricate mechanical parts. In this guide, we’ll walk you through every stage of SLA printing, review a popular bottom-up SLA technique, and highlight the components you’ll need to fuel your creative journey.
Charting the Course: Why Choose SLA
If you’ve ever marveled at the intricate lattice of a small-scale architectural model or admired the silky-smooth finish on a dental crown replica, you’ve witnessed SLA’s strengths. Key advantages include:
• Exceptional detail and surface quality that cuts finishing time.
• A broad range of resin chemistries-from rigid engineering grades to flexible, rubberlike formulas.
• Reduced material waste: unused resin can be filtered and reused.
However, SLA does demand thoughtful preparation. Pan bottoms, vats, and light paths must remain free of debris, and liquid resin handling requires proper safety gear. But once you’ve mastered the workflow, the payoff is precision prints with layers often under 50 microns thick.
Section 1: Core Components and Setup
Printer Platform and Z-Axis Mechanism
Bottom-up SLA printers project ultraviolet light through a transparent vat floor, curing each successive layer against a build platform that lifts the part upward. This approach minimizes resin usage but places unique demands on the peeling force between cured resin and the vat’s release film. Look for a sturdy linear rail on the Z-axis for smooth, wobble-free lifting.
Resin Vat and Release Film
A replaceable vat lined with a durable release film or FEP sheet ensures each cured layer separates cleanly. Over time, film clarity can degrade, so plan to swap it every few liters of resin. A well-maintained vat promotes reliable adhesion and minimizes print failures caused by stray cured flakes.
UV Light Source and Resolution
DLP or masked LCD screens serve as the “mask” that defines each layer’s geometry. Higher-resolution panels generate finer details but often come at a slightly slower print speed. Balance your need for surface quality against build rate-if you’re prototyping large functional parts, a mid-range resolution may save hours in production time without compromising structural integrity.
Build Platform Surface
A textured build plate or one coated with specialized adhesion tape helps the first layer stick firmly. Once the print completes, a slight wobble-free tap typically releases the part. Some users experiment with replaceable magnetic or spring-loaded plates for even faster removal.
Section 2: Preparing Your Digital File
CAD Modeling and Export
Begin with a watertight 3D model in your preferred design software. Clean up intersecting faces, eliminate stray vertices, and run a mesh repair algorithm before exporting to .STL or .OBJ format. Alternatively, take advantage of open-source slicers that integrate mesh repair tools during the import phase.
Slicing Parameters for SLA
Import your file into a dedicated SLA slicer. Key parameters include layer thickness (ranging from 25-100 microns), exposure time per layer, and bottom-layer overexposure. The bottom layers often require longer exposure to secure a solid foundation. Your slicer preview will show layer-by-layer cross sections-scan these carefully for overhangs or unsupported spans that might need supplementary support structures.
Support Design and Placement
Unlike filament printing, SLA supports are usually thin cone or tree-like structures that connect the part to the build plate. They’re designed to minimize contact points and leave small pockmarks that polish out easily. Place supports on areas with overhangs greater than 45 degrees, then preview their impact on the final surface. Too many supports add cleanup time; too few risk print collapse.
Section 3: Resin Handling and Safety
Selecting the Right Resin
Resin chemistry choices abound: standard photopolymer, engineering-grade tough resins, castable formulas for lost-wax investment, and biocompatible medical grades. For your first prints, a standard water-washable resin offers easier cleanup but may be more brittle. If durability is your goal, tough or high-temperature resins can withstand functional testing.
Storage and Mixing
Resin settles over time; gently swirl the bottle to avoid trapping air bubbles. Avoid vigorous shaking, which can introduce tiny bubbles that translate into surface defects. Store resin in a cool, dark place and label each bottle with opening date-most manufacturers recommend using within six months to preserve photoinitiator potency.
Personal Protective Equipment
Liquid resin irritates skin and eyes. Always wear nitrile gloves, long sleeves, and safety glasses. A respirator rated for organic vapors can reduce exposure to volatile compounds. Keep a bottle of resin-safe plastic scrap or dedicated paper towels on hand for accidental drips.
Section 4: Print Execution
Leveling and Calibration
Follow the manufacturer’s procedure to level the build platform. Typically, you loosen leveling screws, lower the platform until it gently presses against a calibration card on the vat film, then tighten screws in a star pattern. A well-leveled platform means uniform first-layer adhesion and reduces the risk of peeling failures.
Initiating the Print
Upload your sliced file via USB or network connection, then confirm resin type and layer settings on the printer interface. Watch the first few layers to ensure supports adhere and resin flows smoothly under the platform. A well-executed first layer act as an anchor; if you see lift-offs or uneven tracks, abort and re-level.
Monitoring and Interventions
Once the print is underway, occasional checks help catch issues early. Keep an eye out for sudden spikes in print time per layer-a sign that resin film may be clouding or stray debris is blocking UV light. Pause the print to clear any cured particles, then resume.
Section 5: Post-Processing Workflow
Resin Removal and Rinse
When the build platform completes its ascent, drain excess resin back into the vat through a fine-mesh filter. Then detach the part and submerge it in isopropyl alcohol (IPA) or a water-based wash station for a two-stage rinse. Gentle agitation or a dedicated ultrasonic cleaner helps remove uncured resin from crevices.
Support Removal
Carefully clip away supports with flush cutters or snips. Work in a well-lit area so you can spot any surface marks. Save the cut supports to catch drips when you return them to your IPA bath-this keeps your wash solution cleaner for longer.
UV Curing and Final Finish
After washing, the part still contains trace uncured resin. A UV-curing chamber with adjustable timers and a rotating turntable ensures uniform hardening. Cure for the time recommended by your resin supplier-typically between five and fifteen minutes. Once fully cured, light sanding or polishing compounds can smooth out small layer lines.
Section 6: Troubleshooting Common Challenges
Layer Delamination
Symptoms: Prints separate between layers or break in thin sections.
Fixes: Increase exposure time, reduce layer thickness, or verify your light source’s power output hasn’t diminished over time.
Poor First-Layer Adhesion
Symptoms: Part detaches or floats in the resin bath.
Fixes: Re-level the platform, increase bottom-layer overexposure, or improve build plate surface grip with fine-grit sandpaper.
Excessive Resin Oozing
Symptoms: Strings or blobs appear on or around the print.
Fixes: Clean the vat floor to remove cured flakes, adjust peel speed settings, or reduce resin temperature (warm resin can be more fluid).
Section 7: Beyond the Basics-Advanced Tips
Custom Resin Blends
Experiment by mixing standard resin with engineering grades to balance toughness and detail. Keep a log of blend ratios and adjust exposure times in small increments to compensate for differing photoinitiator concentrations.
Batch Printing and Nesting
Once you’ve dialed in your settings, position multiple parts on the build platform to maximize throughput. Be strategic with part orientation to reduce support volume and avoid resin pooling in complex geometries.
Sustainable Practices
Recycle leftover resin by filtering through fine mesh, and dispose of contaminated alcohol baths at designated chemical collection sites. Look for biodegradable or less-toxic resin formulations to shrink your environmental footprint.
Your Next Steps in SLA Exploration
Whether you’re prototyping engineering components, crafting miniature collectibles, or exploring dental and medical modeling, SLA additive manufacturing offers a playground of precision. Armed with the right printer platform, reliable resin chemistry, and a disciplined approach to post-processing, you’ll unlock levels of detail that redefine what’s possible from a small desktop device. So gather your tools, tighten your Z-axis, pour that first layer, and watch your digital ideas solidify into reality-one micrometer-thin slice at a time.












