Location
Mount Vernon, WA 98274

Location
Mount Vernon, WA 98274
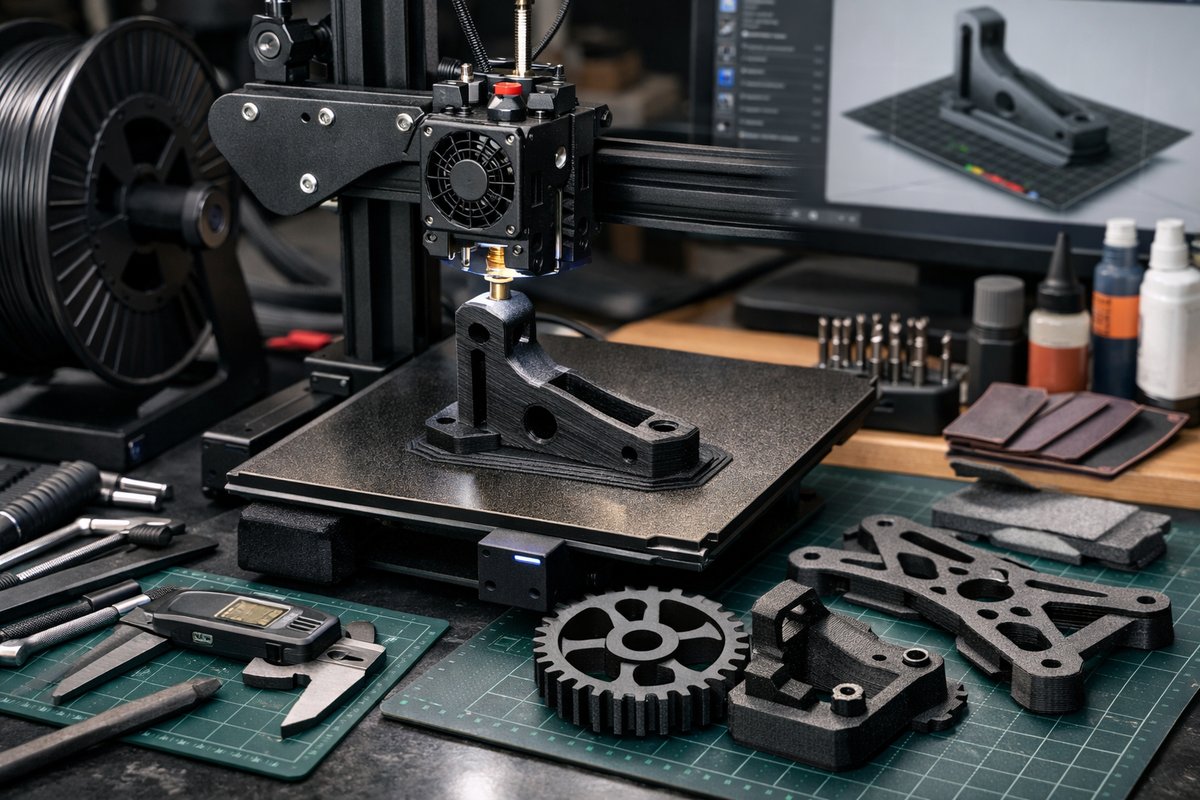
Discover how to harness the strength and stiffness of carbon fiber reinforced filament for durable, functional 3D prints. This guide walks through essential tools, printer settings, slicing strategies, and post-processing techniques to help novices and enthusiasts alike produce high-performance prototypes. Get ready to layer innovation and craft robust parts that excel in real-world applications.
Printing with carbon fiber reinforced filament opens a world of rugged prototypes, jigs, tooling, and end-use parts that outperform standard plastics. By embedding short carbon fibers into a PLA, PETG, or nylon matrix, you gain stiffness and dimensional stability while retaining much of the ease of FDM printing. These materials bridge the gap between hobbyist plastic and industrial composites: they’re lightweight, resistant to warp and creep, and excel in applications that demand rigidity under load. Whether you’re building a drone frame, a custom wrench, or a wearable hinge, carbon fiber filament lets you iterate quickly with a near-net shape that cuts down on machining and material waste. This combination of performance and sustainability aligns with modern values of efficient resource use-every layer you deposit is a step toward a more mindful, innovative workshop.
Before you press “print,” assemble a toolkit tailored for composite materials. You’ll need a high-quality spool of carbon fiber reinforced filament-choose the base polymer that suits your application (PLA for ease, PETG for chemical resistance, nylon for toughness). Swap in a hardened steel or ruby nozzle to withstand the abrasive fibers that will dull standard brass tips. A heated bed capable of reaching at least 60 °C ensures stable first layers, and a removable spring-steel build plate with a textured surface helps keep parts firmly in place. Stock up on glue sticks or a high-temperature adhesive sheet for extra grip. Finally, have a set of fine-tooth flush cutters, protective gloves, and a handful of isopropyl alcohol wipes on hand for cleanup and final touches. With these components in place, you’re ready to move from setup to success.
Working with carbon fiber filaments introduces fine dust and micro-fibers when cutting or cleaning prints. Always wear a dust mask or respirator rated for particulate filtration, and open windows or run an extraction fan to promote airflow. Collect scraps and failed prints in a sealed container for recycling or safe disposal-many recycling programs now accept composite filaments. Avoid sanding dry inside enclosed spaces; instead, dampen parts or use a small vacuum attachment to capture debris at the source. By treating your workspace with the same respect you give your prints, you maintain a healthy environment and minimize environmental impact. Embracing these safety measures lets you focus on creativity without compromising well-being or sustainability goals.
Adjusting your FDM setup is crucial when moving from standard filaments to carbon fiber blends. Start by replacing your stock nozzle with a 0.4 mm hardened steel tip-this resists abrasion and preserves layer fidelity. Raise the nozzle temperature by 5-10 °C above the filament manufacturer’s baseline to promote smooth melt flow around the fibers; PLA-based carbon fibers often print best between 210 °C and 230 °C, while nylon variants may require 250 °C to 270 °C. Set the bed to 60 °C-80 °C to balance adhesion and ease of removal. Slow your print speed to 30-40 mm/s and reduce acceleration and jerk settings to minimize layer shift and maintain dimensional accuracy. If your printer has a direct-drive extruder, retain it; if you use a Bowden system, check your PTFE liner and feed path for any gaps or bulges that could lead to clogging when fibers are present.
Your slicer is where material science meets geometry. For maximum rigidity, choose an infill pattern that aligns with your part’s load directions-grid or concentric patterns work well for balanced strength, while gyroid infill offers a good compromise of stiffness and lightweight performance. Increase wall count to three or four perimeters to create a strong shell that resists flex. Layer height between 0.16 mm and 0.2 mm preserves detail while optimizing interlayer bonding. Disable excessive cooling-set your part cooling fan to 20-40 percent so the matrix polymer can fuse fibers evenly. Add a brim of 5-8 mm if your design has small footprints, and enable ironing on top layers to fill micro-gaps and produce a smooth surface finish. Small tweaks here yield outsized improvements in tensile strength and visual quality.
Your first layer sets the tone for the entire print. Level your bed meticulously-use a feeler gauge or paper method at multiple points to ensure perfect nozzle clearance. Apply a thin, even coat of adhesive solution or position a high-temperature tape precisely. Heat the build plate for at least five minutes so that thermal expansion stabilizes. When you start printing, observe the first layer: it should lay down as a uniform band, neither too squished nor too loose. If filament curls or lifts, adjust the Z-offset by small increments (±0.05 mm) until the bead glues itself flat. Once the foundation is solid, carbon fiber parts tend to stick securely enough that removal is clean: flex your spring-steel sheet, and most prints pop free without chisels or heat guns, preserving both the part and your build surface.
Carbon fiber composites handle post-processing differently than pure plastics. Light sanding with 220-320 grit paper removes visible layer lines and smooths edges; work gently to avoid exposing fiber bundles. You can apply a thin coat of clear epoxy or specialized polymer resin for added moisture resistance and a glossy finish-this bonds well to the composite surface and seals any microvoids. Use flush cutters to trim support material close to the shell, then run a fine, wet sanding block to blend the transitions. For functional parts, consider applying a light machine oil or corrosion inhibitor on mating surfaces. Finally, store your completed prints and remaining filament in airtight containers with desiccant packs to maintain optimal humidity levels for your next build.
Once you’ve mastered the basics, a universe of custom composites awaits. Experiment with different base polymers-try PETG-based carbon fiber for impact resistance or nylon-based blends for wear-and-tear applications. Dive into multi-material designs by pairing carbon fiber layers with flexible TPU overlays. Test continuous fiber reinforcement attachments that lay unbroken strands along critical axes for aerospace-grade strength. Join online forums, share your parameter sets, and download open-source profiles to accelerate your learning. Track each print’s settings and outcomes in a simple spreadsheet or build-log app to refine your approach over time. By treating each layer as both a learning opportunity and a creative act, you’ll transform raw filament into functional art and inspire others to follow your path.
Your next print is more than a part-it’s a statement of innovation, precision, and mindful craftsmanship. Embrace the fibers, fine-tune your workflow, and build stronger, lighter, more sustainable designs-one layer at a time.












