Location
Mount Vernon, WA 98274

Location
Mount Vernon, WA 98274
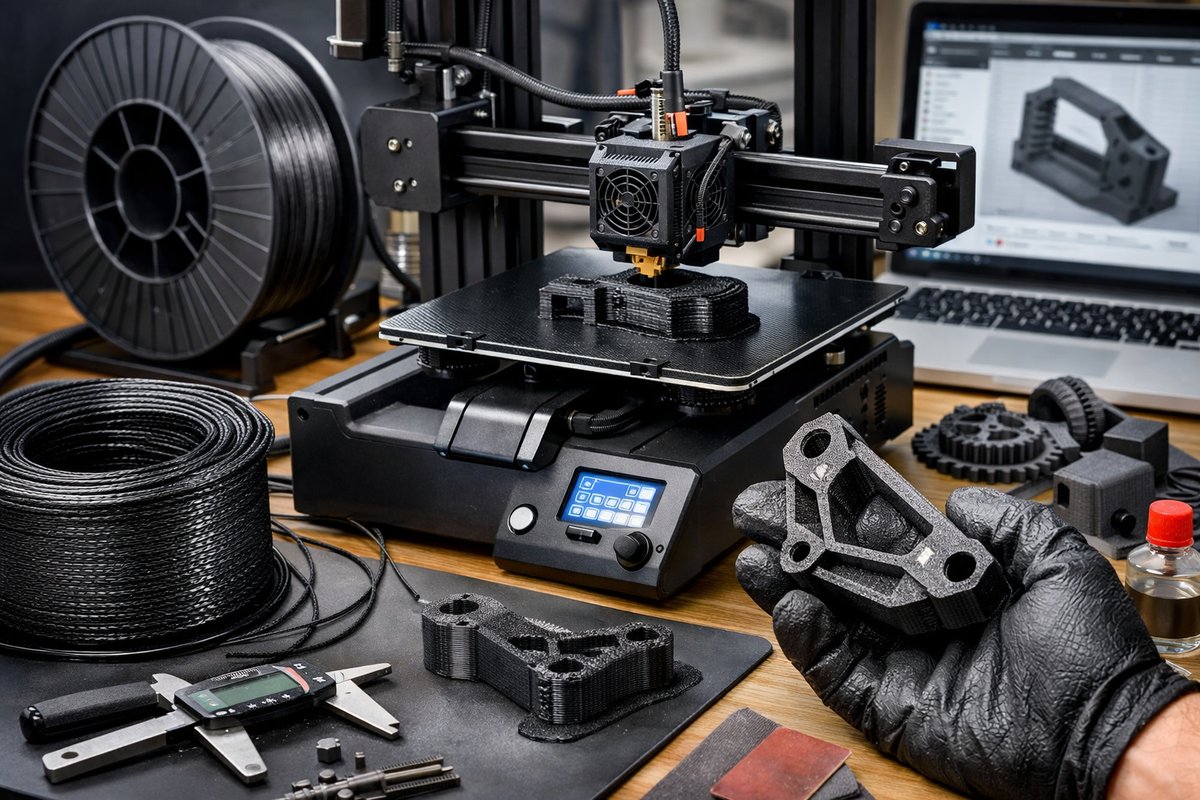
Discover how to harness the strength and stiffness of carbon fiber filaments on a desktop FDM printer. This detailed guide walks you through selecting components, tuning slicer settings, mastering post-processing, and troubleshooting common issues so you can confidently print parts that perform in real-world applications.
Additive manufacturing has opened doors to a new era of lightweight, high-strength components, and one of the most accessible ways to tap into that potential is through carbon fiber reinforced Fused Deposition Modeling printing. By blending chopped carbon fibers into a polymer matrix-PLA, PETG, or nylon-you gain rigidity and heat resistance far beyond standard filaments. Whether you’re prototyping drone frames, jigs, tooling fixtures, or wearable parts, carbon fiber composites turn your desktop 3D printer into a workshop powerhouse. The steepest part of the learning curve lies not in the hardware but in choosing the right combination of nozzle, hotend, slicer settings, and post-processing techniques. This guide will equip you with the knowledge to build durable, precise prints that wow in both appearance and performance.
Understanding the appeal of carbon fiber reinforced filaments begins with material science fundamentals. In a composite filament, chopped strands of carbon fiber-typically 5-15% by weight-are embedded in a thermoplastic base. PLA composites deliver a smooth surface finish and easier printing, while PETG blends toughness with moderate flexibility. Nylon-based variants excel in impact resistance and thermal durability but demand more rigorous moisture control. Across all options, you’ll notice a textured matte finish straight off the build plate, hinting at the reinforced structure within. This inherent stiffness translates to parts that bend less under load, vibrate minimally, and often resist creep at elevated temperatures better than pure polymers.
Before loading any composite spool, ensure your printer is equipped to handle abrasive materials. A hardened steel nozzle is non-negotiable; brass and plated nozzles erode quickly under carbon fiber’s abrasion. Nozzle diameters between 0.4 mm and 0.6 mm strike a balance between resolution and flow rate-0.6 mm is often recommended to reduce clog risks. Pair the nozzle with an all-metal hotend capable of maintaining stable temperatures of 260-275 °C. If you’re using nylon composites, an enclosure is highly advised to keep ambient temperatures above 40 °C, minimizing warping and layer delamination. A flexible PEI build sheet or textured spring steel surface improves first-layer adhesion without sticky sprays or tapes. And don’t forget a good set of quality calipers: precise filament diameter measurements help you fine-tune extrusion multipliers.
Material storage and preparation play a pivotal role in print success. Carbon fiber filaments attract and trap moisture, which can lead to bubbles and weakened layers. Store spools in an airtight dry box with a humidity indicator, or use resealable bags with desiccant packs. If you detect moisture, dry the filament in a filament dryer or a temperature-controlled oven-around 50 °C for two to four hours, depending on the polymer. Spooling the filament slowly into your dry chamber as it prints can also help maintain low moisture levels. Once dried, keep the spool sealed until the moment you mount it on the printer.
Dialing in slicer settings determines whether a print emerges strong or shatters under stress. Start with a nozzle temperature near the midpoint of the filament’s recommended range-around 270 °C for nylon composites, 250 °C for PETG blends, and 200-210 °C for PLA. Set print speeds conservatively at 30-45 mm/s; carbon fibers increase filament stiffness and can stress the extruder if pushed too fast. Retraction distance and speed often need fine-tuning-lower retraction speeds help prevent grinding on brittle composite filaments. Layer heights of 0.15-0.25 mm yield crisp details while maintaining reliable flow. Disable or reduce part cooling to around 20-30% or turn it off entirely for nylon blends, since abrupt cooling can induce warping or interlayer friction.
Achieving a rock-solid first layer anchors the entire part. Level your bed meticulously and use a consistent paper-feeler gauge or mesh bed compensation tool. A brim or raft can counteract minor warping, but with composites you typically want to minimize contact points to preserve surface finish. A thin layer of a compatible adhesive-glue stick or specialty adhesive sheet-can help when printing large footprints. Watch your initial layers: if you see tiny gaps or poor extrusion, adjust Z-offset in small increments until the filament is squashed just enough for full thread visibility. Once that’s dialed in, subsequent layers tend to lock in without fuss.
When the final layer appears, remove your part with care-composite prints stick tenaciously. A flex plate makes detaching parts simpler, reducing the risk of chipping edges. After removal, inspect for stringing, rough edges, or surface anomalies. Light sanding with 200-400 grit paper smooths out minor fiber bumps and blends extrusion lines. For an extra smooth, glossy finish, apply a thin coat of clear epoxy resin-this fills voids and locks in the carbon fibers, improving moisture resistance and aesthetics. If your part requires electrical conductivity, skip the epoxy and explore conductive coatings or plating in localized areas.
Even when everything seems perfect, you may encounter issues such as nozzle clogs, layer separation, or under-extrusion. A clogged nozzle often shows intermittent extrusion or clicking sounds in the extruder. To clear fibers lodged in the nozzle throat, perform a cold pull with nylon filament or soak a spare nozzle in a cleaning solution overnight. Layer separations or delamination point to inadequate print temperatures, insufficient bed adhesion, or dramatic thermal gradients-try raising nozzle temp by 5-10 °C, increasing bed temp by 5 °C, or enabling part cooling only after several layers. Under-extrusion at higher speeds suggests a worn-out extruder gear-clean and inspect for filament dust buildup, replacing the gear if teeth are stripped.
One of the most rewarding aspects of carbon fiber FDM is its broad range of real-world applications. Hobbyists build lightweight drone frames that resist vibration, robotics enthusiasts fabricate stiff brackets and gear covers, and manufacturers produce jigs, fixtures, and end-of-arm tooling for robotic automation. In DIY automotive projects, composite printouts serve as custom mounting points for sensors or small ductwork. Even on the workshop bench, you can craft ergonomic tool handles that better distribute torque and reduce hand fatigue. By experimenting with infill densities and internal lattice structures, you can fine-tune the balance between stiffness, weight, and material usage.
As the additive manufacturing community grows, so does our responsibility for sustainability. While composite filaments offer exceptional performance, they complicate recycling due to the mixed-material nature. Instead of discarding failed prints, consider using them as raw material for cold isostatic pressing or embedding them in casting molds. Many filament makers will take back leftover spools and scraps for regrinding into non-structural filler. Wherever possible, design parts for disassembly so that polymer components can be separated from metal inserts. Finally, optimize print layouts to nest multiple parts per build and minimize support structures-this reduces material waste and post-processing time.
Once you’ve mastered single-material composite printing, you can expand into dual-extrusion setups that combine nylon-carbon blends with soluble support filaments for intricate geometries. Or experiment with high-resolution resin inserts to fuse rigid frameworks with elastomeric flex zones. For those seeking maximum heat resistance, try PEI-based composites under high-temperature heating chambers. The key to ongoing success is an inquisitive mindset: track your print logs, share profile settings with the community, and iterate on filament recipes.
Layering innovation begins with a single filament feed. By choosing the right hardware upgrades-hardened nozzle, all-metal hotend, and reliable build surface-coupled with disciplined filament handling and slicer tuning, you’ll unlock composite printing that performs in demanding applications. Embrace the textured matte look, leverage post-processing for a finished sheen, and push your printer to its reinforced limits. The future of lightweight, high-strength parts is at your fingertips, and with carbon fiber FDM, you’re ready to build it layer by layer.












