Location
Mount Vernon, WA 98274

Location
Mount Vernon, WA 98274
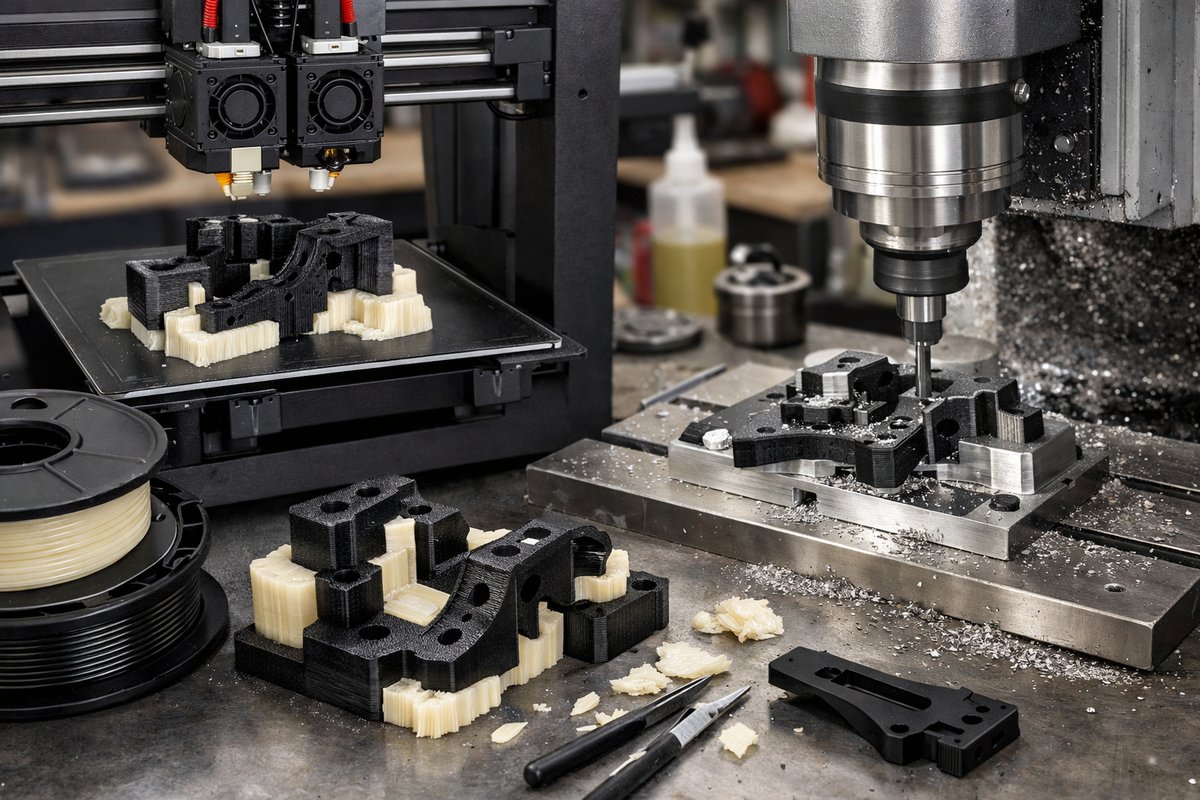
Learn how to harness dual extrusion Fused Filament Fabrication with soluble supports to 3D print complex jigs and fixtures, then refine the results with CNC milling. This guide walks through printer setup, material selection, slicing strategies, post-processing, and finishing passes so you can produce precision tooling faster and more affordably.
Precision jigs and fixtures can turn a good part into a great one. Additive manufacturing provides a shortcut to fabricating complex shapes that would otherwise require weeks of mill time. With dual extrusion fused filament fabrication and water-soluble supports, you can print internal channels, interlocking alignment pins, and undercuts in a single build. This guide walks through every step-from picking the right components and dialing in slicer settings to dissolving supports and executing final CNC finishing passes-so you can create high-precision tooling faster and more affordably.
The journey begins with choosing a capable dual extrusion FDM 3D printer. Look for a machine built on a rigid core XY or H-bot frame, which delivers consistent motion without twist. A heated build plate that holds 110 °C or higher expands your material options. Precision leadscrews or linear rails on all axes help maintain tight layer registration. These structural components reduce backlash and layer shift, resulting in cleaner surfaces where the two filaments meet.
An all-metal hotend is essential for reliable dual extrusion work. PTFE-lined heat breaks degrade over time when exposed to high temperatures and abrasive filaments. A hardened steel or titanium heat break and a wear-resistant nozzle minimize clogging when printing with abrasive or composite materials. Pair that with a 0.4 mm nozzle for general detail or swap to a 0.2 mm nozzle if your jig demands ultra-fine features. Nozzle swaps take only a few minutes with a quick-release coupling or a simple wrench.
Bed adhesion makes or breaks a multi-hour dual extrusion print. A flexible magnetic build plate coated with a micro-textured polymer surface provides excellent grip for PLA, PETG, nylon blends, and even engineering resins. After printing, you can peel away the part cleanly without spatulas or razor blades. If you prefer a glass bed, apply a thin layer of adhesive spray or PVA glue stick. Leveling the bed within 0.05 mm and preheating the surface for at least five minutes ensures the first layer bonds evenly.
Material choice drives both dimensional accuracy and ease of support removal. Print the primary jig body in a tough PLA-blend or PETG-co polymer for rigidity. For supports, use a 1.75 mm PVA filament formulated to dissolve quickly in warm water without leaving hard-to-reach residue. Track humidity levels when storing PVA; even small amounts of moisture can lead to clogs. Keep it in a sealed container with desiccant and purge before switching filaments to avoid gunk buildups.
Design your jig in CAD with support zones in mind. Orient the model so that the most critical datum surfaces face upwards toward the printer nozzle. That reduces the number of support layers under those features and produces cleaner contact points. In overhangs where solver supports are unavoidable, add a thin interface layer in the slicer to create a crisp breakaway line. A 0.2 mm horizontal gap between support and model surfaces works well for PVA without sacrificing stability.
In your slicing software, enable dual extrusion and assign the PVA to the second extruder. Tweak retraction settings separately for each head; PVA often requires slower retraction speeds to prevent filament grinding. Print the outer walls at 50 mm/s and infill at 80 mm/s to balance surface finish with throughput. Layer heights between 0.15 mm and 0.2 mm strike a good compromise between detail and print time. Use five perimeters on critical edges to ensure rigidity when you start milling.
During the print, monitor the first few layers closely. Check that both nozzles are depositing clean beads of plastic without drags or stringing. If you notice strings between extruders, fine-tune the idle-extrusion and wipe tower routines. A small wipe tower off to one side captures ooze and keeps the build area pristine. You can print calibration towers concurrently to verify color swaps and flow rates for each filament type.
Once the print completes, let it cool on the build plate for ten minutes. Removing the part while still slightly warm minimizes stress on delicate overhangs. Submerge the assembly in a warm water bath at 40 °C with gentle agitation. PVA dissolves within two to three hours depending on part volume. A small magnetic stir bar in an enclosed container helps keep the bath in motion without manual effort.
After rinsing off all traces of support material, inspect mating surfaces with a precision digital caliper. Reference your CAD dimensions to confirm you landed within 0.1 mm tolerances. Minor deviations are expected from FDM, so record any systematic offsets in your workflow log. Those values will inform toolpath offsets when you mill the final critical surfaces.
Mount the printed jig on your CNC router or small gantry mill using double-sided adhesive tape or low-profile clamps. Ensure the base is rock solid; even slight movement under the cutter will introduce chatter marks. Select a 1⁄8 inch spiral upcut end mill for light finishing passes. Program 0.5 mm step downs and 0.3 mm step overs at 2000 mm/min feed with a 12000 rpm spindle speed. These gentle parameters shave off layer lines without overheating the plastic.
Finish critical reference planes with a single down-cut fly cutter if you need a glass-flat surface. A 0.5 mm engagement and a slow plunge carve at 1000 mm/min yield mirror finishes. Finally, deburr all edges with a fine-grit hand file or cushioned sanding pad. The combined strength of the plastic infusion and the subtractive smoothness delivers a jig that holds position repeatably and resists wear during production runs.
By merging dual extrusion FDM and CNC finishing, you unlock rapid iteration cycles that traditional machining alone cannot match. You can produce custom alignment fixtures, drill guides, and assembly jigs in hours instead of days. The upfront investment in a reliable dual-head printer, quality hotend, and precision end mills pays off through leaner workflows, less wasted material, and faster time to batch production.
Ready to bring this hybrid workflow into your shop? Gather your components, update your slicer profile, and prepare your CNC machine. Within a weekend you can prototype tailored jigs that adapt to new parts and evolving projects without waiting for external tool rooms. Experience firsthand how additive and subtractive technologies combine to accelerate innovation and sharpen your edge.












