Location
Mount Vernon, WA 98274

Location
Mount Vernon, WA 98274
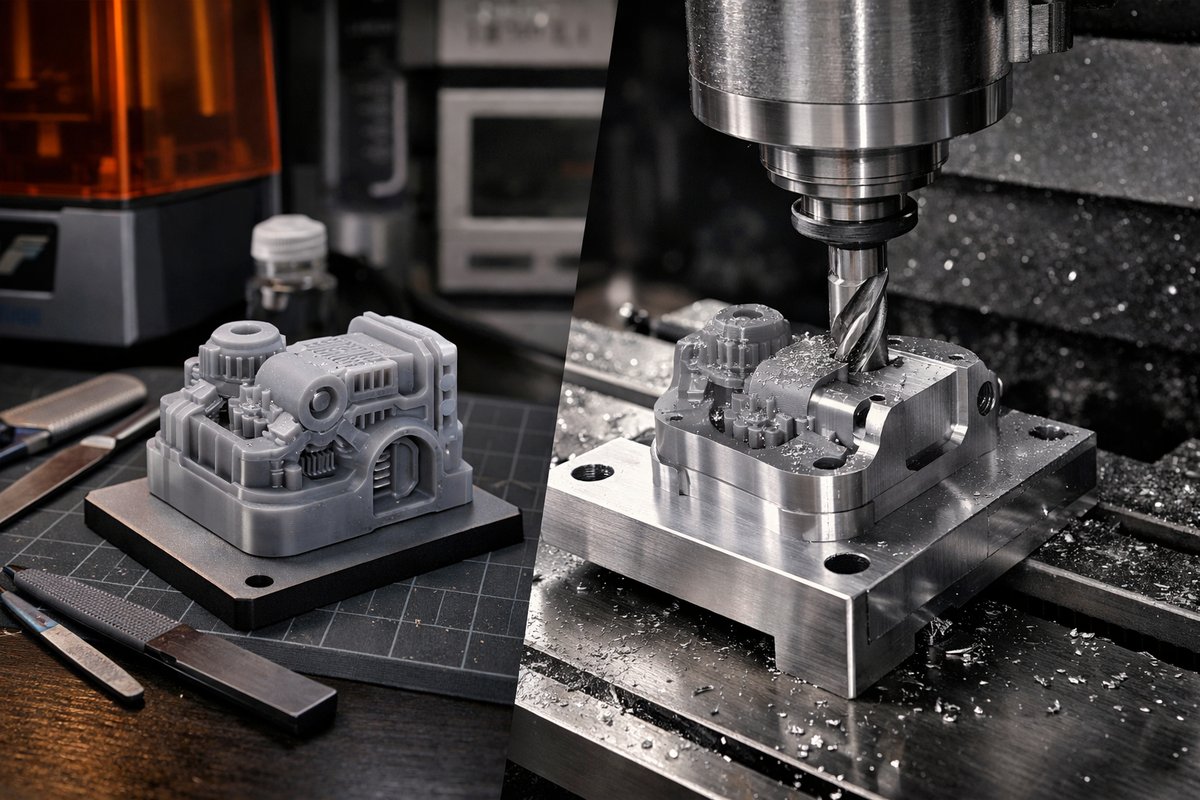
Discover how to merge high-resolution SLA resin printing with CNC milling to achieve parts that blend intricate detail and smooth, machined surfaces. This hands-on guide walks through modeling, printing, post-processing, and the CNC setup needed to refine critical features.
Additive manufacturing opens doors to complex geometries and rapid iteration, yet even the most advanced resin prints can benefit from a touch of subtractive precision. By pairing a desktop SLA printer with a small CNC mill, makers can unlock smooth surfaces, accurate holes, and press-fit features that push prototypes into functional territory. This guide takes you through every phase-from digital design to the final pass of a ball-nose end mill-so you can experience the synergy of build-then-refine in your workshop.
Getting started means thinking beyond the print bed. Before slicing, consider which faces will need a machined finish: flat mounting surfaces, bearing bores, or snap-fit grooves. In your CAD software, arrange parts so critical planes lie parallel to the build plate. Rotate complex shapes to minimize support marks on visible sections. A well-oriented model saves hours of cleanup and helps your CNC end mill glide over consistent stock.
Next, dial in your resin recipe. Standard gray or black resins offer good stiffness and layer fidelity, but water-washable variants speed cleanup. For functional prototypes that must survive torque or wear, consider a tough resin formulated for impact resistance. Always check manufacturer data sheets for tensile strength and elongation at break-key factors when post-milling fine details like snap locks.
On your SLA printer, start with a 50-75 micron layer height for smooth walls, then bump to 100 microns for faster infill areas. Fine-tune exposure times to avoid overcure, which can obscure small features. Calibrate your Z-axis before each batch; even a tenth of a millimeter drift affects mating surfaces later. Use a magnetic or textured aluminum build plate for reliable first-layer adhesion.
Once the print completes, remove the model carefully. Snap-off supports flush with the part, then rinse in isopropyl alcohol to clear uncured resin pockets. A two-stage wash-five minutes in a clean bath, then a quick rinse-reduces tackiness and prevents smudges. After air drying, place parts in a UV curing station or under a UV LED lamp. Aim for 2-4 minutes per side to achieve full hardness without embrittlement.
With cured parts in hand, prepare your CNC mill. Secure a low-profile vise on the table, align it with the X and Y axes, and clamp a spoilboard if you plan multiple fixtures. A 1/8″ carbide ball-nose end mill excels at smoothing curved surfaces and chamfers. For flat faces, switch to a 1/4″ square end mill. Set spindle speed between 10,000 and 12,000 RPM and adjust feed rates to 50-80 mm/min so you can gently skim off 0.1-0.3 mm per pass without gouging the resin.
Zero your tool carefully. Touch off the mill tip on a reference corner of your part, then set work offsets in your CAM software. Run a dry simulation first to confirm toolpaths and avoid collisions. When everything looks safe, airblast the area to clear chips and start the cut. Hold the part firm: resin can flex under load, so don’t be afraid to increase clamp pressure or add sacrificial support blocks for thin sections.
As you mill, pay attention to surface finish. A higher spindle speed paired with a light step-over yields a satin sheen that rivals injection molding. For ultra-smooth results, run a final polishing pass at 0.05 mm depth and 0.2 mm step-over. Once contours look crisp, switch to a small drill bit in your CNC to open holes to exact diameters. The combination of printed geometry and milled tolerance allows parts to snap together, seat bearings, or mount electronics with confidence.
Hybrid makers often showcase small gearbox housings or fluidic channels as proof of concept. Imagine printing a compact impeller housing, then milling the inlet flange to mate perfectly with standard pipe fittings. Or prototyping a custom jigsaw blade guide that needs a machined slot for steel rails. These examples reveal how additive speed and subtractive accuracy join forces. You’ll save time, avoid manual sanding, and deliver prototypes that look-and perform-like finished products.
Safety and sustainability matter too. Wear nitrile gloves when handling uncured resin, and run your CNC with a dust shoe and shop-vac to capture resin dust. When possible, recycle or reclaim excess resin and reuse isopropyl baths with activated charcoal filters. A modular approach-printing multiple parts on one build plate and batching CNC operations-reduces energy use and keeps tooling wear even across projects.
By mastering both sides of the coin, you’ll find new creative freedom. Fine textures, engraved logos, and precisely sized bores become routine. Next time you sketch a complex bracket or aesthetic housing, remember that a blend of resin layering and precision router bits can bring your vision to life faster and more accurately. Step into the world of hybrid manufacturing, and unlock a new level of finish for your additive prototypes.












