Location
Mount Vernon, WA 98274

Location
Mount Vernon, WA 98274
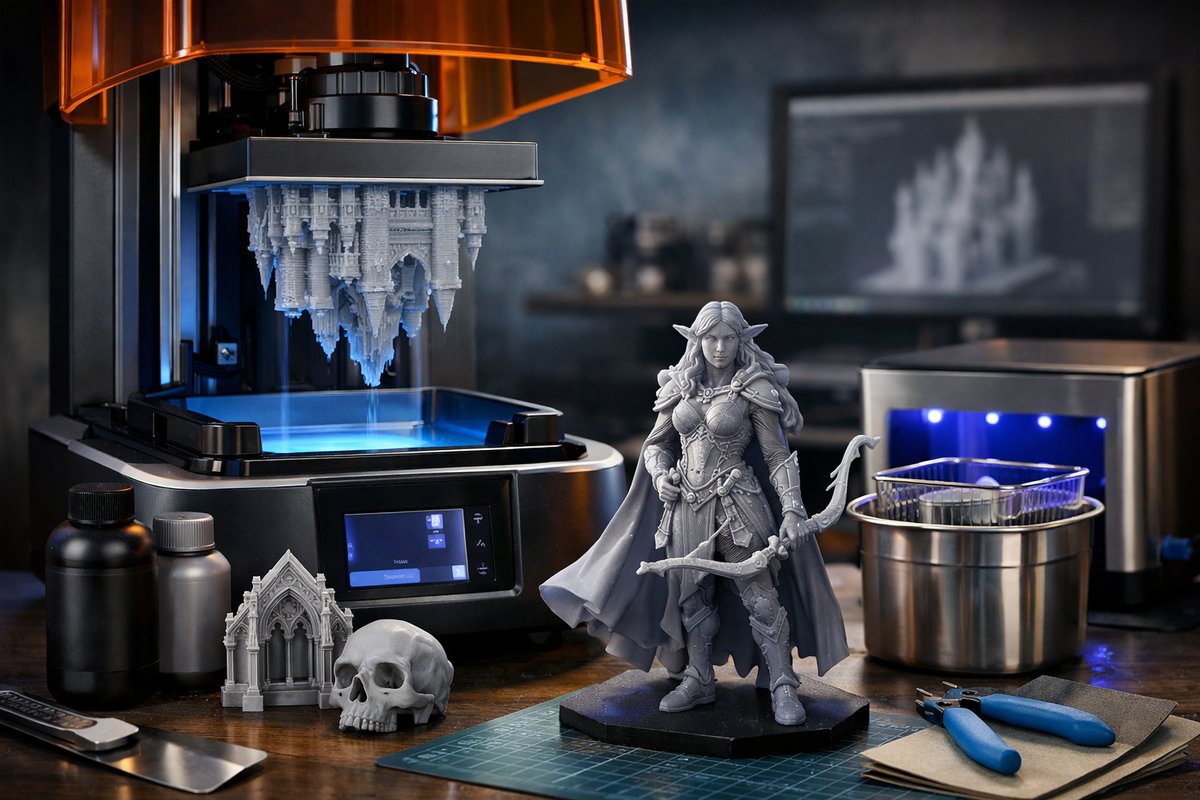
Resin-based stereolithography (SLA) 3D printing offers unmatched precision and surface finish for creators eager to transform digital models into detailed physical objects. This guide explores the essentials of SLA technology, from choosing the right printer and resin to mastering post-processing techniques, empowering you to bring intricate designs to life with confidence.
Additive manufacturing continues to revolutionize how we design and produce objects, with resin-based stereolithography (SLA) standing out for its ability to capture fine details and smooth surfaces. Unlike filament extrusion methods, SLA uses a light source to cure liquid resin layer by layer, enabling the creation of models with exceptional resolution. This article delves into the practical steps and considerations for successfully working with SLA technology, highlighting key components and tools that enhance the experience and outcome.
Understanding SLA Technology
At its core, SLA 3D printing involves a vat of photosensitive resin that hardens when exposed to a specific wavelength of light, usually ultraviolet (UV). A build platform moves incrementally, allowing each thin layer of resin to solidify according to the digital design. This process produces parts with remarkably fine features, making SLA ideal for applications like jewelry prototyping, dental models, and highly detailed miniatures.
Selecting the Right Printer
Choosing an SLA printer depends on your project needs and budget. Desktop SLA printers have become increasingly accessible, offering resolutions down to 25 microns or better. When evaluating printers, consider factors such as build volume, layer thickness range, and the type of light source (laser or LCD screen). Laser-based SLA printers typically deliver higher precision but at a higher cost, while LCD-based printers offer a balance of affordability and quality suitable for most hobbyists and professionals.
Choosing the Appropriate Resin
Resin selection is crucial as it affects the mechanical properties, appearance, and post-processing requirements of your prints. Standard resins provide good detail and surface finish, but specialty resins-such as flexible, tough, castable, or biocompatible types-expand the range of possible applications. For beginners, starting with a general-purpose resin that balances ease of use and quality is advisable.
Preparing Your Digital Model
Before printing, ensure your 3D model is optimized for SLA. This includes checking for manifold errors, ensuring proper wall thickness (generally above 0.8 mm to avoid fragility), and orienting the model to minimize supports and maximize surface quality. Slicing software tailored for SLA printers will generate the layer-by-layer instructions and necessary supports to hold overhangs during printing.
Printing Process and Best Practices
Once your model is sliced, the printing process begins by filling the resin vat and initiating the build. Maintaining a clean environment is vital since resin is sensitive and can be messy. Use gloves and work in a well-ventilated area to minimize exposure to fumes.
Monitoring the print progress helps catch issues like layer separation or resin curing inconsistencies early. Depending on the printer and model size, prints can take from several minutes to several hours. Patience and attention to detail during this phase pay off in the final quality.
Post-Processing Essentials
After printing, parts require post-processing to remove uncured resin and achieve optimal strength and finish. The typical workflow includes:
Investing in a dedicated curing station with controlled UV exposure and temperature can significantly improve consistency and reduce manual effort.
Safety and Environmental Considerations
Handling resin requires respect for safety protocols. Always wear nitrile gloves, avoid skin contact, and store resin away from direct sunlight and heat sources. Proper disposal of resin waste and used cleaning solvents is essential to minimize environmental impact.
Expanding Your SLA Toolkit
To elevate your SLA printing experience, consider acquiring complementary tools such as precision tweezers for support removal, a resin filtration kit to recycle unused resin, and a digital caliper to measure finished parts accurately. These additions streamline workflow and enhance print quality.
Why Try SLA Printing?
The allure of SLA lies in its ability to produce parts with intricate detail and smooth finishes that are difficult to achieve with other additive manufacturing methods. Whether you’re a hobbyist crafting miniatures, a designer prototyping complex components, or a medical professional creating anatomical models, SLA opens doors to creative possibilities with precision and reliability.
By understanding the technology, selecting suitable materials, and mastering post-processing, you can harness the full potential of resin-based 3D printing. The investment in knowledge and tools pays off in the satisfaction of transforming digital visions into tangible, finely crafted objects. With growing accessibility and a vibrant community, now is an excellent time to explore SLA printing and add a new dimension to your creative toolkit.












