Location
Mount Vernon, WA 98274

Location
Mount Vernon, WA 98274
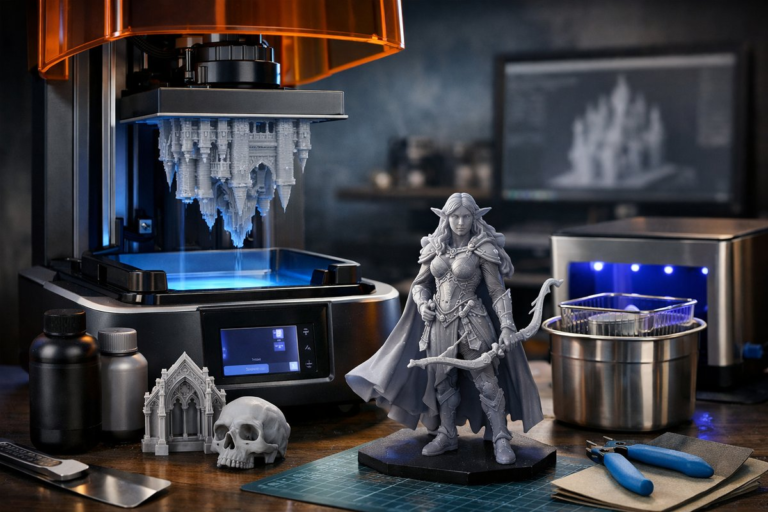
Stereolithography (SLA) offers unmatched precision and surface finish in additive manufacturing, making it a favorite for detailed prototypes and functional parts. This guide walks you through the essentials of SLA printing, from choosing the right resin to post-processing techniques, empowering you to bring intricate digital designs to life with confidence.
Additive manufacturing continues to revolutionize how we turn digital ideas into physical objects, and among its many techniques, Stereolithography (SLA) stands out for its ability to produce highly detailed and smooth-surfaced parts. Unlike filament-based 3D printing, SLA uses a liquid resin cured by a focused light source, enabling layer resolutions down to tens of microns. This makes it ideal for applications demanding fine features, such as jewelry prototypes, dental models, and engineering components.
To get started with SLA printing, understanding the core components and materials is crucial. The heart of an SLA printer is its light source-commonly a UV laser or a digital light processing (DLP) projector-that selectively cures photopolymer resin layer by layer. The resin vat holds the liquid photopolymer, and a build platform gradually lifts the object as it forms.
Selecting the right resin is a pivotal decision that influences the final object’s mechanical properties, color, and finish. Standard resins offer a balance of detail and strength suitable for general prototyping. For more specialized needs, there are flexible resins for elastomeric parts, castable resins for investment casting, and biocompatible resins used in medical modeling. When choosing resin, consider factors like curing time, viscosity, and post-cure requirements.
The printing process begins with preparing your 3D model in slicing software tailored for SLA. This software slices the model into thin layers and generates support structures to hold overhanging features during printing. Support placement is critical; poorly placed supports can mar surfaces or cause print failure. Many software packages provide automatic support generation with options for manual adjustments.
Once the model is sliced and supports are set, the file is transferred to the printer. Before starting, ensure the resin vat is clean and filled to the recommended level. Calibration of the build platform is essential to guarantee proper adhesion and layer thickness. Many printers include automated leveling routines, but manual fine-tuning can improve print quality.
During printing, the light source cures each layer by solidifying resin according to the sliced pattern. The build platform then lifts, allowing fresh resin to flow beneath before the next layer cures. This process repeats until the object is complete. Print times vary based on model size, layer height, and printer speed but typically range from one to several hours.
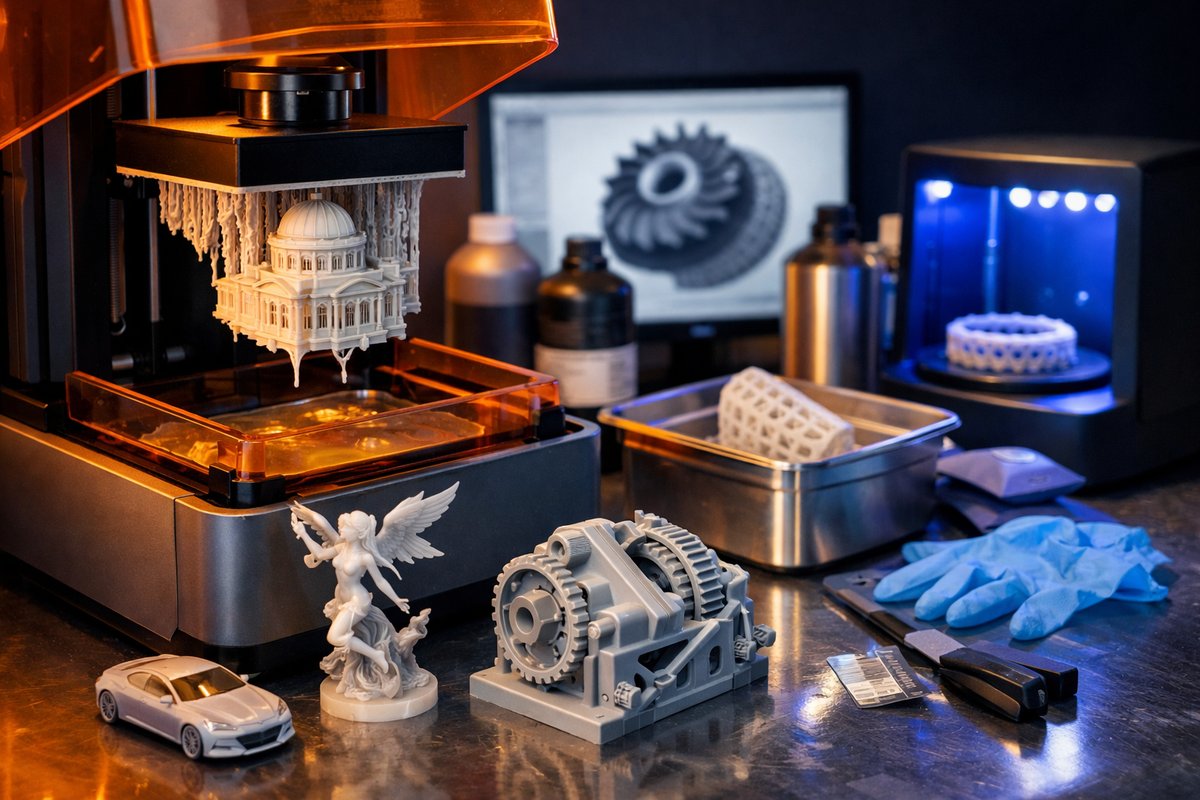
Post-processing is a defining step in SLA printing that affects both aesthetics and mechanical performance. After printing, the object is still coated with uncured resin, which must be rinsed off-commonly using isopropyl alcohol baths. Following cleaning, the object undergoes post-curing under UV light to fully harden the resin, enhancing strength and stability.
Removing support structures carefully is also vital to preserving surface quality. Using flush cutters or specialized tools, supports should be clipped close to the model, followed by gentle sanding or polishing if needed. For functional parts, additional finishing like painting or sealing may be applied.
SLA printing offers several advantages that make it appealing for both hobbyists and professionals. The superior resolution and smooth surface finish reduce or eliminate the need for extensive post-processing compared to filament-based prints. It also enables the creation of complex geometries and fine details that are challenging with other methods.
However, SLA does come with considerations such as the cost of resins and the need for proper ventilation and safety precautions when handling photopolymers. The resin’s sensitivity to light and temperature means it requires careful storage. Additionally, the printers and materials can be more expensive upfront than FDM systems.
Despite these factors, the accessibility of desktop SLA printers has grown, making this technology more attainable. Enthusiasts can now explore applications ranging from intricate art pieces to functional engineering prototypes with remarkable precision.
To maximize your SLA printing experience, investing in quality components and tools is beneficial. Reliable resins matched to your application ensure consistent results, while a well-calibrated printer maintains accuracy. Post-processing accessories like ultrasonic cleaners, UV curing stations, and precision cutting tools streamline finishing.
By embracing the detailed workflow of stereolithography-from digital design through to post-processing-you open the door to additive manufacturing that balances artistry and engineering. Whether crafting delicate miniatures or precise mechanical parts, SLA printing empowers you to realize complex ideas layer by layer with exceptional fidelity.
Exploring this technique not only expands your fabrication toolkit but also deepens your understanding of how light and chemistry combine to transform liquid resin into tangible innovation. As you gain experience, you’ll discover new possibilities for customization, prototyping, and even small-scale production that were once out of reach.
In summary, mastering stereolithography requires attention to detail at every stage: selecting appropriate resin, preparing models with thoughtful supports, calibrating your printer, and dedicating time to thorough post-processing. The rewards include unparalleled surface quality and fine feature resolution that can elevate your additive manufacturing projects to professional standards. Whether you’re a curious beginner or a seasoned maker, SLA printing offers a compelling avenue to bring your digital creations vividly to life.