Location
Mount Vernon, WA 98274

Location
Mount Vernon, WA 98274
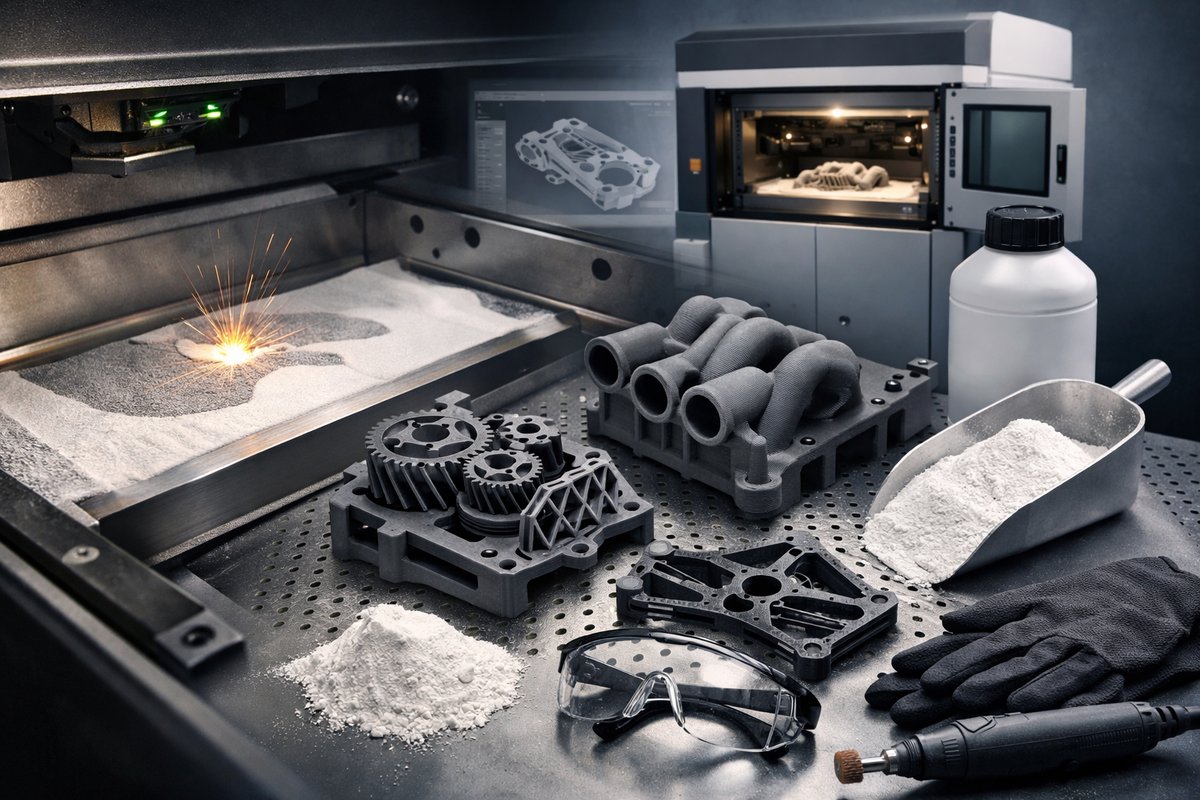
Selective Laser Sintering (SLS) has unlocked a new realm of possibilities for producing robust, complex parts without support structures. In this guide, you'll learn how to prepare your digital design, select the right powder and printer, manage safety, and apply finishing techniques to bring functional nylon prototypes to life.
Selective Laser Sintering belongs to the family of powder-bed fusion processes, using a high-power laser to fuse fine polymer powder layer by layer. Unlike filament or resin methods, SLS doesn’t need support structures: the unsintered powder acts as its own scaffold, enabling intricate geometries, internal channels, and undercuts in a single build. Engineers rely on SLS for functional testing, rapid tooling, and small-batch production of end-use parts. But the magic begins long before the laser fires: digital preparation, material choice, machine setup, and post-processing all shape your final outcome.
Every great print starts with a watertight 3D model. Aim for clean geometry: no overlapping faces, gaps, or inverted normals. Use your slicing software’s preview to identify thin walls (ideal thickness >0.8 millimeters) and features that may sinter inconsistently. Next, orient the model to balance build time and surface quality: flatter faces on the powder bed expose larger cross-sections, speeding up the laser’s scanning path, while slanted surfaces can reduce the staircase effect on steep overhangs. Nest multiple parts to maximize build volume-software nesting tools can arrange hundreds of small components in a single run, boosting material efficiency and cost-effectiveness.
At the heart of every SLS workflow lies the combination of powder and hardware. Industrial-grade machines boast high-power CO2 lasers (30 to 70 watts or more), precise temperature control in the build chamber (around 175-190°C for nylon), and automated recoating systems to ensure consistent layer thickness (typically 0.1 to 0.15 mm). Your choice of powder also shapes performance: nylon 11 offers superior impact resistance and flexibility, while nylon 12 delivers excellent stiffness and chemical resistance. Specialty blends-glass-filled or carbon-fiber-reinforced powders-push mechanical properties further, though they demand hardened recoaters and abrasion-resistant components inside the machine. When comparing printers, focus on build volume, laser power density, chamber uniformity, and material-handling features such as automatic powder sieving.
Handling fine polymer powders requires a dedicated station and proper personal protective equipment. An enclosed powder handling cabinet with HEPA-filtered airflow prevents airborne dust from spreading in your workspace. Always wear a respirator rated for fine particulates, nitrile gloves, and a lab coat to avoid skin contact. Vacuum the build area with an industrial vacuum fitted with a HEPA filter before and after every build to capture residual powder. Store unused powder in sealed containers under dry conditions-moisture can corrode powder flow properties and lead to poor layer adhesion. Calibrate your humidity sensor and maintain the build chamber’s dew point to guarantee consistent sintering across batches.
Once the build is complete, the chamber cools gradually to room temperature, preventing thermal cracking. Extract the build cake and gently break away loose powder using compressed air or a soft brush. Reclaim and sieve the loose powder through a precision mesh (around 60-80 microns) to sift out lumps and contaminants-about 40-60% of the powder can be recycled in your next build, blending with fresh powder to maintain part quality. For true freedom, an abrasive bead blaster cabinet will remove surface roughness, revealing crisp edges and even surface texture. If you’re targeting a glossy finish, follow blasting with vapor polishing or a light tumble in a media spinner. For functional parts, consider dyeing nylon with specialized colorants at 90°C in a heated water bath, adding both aesthetics and UV protection.
Quality inspection in SLS isn’t just cosmetic. Dimensional tolerance on most nylon parts falls within ±0.3% to ±0.5% of nominal dimensions. Use digital calipers to measure critical holes, slot widths, and wall thicknesses. For tensile and flexural tests, prepare standardized coupons to verify mechanical properties against datasheet values. A surface roughness tester helps quantify Ra values-typical as-built nylon surfaces range from 5 to 15 microns Ra. If your design demands tighter tolerances or smoother finishes, incorporate CNC machining or resin infiltration to further refine the part. Document every build parameter-laser power, scan speed, layer thickness-so you can trace and reproduce optimal settings.
SLS is more than a prototyping tool; it’s a pathway to on-demand manufacturing. With powder blending strategies, you can tailor mechanical, thermal, or electrical properties by mixing base polymer with additives or conductive fillers. The future points toward multi-material sintering and larger build volumes that rival traditional injection molding in both speed and cost. Industry 4.0 integration means real-time monitoring of powder quality, laser alignment, and chamber conditions-pushing additive workflows into fully automated production lines. Sustainability gains traction as powder recycling rates climb above 80% and bio-based polymers enter the scene, reducing environmental impact. Whether you’re a design engineer, small workshop owner, or maker, SLS empowers you to transform digital ideas into functional reality-one finely sintered layer at a time.












