Location
Mount Vernon, WA 98274

Location
Mount Vernon, WA 98274
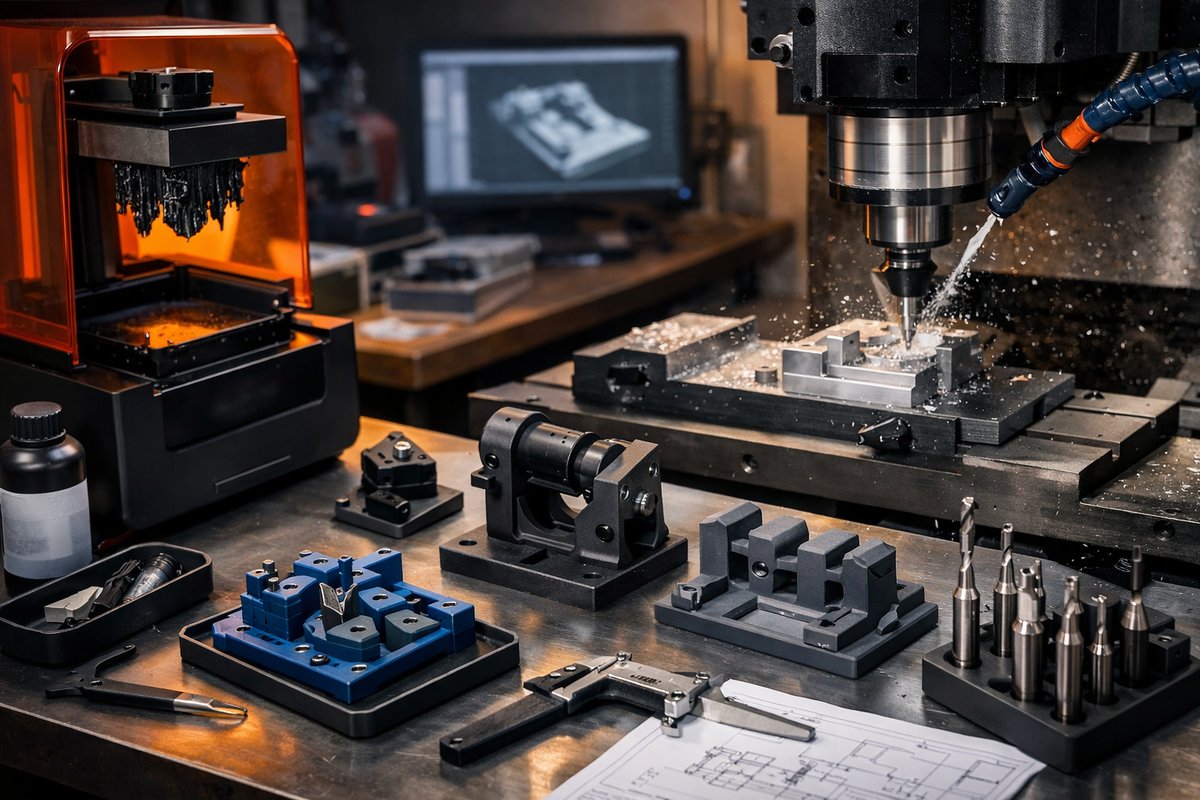
Discover how stereolithography (SLA) resin printing can revolutionize your machining workflow by creating high-precision jigs, mounts, and fixtures. This guide walks you through design considerations, print settings, post-processing steps, and integration with CNC routers and end mills-empowering you to blend additive innovation with subtractive accuracy.
Working at the intersection of additive and subtractive manufacturing opens new possibilities for precision, agility, and creative problem-solving. Instead of choosing between building up or cutting away, you can harness the strengths of both approaches: use an SLA 3D printer to rapidly produce complex shapes that serve as guides or fixtures, then refine critical surfaces with a CNC router or carbide end mill. This method speeds setup times, reduces material waste, and delivers consistent accuracy part after part.
Stereolithography excels at capturing fine details and delivering smooth surface finishes straight off the printer. Unlike filament-based systems, SLA uses a photopolymer resin cured by a laser or LCD light source to produce intricate geometries with layer heights as low as 25 microns. That level of resolution makes it ideal for jigs that must align cutting tools within a few tenths of a millimeter. Imagine printing a custom drill guide for a router table that perfectly locates each hole pattern-or a collet block that holds end mills at precise angles for chamfering operations.
Designing for SLA begins with thinking about support placement, orientation, and tolerancing. When you create your jig or fixture in CAD, plan to orient delicate features at an angle that minimizes unsupported overhangs. Position attachment tabs and alignment pins on flat faces to reduce support contact, then add sacrificial support towers to carry overhang loads. Be generous with clearance on mating parts-0.1 to 0.2 millimeters per side often ensures a snug but not binding fit. If the printed piece will house a metal router bit or end mill, model a slight taper in the hole diameter so you can sand or ream to final size after curing.
Once your model is ready, export it to an SLA-compatible slicer. Key settings include layer height, exposure times, lift speeds, and anti-aliasing. For mechanical jigs, use a 50-micron layer height to balance build speed and strength. Increase the bottom exposure layers to ensure solid adhesion to the build plate-six to eight layers often prevents peeling. Adjust lift speed and distance to avoid suction forces that can stress small features. Anti-aliasing smooths diagonal edges but can slightly blur pin tips, so test on scrap parts before committing to a full build.
After printing, immediate post-processing makes all the difference in accuracy. Rinse the part in isopropyl alcohol, agitating gently to remove uncured resin from crevices. A dual-stage wash tank or ultrasonic cleaner helps reach deep pockets around alignment pins. Once clean, let the part air dry completely before moving to the UV curing station. Cure at the recommended wavelength and time-typically 405 nanometers for two to five minutes per side-to achieve full hardness and dimensional stability. Remove supports with flush cutters, then use fine-grit sanding sticks to smooth contact marks. If you modeled taper-fit holes, now is the time to use a diamond file or precision reamer to bring them to exact size.
With your printed jig in hand, it’s time to integrate it into a subtractive workflow. Secure the piece to your CNC router table or drill press with double-sided adhesive tape or low-profile clamps. The rigid polymer of a cured SLA print resists splitting under clamp pressure while providing a stable platform for tool guidance. Install a carbide end mill or router bit into the printed collet mount, and dial in your zero-point so the tool tip aligns with the printed guide bushings. Slow feed rates-around 100 millimeters per minute for plastics-minimize chatter and ensure a clean pass.
Choosing the right resin and cutting tools tailors the jig’s performance to your project. Standard gray engineering resin offers a good balance of strength and stiffness for general-purpose fixtures. For higher wear resistance and heat tolerance, select a tough resin rated for thermal stability up to 100°C. Combine this with a set of 1/4″ and 1/8″ carbide end mills in square and ball-nose profiles to handle both straight cuts and surface finishing inside printed channels. A router bit with a 45° chamfer can produce clean beveled edges on printed parts-a useful touch when creating aesthetic prototypes.
Precision relies on calibration at every step. Level the SLA build plate carefully and perform a test print of a calibration cube before tackling your jig. Verify dimensions with a digital caliper, logging deviations and adjusting slicer compensation values. On the CNC side, run a corner-square test on the printed fixture to confirm zero-point accuracy. If you notice any shift between printed features and machined cuts, adjust your tool-offset table and repeat the test. Consistent verification turns variability into reliable repeatability.
To illustrate the workflow, consider the case of creating a custom end mill collet block for angled slotting. You design a two-part block in CAD, with alignment pins and mating faces clearly defined. After slicing, you print in tough resin at 50 microns, then wash, cure, and clean up the parts. A precision reamer brings the collet holes to within 0.02 millimeters of the end mill diameter. You assemble the block, clamp it to the CNC bed, and install a 1/4″ end mill. By following the printed guides, you mill angled slots at exactly 30°, producing a pair of matching brackets for a metal enclosure. Without the jig, achieving consistent angles by eye or manual measurement would take far longer and risk error.
Additive manufacturing and subtractive finishing can be greener together. SLA prints generate minimal waste-unused resin can be filtered and reused, support towers are small enough to recycle, and failed prints often yield reusable material after reprocessing. Combine that with the efficiency of CNC finishing to remove only the bare minimum of material, and you build parts with a fraction of the resource consumption of traditional machining alone. You gain agility in prototyping without sacrificing the refinement of precision machining.
Whether you’re a hobbyist exploring new methods or a shop foreman streamlining production, integrating SLA jigs into your CNC workflow amplifies both speed and accuracy. You’ll spend less time tweaking setups and more time running parts-and you’ll discover creative ways to blend the strengths of light, resin, and high-speed steel. Once you’ve mastered calibration, slicing, and post-processing, every new fixture becomes another opportunity to innovate.
Curiosity drives the craft of making. By merging resin printing with end mills and routers, you step beyond the limits of one technique alone. You democratize precision-transforming what was once a time-consuming, wasteful process into an adaptable, resource-smart workflow. Now it’s your turn: design that next fixture, dial in your SLA printer, fire up the CNC router, and watch your printed jigs guide each tool path with unwavering consistency.












