Location
Mount Vernon, WA 98274

Location
Mount Vernon, WA 98274
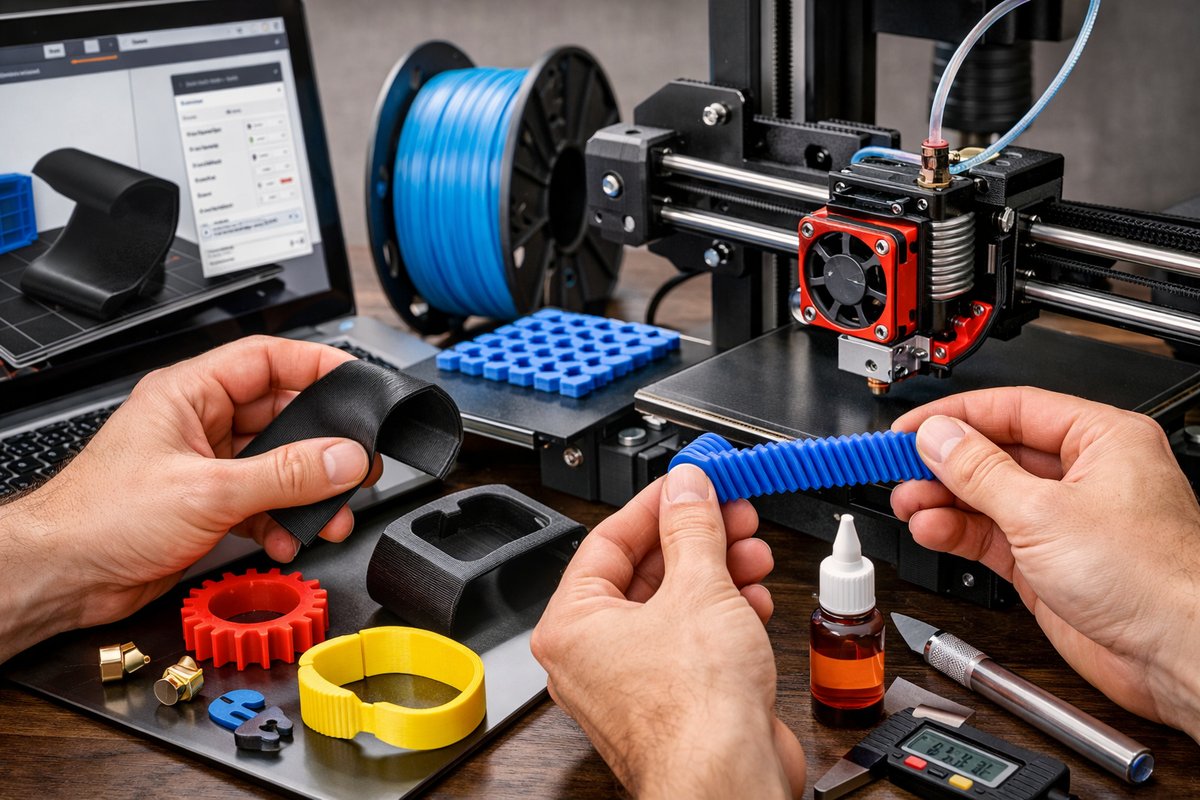
Flexible thermoplastic polyurethane (TPU) opens a world of resilient, elastic parts that snap, bend, and stretch without breaking. This guide walks you through the essentials of printing with TPU on a standard FDM machine, sharing tips on hardware upgrades, slicer settings, and post-processing techniques to help you achieve smooth, durable results.
Additive manufacturing isn’t just about rigid prototypes and architectural models. With flexible filaments like TPU, you can create functional hinges, phone cases, wearables, and impact-absorbing bumpers-all in a single print. TPU melds the convenience of FDM machines with the performance of silicone-like materials. If you’ve struggled with under-extrusion, stringing, or poor layer adhesion on flexible parts, this deep dive will equip you with the know-how and gear to succeed.
High-level Overview of TPU Printing
TPU is a class of thermoplastic elastomer combining toughness with elasticity. Unlike PLA or ABS, TPU deforms under stress and springs back into shape, making it ideal for gaskets, vibration dampers, and custom grips. The challenge lies in feeding a soft, bendy filament through a hot end without kinking or jamming. A well-tuned machine, the right slicer profile, and proper bed preparation can transform your printer into an elastic artifact factory.
Essential Hardware and Upgrades
While many stock FDM printers can handle TPU, some upgrades dramatically improve reliability. A direct-drive extruder reduces the filament path length, eliminating the risk of buckling inside Bowden tubes. A textured or spring-steel build plate with a PEI surface offers consistent adhesion without messy adhesives. A part cooling fan shroud optimized for gentle airflow helps each layer solidify without deformation, preserving crisp details on overhangs and bridges. Finally, digital calipers and a precision filament spool holder let you monitor filament diameter and prevent tangling-all critical for smooth extrusion.
Selecting the Right TPU Filament
TPU comes in shore hardness scales typically ranging from 85A (more flexible) to 95A (stiffer). Beginners may prefer a 95A variant to reduce stringing and improve dimensional accuracy. Look for a tightly wound spool with a tolerance of ±0.03 millimeters in diameter. A moisture-resistant packaging or a filament dryer is recommended, since TPU absorbs ambient humidity faster than PLA, leading to bubbling and poor layer bonding.
Slicer Configuration and Print Settings
Start with a nozzle temperature between 220 °C and 240 °C and a bed temperature of 40 °C to 60 °C. Lower speeds-around 20 to 30 mm/s-help maintain control over the filament. Disable retraction or minimize retraction distance (0.5 mm to 1.0 mm) and slow down retraction speed to prevent filament grinding. Enable a coasting or wipe tower feature if your slicer supports it, and add a small brim to secure corners. Set infill to 20 %-30 % for most flexible parts; higher densities can make your prints feel more rigid than intended.
Printer Setup and Calibration
Ensure your extruder gears are clean and free of debris, as molten TPU can catch stray plastic and slip. Calibrate your extruder steps/mm by extruding 100 mm of filament and measuring the actual output. Level your bed with a feeler gauge or paper method, aiming for a consistent 0.1-0.2 mm nozzle-to-bed gap across the surface. If you have a flexible build plate, peel your prints while still warm to reduce warping or damage. A simple enclosure can help maintain stable temperatures and prevent drafts from cooling sensitive layers too quickly.
Optimizing Flow and Adhesion
TPU’s elasticity demands a steady, pulse-free extrusion. Adjust flow compensation in your slicer by +5 % to +10 % if you notice under-extrusion, or dial it back if over-extrusion causes blobbing. For adhesion, a light layer of standard glue stick on glass or a thin application of specialized 3D printing adhesive ensures your parts stay put during the entire print. Avoid excessive raft usage-TPU exhibits excellent bed grip when settings are dialed in correctly, letting you skip messy support structures in many cases.
Printing Flexible Joints and Hinges
One of TPU’s killer apps is integrated hinges and living joints. When designing these features, leave a small gap of 0.3-0.5 mm between moving parts. This clearance accommodates the material’s springiness while preventing fusing. Print parts in their assembled orientation when possible, so the layers align with the direction of hinge motion. Slower speeds and additional wall perimeters (3-4) create sturdy, fatigue-resistant joints that bend thousands of cycles.
Post-Processing and Finishing Techniques
TPU parts usually emerge clean enough for immediate use, but you can apply simple post-processing for smoother surfaces. Light sanding with 400- to 800-grit sandpaper refines rough areas without compromising elasticity. A quick wash in isopropyl alcohol removes residual oils and boosts friction for grips. If you need vibrant color or UV protection, a thin dip coat of flexible spray paint seals the surface without cracking during flexion.
Troubleshooting Common Issues
Stringing and oozing? Reduce or disable retraction, increase travel speed, and experiment with a coasting function. Layer separation? Raise nozzle temperature in 5 °C increments or slow down cooling fans. Poor bed adhesion? Re-level the bed, adjust first-layer height, or clean the build surface with isopropyl alcohol. Jammed extruder? Check for filament residue in the hobbed gear, and ensure your filament diameter is consistent. Regular maintenance and calibration keep these variables in check.
Applications and Project Ideas
Once you’ve mastered TPU printing, the sky’s the limit. Design custom watch bands, shock-absorbing drone bumpers, ergonomic grips for tools, or even wearable prototypes. TPU’s biocompatible variants are suitable for custom orthotics and insoles. Small-batch production of gaskets and seals offers a low-waste alternative to traditional molding. Whether you’re an engineer prototyping flexible couplings or a hobbyist crafting kid-proof toys, TPU additive manufacturing puts resilience in your hands.
Sustainability and Responsible Use
TPU prints are inherently more durable than brittle plastics, extending the service life of parts and reducing single-use waste. Many TPUs are partially recyclable or compostable under industrial conditions. When a print reaches end-of-life, cut it into small pieces and explore local recycling programs that accept elastomeric materials. Adopting flexible filament printing encourages thoughtful design: parts must account for stress distribution and lifecycle, fostering a culture of repair and reuse.
Embracing the Elastic Frontier
Flexible filament printing adds a new dimension to additive manufacturing, merging resilience with the design freedom of FDM. With the right hardware upgrades, calibrated slicer settings, and post-processing know-how, even beginners can achieve professional-grade results. Dive into TPU printing to expand your project portfolio, tackle real-world engineering challenges, and discover the art of elasticity in plastic. The next time you need a part that bends instead of breaks, you’ll know exactly where to turn.












