Location
Mount Vernon, WA 98274

Location
Mount Vernon, WA 98274
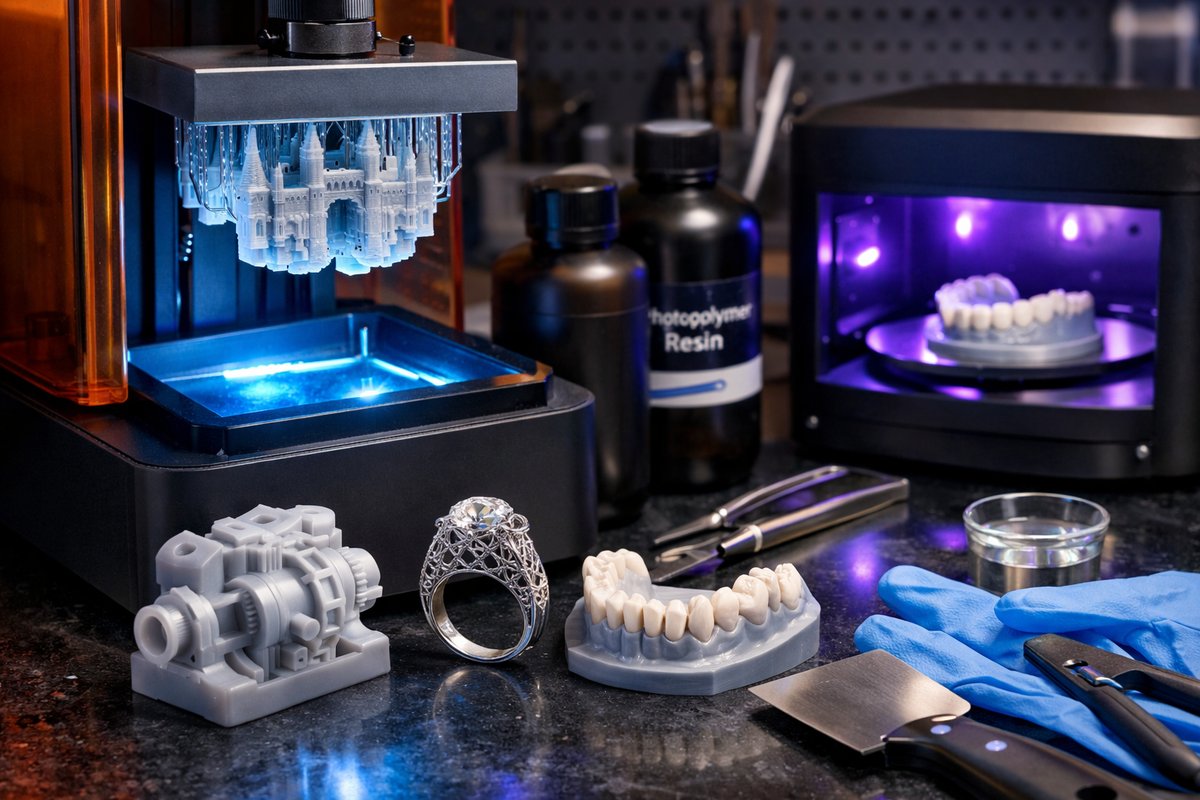
Stereolithography uses UV light to transform liquid resin into finely detailed solid models, ideal for prototypes, jewelry, and dental applications. This guide covers everything from selecting a resin 3D printer and photopolymer formulations to mastering slicing settings and post processing, empowering you to bring digital designs to life in your own workshop.
Additive manufacturing has unlocked new ways to build detailed objects by adding material layer by layer. Stereolithography or SLA uses a light source to cure liquid photopolymer resin into solid forms with remarkable precision. In this guide we explore how to set up a desktop resin printer, optimize print parameters, and master post processing steps. Whether you are crafting miniature figures, creating dental models, or prototyping intricate parts this workflow will help you gain confidence in SLA printing and launch your first project from digital design to glossy finished part.
The appeal of SLA printing lies in its ability to capture fine details and produce smooth surfaces straight off the printer. Because each layer is cured by a uniform light pattern the layered texture is less visible compared to filament based approaches. SLA excels at complex geometries, overhangs, and thin walls that would challenge other processes. Photopolymer choices range from rigid to flexible resins and special formulas can mimic engineering plastics. If your project demands detailed prototypes or show quality models SLA is a natural fit for hobbyists, small workshops, and even medical and dental labs.
At the heart of an SLA setup are several core components. A resin 3D printer houses a vat filled with photopolymer resin and a transparent film that separates liquid from the light source below. An LCD or DLP panel exposes each layer to UV light in precise patterns. Above sits the build plate which lifts cured layers out of the resin. Feeding digital models into the printer requires slicing software that slices the design into layers and generates support structures. Post processing tools complete the flow with washing and curing stations that clean and strengthen prints.
When selecting a desktop resin printer pay attention to the light engine type. Monochrome LCD panels offer faster cure times and longer life spans compared to RGB screens. Check the resolution measured in microns per pixel to estimate XY detail. A printer with a 50 micron pixel size will yield sharper edges and finer textures than a lower resolution device. Consider build volume as well since larger vats allow taller or wider projects but may increase resin consumption. A balance between resolution, speed, and volume will guide your decision based on project priorities and budget.
Choosing the right photopolymer resin can determine print quality and application performance. Standard resins are optimized for general prototyping and offer good detail resolution. Engineering or specialty resins deliver improved toughness, heat resistance, or flexibility for functional parts. Castable resin formulas are tailored for jewelry and investment casting workflows with low ash content after burn out. Resin viscosity affects how easily the material flows in the vat and may require temperature controls in cooler shops. Many resins also come in color tints that reduce post processing time by hiding layer lines.
The resin vat and its FEP film layer are wear items that follow maintenance schedules. After each print cycle inspect the film for scratches, cured resin fragments, or clouding. A damaged film can cause print failures or distortions. Plan to replace FEP film when opacity increases or if small holes appear. Some vats feature quick release mechanisms for fast swaps during multi material runs. Always level or calibrate the build plate after installing a fresh vat assembly to maintain consistent first layer adhesion and overall print accuracy.
Slicing software bridges digital design to hardware execution. Popular slicers for resin printing let you adjust exposure time per layer to fine tune adhesion and cure depth. Support generation tools allow you to place and modify support points based on overhang angles and part orientation. Denser supports yield more stability but require more cleanup later. Exposure settings may vary with resin type or ambient temperature so running a small test print can help dial in ideal parameters. Some slicers also include built in resin profiles for common materials to accelerate setup.
Safety and workspace considerations should guide your setup from day one. Liquid resin contains photoinitiators and monomers that can irritate skin or eyes. Always wear nitrile gloves and protective goggles when handling uncured resin or cleaning components. Ensure your printing area is well ventilated or use an air purifier with activated carbon filters to reduce fumes. Organize a dedicated space for resin storage and uncured pour overs to contain accidental spills. Keep liquid resin out of reach of children or pets and store containers upright in a cool dry spot away from direct light.
The basic print workflow begins with model preparation and vat filling. Load your STL file into the slicer, orient the part to minimize supports on visible faces, and generate supports. Pour resin to the recommended fill line, slide the vat into place, and secure the build plate. Start the print job and monitor the first layers to confirm proper adhesion. A well calibrated first layer will be smooth and fully formed. After the initial layers the printer can run unattended but periodic checks help catch early issues before time and material are lost.
Once printing is complete carefully remove the build plate and transfer the part to a wash station. Submerge the model in isopropyl alcohol or a specialized resin cleaning solution. Gentle agitation or a brush can help dislodge uncured resin from crevices. After rinsing let the part dry completely to avoid trapped solvent. A UV curing station or even a DIY setup with UV LEDs will finish the polymerization process. Rotate the part slowly under the curing light to ensure an even finish. Fully cured prints gain mechanical strength and resist tackiness to the touch.
Troubleshooting common issues can save time and material waste. If layers delaminate or prints detach from the build plate check the level calibration and first layer exposure. Underexposure may prevent proper adhesion while overexposure can cause bottom layer flattening or excessive supports. Resin sticking to the film can indicate too little liquid or a worn FEP sheet. Blurry edges or poor detail often trace back to low resolution settings or excessive layer thickness. Keep a print log noting exposure and support settings for each resin type to build a reliable reference.
Beyond functional prototypes SLA opens creative possibilities across industries. Jewelry designers use castable resins to produce fine patterns for metal casting. Dental labs craft crowns and surgical guides with biocompatible formulas. Artists sculpt highly detailed miniature figures for tabletop games. Engineers validate complex fluid channels in microfluidic prototypes. Hobbyists build interchangeable parts for scale modeling. This versatility makes SLA one of the most valuable tools in a maker studio or professional workshop that demands both precision and aesthetic appeal.
Responsible use of photopolymer resin extends to environmental and disposal practices. Uncured resin must be collected and cured before disposal to neutralize reactive chemicals. Many workshops keep a dedicated container under UV light for leftover resin until it solidifies. Filtered resin can be returned to the vat but only after removing cured debris. Rinse solutions with solvent must be replaced regularly and never poured down drains. Always follow local regulations for chemical disposal and consult material safety data sheets to maintain an eco conscious workflow.
With the essentials of SLA printing demystified you can take your digital designs into the physical world with confidence. Starting from selecting a reliable resin printer and compatible materials to mastering slicing and post processing this step by step guide equips you to tackle your first project. The sense of satisfaction when a finely detailed model emerges from a pool of liquid resin is hard to replicate by other means. Gather your components, set up a safe workspace, and let the layers of possibility unfold one cured frame at a time.












