Location
Mount Vernon, WA 98274

Location
Mount Vernon, WA 98274
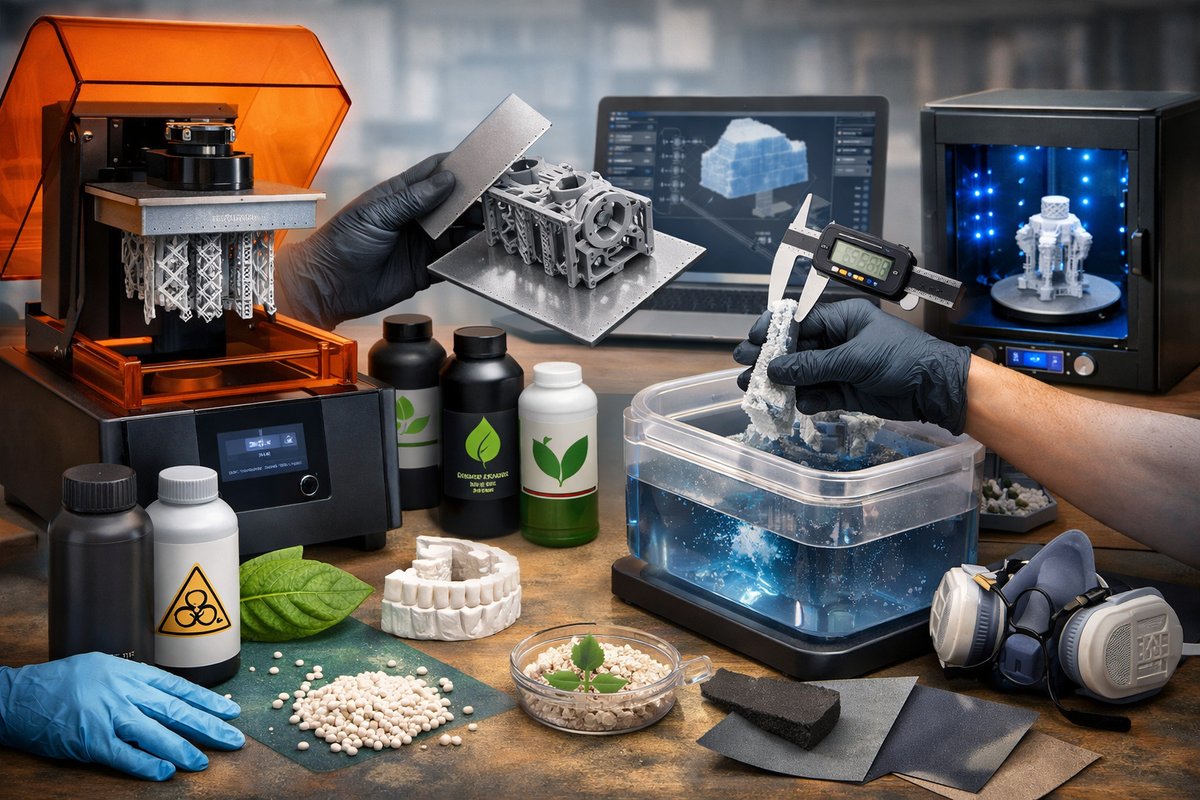
Unlock the power of resin-based 3D printing with this step-by-step walkthrough of stereolithography (SLA). You'll learn how to choose the right equipment, dial in printing parameters, manage post-processing, and troubleshoot common issues-all while exploring sustainable materials and safety best practices.
Picking a resin 3D printer starts with understanding your output goals. Desktop SLA systems vary by build volume, pixel resolution, light source, and price point. A compact machine with a 5-inch monochrome LCD can achieve 50-micron XY resolution, perfect for miniatures, dental models, or fine-detail prototypes. Systems with larger vats and higher-wattage UV LEDs speed up prints but demand more workspace and ventilation.
Consider a model that uses a removable resin vat with a durable FEP film liner. This makes cleaning and swapping materials easier while reducing waste. Look for a removable build platform machined from aluminum alloy-its flatness ensures repeatable first layers-and a tilt-release mechanism to minimize peeled-layer stress.
Value-driven tip: seek an open-source or offline slicing workflow to keep your designs private. Many printers support local USB or network drives so your files never leave your control.
Resins come in flavors: standard for visual prototypes, engineering-grade for mechanical strength, flexible for wearables, and castable for jewelry or dental work. Standard resins cure into brittle plastics, so if you need snap-fits or load-bearing parts, choose a tough or high-impact formulation. Water-washable resins simplify cleanup-skip isopropyl alcohol by rinsing prints in warm water. Biobased and low-odor formulas reduce volatile emissions, aligning with sustainability goals.
Pay attention to:
• Wavelength compatibility: resin manufacturers publish recommended UV exposure times at 405 nm or 385 nm. Match your printer’s light source to printed guides.
• Viscosity: thicker resins require slower recoating and may drag on supports. Thin, low-viscosity blends spread faster between layers.
• Color additives: tinted resins can hide minor layer lines and accentuate textures. Translucent formulations offer unique lighting effects for display pieces.
Resin printing demands careful handling. Set up in a well-ventilated room or under a fume-hood enclosure. Wear nitrile gloves, safety glasses, and a respirator rated for organic vapors. Keep a sealed container for waste resin and filter any unused liquid through activated charcoal before discarding.
Essentials for a clean, sustainable station:
• UV curing chamber with adjustable timers and turntable.
• Graduated resin storage bottles-airtight to extend shelf life.
• Reusable plastic trays and silicone scrapers-avoid single-use paper towels.
• Filtered IPA sprayer and sealed solvent bins for rinse cycles.
• Small parts organizer for printed fittings, supports, and spare vat screws.
Set up a dedicated hand-washing station nearby so you can remove any drips immediately. A spill mat and absorbent pads keep countertops safe.
Your 3D file needs proper orientation and support structures. Open your model in a slicer designed for resin printing. Follow these steps:
• Orient at a slight angle-tilting 20-30° reduces suction forces and promotes even resin flow.
• Generate supports that anchor high-overhang areas. Adjust tip diameter to 0.4 mm for fine details or up to 1.2 mm for robust fixtures on heavy parts.
• Set a 3 mm gap between support base and part surface to ease removal.
• Define layer thickness: 25-50 microns is standard for high resolution. Thicker layers (75-100 microns) print faster but show visible strata.
Leverage trial prints: use a 1 cm cube with text embossed to verify exposure and XY accuracy before committing to large-scale items.
Dialing in exposure time is crucial. Under-expose, and layers peel off; over-expose, and small features blur into blobs. Manufacturers often publish a baseline-start there and adjust by 2-4 seconds per layer based on your results.
Key parameters:
• Bottom layers: 5-8 layers at 50-80 seconds each for strong bed adhesion.
• Normal layers: 5-15 seconds each, depending on resin type.
• Lift speed: 1-2 mm/s and retract at 3-5 mm/s to minimize suction.
• Number of bottom layers: 5-10 to ensure the object won’t detach mid-print.
Monitor the first layers closely. A thin resin film on the build plate is normal, but gaps or incomplete coverage signal you need to re-level the bed. Z-axis miscalibration will lead to layer shifts.
Once the print completes, slide the build platform out, tilt it in the vat to let excess resin drip back in, then transfer it to a rinse station. For IPA-based cleanup:
• Shake or agitate prints in 70-90% IPA for 1-3 minutes.
• Rotate prints in a second fresh-IPA bath for a final rinse.
• Air-dry in a dust-free area before curing.
For water-washable resins, use warm water and mild detergent. Be sure to collect wastewater in a sealed reservoir for proper disposal.
Curing transforms a tacky print into a rigid part. Place items in a UV chamber, rotating every few minutes, for 10-20 minutes total. Overcuring can make parts brittle; undercuring leaves uncured resin that can stain skin or clothing.
Problem: Prints fail late in the process. Solution: Check vat film for scratches or clouding-replace FEP sheets every 20-30 print cycles. Imperfections trap resin and cause layer separation.
Problem: Supports are fused to parts. Solution: Increase support tip diameter or add additional anchor points at problematic overhangs. Adjust supported area to distribute peeling forces evenly.
Problem: Surface tackiness after curing. Solution: Extend UV exposure in 5-minute increments. If prints darken or warp, rotate further from the UV source and cure in shorter bursts.
Problem: Resin smells or irritates. Solution: Switch to a low-odor, low-VOC formulation. Add activated charcoal filters to your ventilation path or enclose the printer in an air-scrubbing enclosure.
SLA resin printing unlocks a level of detail and surface smoothness that desktop FDM can’t match. Whether you’re a hobbyist creating game miniatures, a maker prototyping snap-fit enclosures, or a small business printing dental molds, mastering the technique requires curiosity and patience. By choosing sustainable resins, refining printing parameters, and maintaining a safe, organized workspace, you’re not just building objects-you’re cultivating a creative practice.
The next time you conjure a design in CAD, know that each layer of cured resin brings it one step closer to reality. With a disciplined workflow, you’ll learn to trust the process, troubleshoot around setbacks, and celebrate every crisp overhang and smooth surface finish. Your hands-on journey with SLA is more than a fabrication method-it’s a gateway to infinite possibilities.












