Location
Mount Vernon, WA 98274

Location
Mount Vernon, WA 98274
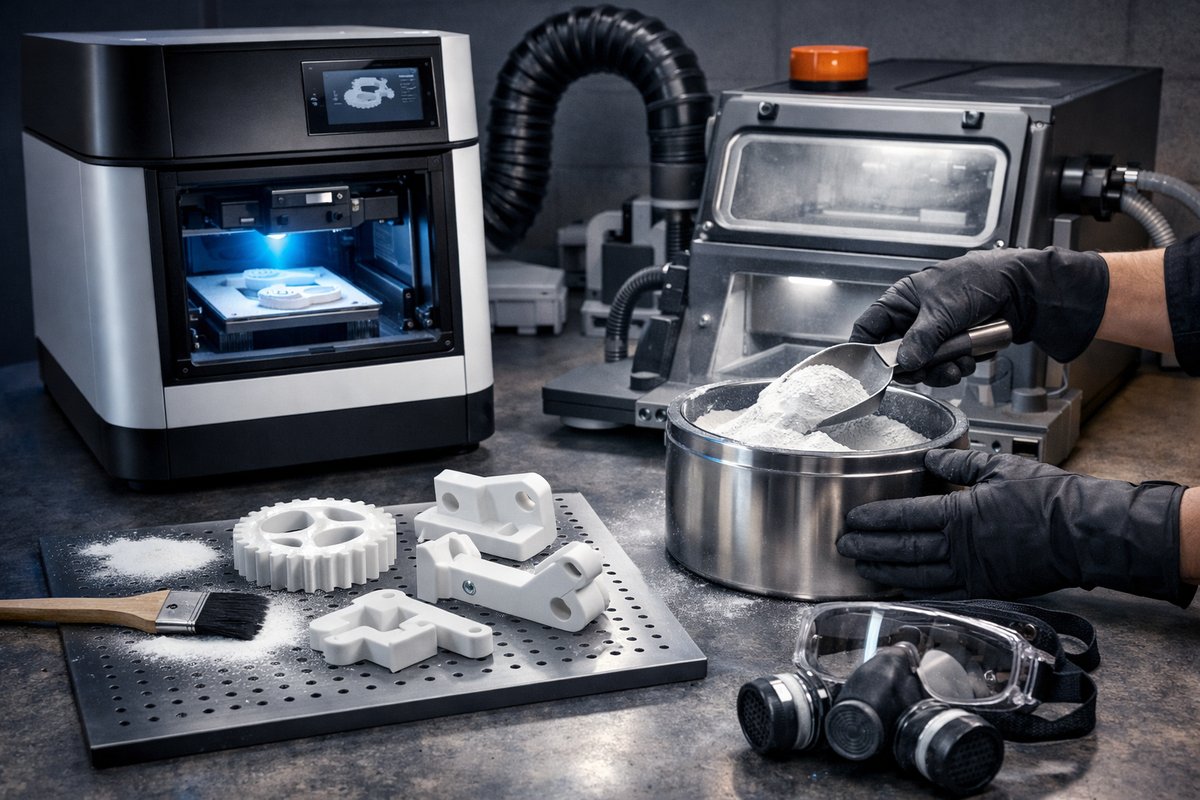
Selective Laser Sintering (SLS) brings industrial precision to the desktop, fusing fine polymer powders into durable, functional parts layer by layer. This guide walks you through choosing a printer, mastering nylon powder handling, ensuring safety, and refining your workflow for professional-grade results.
Adobe additive techniques often focus on filament or resin, but desktop SLS-Selective Laser Sintering-opens a different chapter. Instead of filament extrusion or vat polymerization, SLS relies on a high-power laser that sinters powdered material into solid layers. No support structures are needed, since unfused powder cushions overhangs and complex geometries. The result is robust, isotropic parts ideal for functional prototypes, jigs, enclosures, and small-batch production runs. By the end of this walkthrough, you’ll understand hardware essentials, powder management, software setup, post-processing, and advanced tips to unlock industrial strength results at a fraction of traditional cost.
Embarking on a desktop SLS build starts with hardware choices. Key specifications include laser type and wattage, build chamber dimensions, temperature control, and powder distribution systems. Most desktop units use a CO₂ laser in the 10-30 watt range-powerful enough to sinter nylon powders yet compact for benchtop use. Look for a heated build chamber capable of maintaining 160-180 °C to prevent warping and ensure uniform layer adhesion. A precision recoating mechanism spreads fresh powder in layers as thin as 50-100 microns. Consider whether you need an automated powder mixing station or are comfortable manually blending virgin and used powder. Modular printer kits can save cost but demand careful calibration, while turnkey machines offer plug-and-play convenience.
Material selection is equally critical. Nylon PA12 powder is the most common choice, prized for strength, flexibility, and biocompatibility. When choosing a supplier, verify powder granulometry-particle sizes around 20-60 microns sinter smoothly without scorching. Fresh powder offers the best surface finish and mechanical properties, but recycling saves cost and waste. A good rule is to blend around 30-50% reused powder with virgin material, adjusting based on part density and complexity. Store powders in airtight, moisture-resistant containers with desiccant packs to avoid humidity uptake. Before each build, preheat unused and reclaimed powder in a drying oven at 60 °C for several hours to remove residual moisture, which can cause porosity and poor sinter quality.
Handling fine polymer powders safely is nonnegotiable. Nylon PA12 dust can pose inhalation risks and may ignite in high concentrations. Always operate your SLS printer within a well-ventilated enclosure equipped with HEPA filtration or connect to a dedicated fume extraction system. Wear a P95 or P100 particulate respirator, nitrile gloves, and protective eyewear when loading or unloading powder. Keep work surfaces free of loose material by using static-dissipative mats and an antistatic brush. After each build, use a dedicated vacuum cleaner with HEPA filter-never a general-purpose vacuum-to clean the chamber, powder hopper, and build platform. Proper housekeeping prevents dust buildup and cross-contamination between materials.
Once your machine and materials are staged, software setup determines part quality. Desktop SLS software often includes slicing, nesting, and thermal compensation tools. Import your 3D model in STL format and orient parts for even heat distribution. Unlike FDM or resin printing, SLS delivers support-free builds, so you can pack parts in all axes to maximize throughput. Nesting algorithms arrange objects to minimize idle laser travel. Choose layer thickness based on part detail and build speed: 60 microns yields sharper features at slower rates, while 100 microns speeds up longer runs with slightly grainier surfaces. Thermal shrinkage compensation is crucial-ensure the slicer applies the correct scale factor so finished dimensions match your CAD design.
Starting a build involves loading preheated powder into the feed reservoir and setting the correct preheat cycle. The chamber gradually warms to just below sintering temperature to prevent thermal shock. Calibration routines confirm laser focus, galvo alignment, and bed levelness before sintering begins. Keep an eye on the build time estimate; a fully loaded 120 × 120 × 120 mm chamber can take anywhere from four to eight hours, depending on layer height and laser power. Many desktop SLS systems support remote monitoring via web interface or dedicated mobile apps, showing temperature graphs, remaining powder, and error alerts so you can stay informed without constant physical supervision.
After sintering completes, resist the urge to open the chamber immediately. Controlled cooling-often four to eight hours-reduces warping and internal stresses as the part transitions from high build temperatures to ambient. Some printers feature a programmable cool-down profile, but if not, allow the machine to sit undisturbed until chamber temperatures drop below 50 °C. When you finally retrieve your parts, they’ll be encased in loose powder. Use a static-dissipative brush and compressed air to liberate most particles. Collect this material and sift it through a fine mesh screen to separate reusable powder from clumps or debris. Store reclaimed and virgin powder separately, labeling batches clearly to maintain mix consistency.
Post-processing transforms parts from rough sintered shapes to polished, ready-to-use components. Start with gentle media blasting-aluminum oxide or glass beads at low pressure to remove remaining powder and smooth grainy surfaces. For sharper details, mask areas you want to preserve and blast only select faces. Sanding with fine grit (400-600) further refines the finish. Light dyeing or infiltration methods can improve the surface sheen: full-immersion dye baths impart uniform color, while low-viscosity epoxy infiltration seals pores and boosts strength. Always rinse and dry thoroughly before any chemical treatments. When parts have small holes or tight tolerances, verify dimensions with a precision digital caliper and correct any features by focused sanding or reaming.
Precision often defines success with SLS prototypes. A calibrated digital caliper is invaluable for measuring critical features to ±0.02 mm. Threaded inserts or shot peening can upgrade plastic threads for repeated assembly. Bonding SLS nylon parts with solvent-based adhesives creates strong joints-acetone-based formulations lightly dissolve nylon surfaces to form molecular bonds. If you need overmolded electronics, design cavities with snap-fit tolerances accounting for thermal shrinkage, then pot components in epoxy after testing. For extreme load-bearing applications, reinforce parts with carbon fiber rods or metal fasteners integrated post-build. SLS parts can accept tapping or drilling operations much like injection-molded nylon, making them versatile for mechanical assemblies.
Advanced users can explore multi-material or gradient sintering by mixing specialty powders. Glass-filled nylon bolsters stiffness and thermal stability, while ceramic or metal-infused blends enable heat-resistant parts. Some desktop SLS platforms support dual-zone build chambers, swapping materials mid-print to create distinct sections in a single object. To boost eco-friendliness, investigate biodegradable polymer blends or post-consumer recycled feedstocks. Monitoring powder degradation through differential scanning calorimetry or melt flow index testing helps you maintain consistent results as you push powder reuse rates higher. The intersection of materials science and additive workflow turns the SLS printer into a laboratory for rapid innovation.
Selective Laser Sintering on a desktop level is no longer just an industrial curiosity-it’s a practical tool for designers, engineers, and makers. From robust functional prototypes to small production runs of intricate parts, it bridges the gap between concept and reality without expensive tooling. By selecting the right printer, mastering powder handling, observing strict safety protocols, and refining post-processing techniques, you can unlock a level of precision and durability that filament or resin methods simply cannot match. Now that you’ve learned the essentials, layer by layer, it’s time to sinter your first nylon parts and discover the full potential of desktop SLS printing.












