Location
Mount Vernon, WA 98274

Location
Mount Vernon, WA 98274
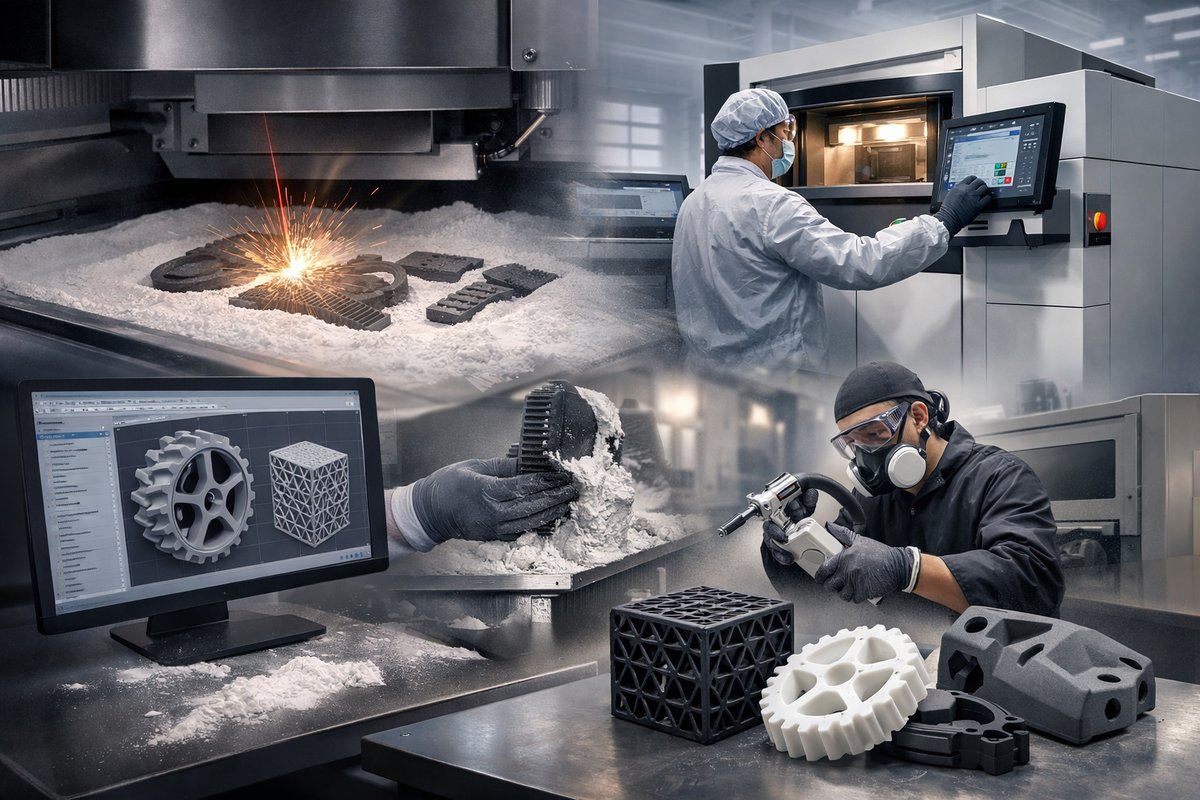
Selective Laser Sintering (SLS) opens doors to support-free printing, complex geometries, and durable nylon parts-all from a single powder bed fusion platform. Dive into this step-by-step guide that walks you through design tweaks, machine setup, safe handling, and post-processing techniques to get clean, functional prototypes and end-use parts.
Selective Laser Sintering (SLS) stands out among additive manufacturing techniques for its ability to produce robust thermoplastic parts with intricate detail-no support structures required. Originally confined to industrial labs, desktop SLS machines are now pushing the technology into small-batch prototyping and on-demand manufacturing. In this hands-on guide, you’ll learn how to plan your model, prepare your printer and materials, execute a print, and finish parts so they’re ready for real-world use.
Before you press print, it’s crucial to tailor your CAD file to the unique demands of powder bed fusion. Unlike FDM or resin printing, SLS relies on a sweeping laser selectively fusing powdered particles layer by layer. That means thin walls, enclosed cavities, and deep overhangs are possible without added supports-but only if your digital design accounts for powder flow and escape. Aim for a minimum wall thickness of 0.8-1 mm for nylon, and create small drainage holes in hollow sections so unfused powder can be vacuumed out later. Maintain at least 0.5 mm clearance between moving or interlocking parts to avoid fusion during printing.
Once your model is optimized, export it as an STL or 3MF file. Then open it in the SLS printer’s slicing software. Here, you’ll set layer thickness (commonly 80-120 microns for nylon), laser power, scan speed, and part orientation. Many desktop systems offer presets, but fine-tuning these parameters can improve surface quality or mechanical strength. Orient load-bearing faces horizontally to maximize tensile strength along bed layers, and spread multiple parts across the build area to balance heat distribution and reduce warping.
With your digital layout ready, it’s time to prepare the powder bed. Ensure your workspace is clean and well-ventilated-nylon powder is inert but can create a fine dust. Wear a protective respirator mask rated for fine particulates, nitrile gloves, and safety goggles. Empty any leftover powder from a previous cycle and sift it through a mesh station to re-use the finer particles. Load fresh nylon powder into the hopper or reservoir chamber, then set the bed temperature to just below the melting point of the polymer (typically around 140-150 °C for PA12). Preheating the entire powder bed stabilizes the thermal environment, reducing internal stresses and warping.
Start the print and monitor the first few layers to confirm the laser is sintering correctly. A well-calibrated laser should produce a consistent mid-tone matte finish on the fused surface. If you notice under-sintering (powder falling away when you tilt the bed) or over-sintering (edges bleeding beyond the intended outline), pause the job and adjust the laser power or scan speed in small increments. Modern desktop SLS software often provides on-the-fly tweaking, but refer to the material datasheet for safe parameter limits.
After printing, allow the chamber to cool fully before opening-rapid temperature changes can introduce cracks. Carefully tilt the powder bed to pour unfused powder into the sifting station. Use a silicone spatula or plastic scoop to help dislodge loose powder from crevices. Anything you recover can be mixed with fresh powder (up to a recommended ratio of 30:70 old to new) for the next build. This not only reduces waste but also saves on material costs over time.
Now comes post-processing. The parts emerging from an SLS print are free of supports but often carry a thin layer of powder clinging to surfaces and trapped inside cavities. Begin by gently brushing off loose particles with a soft-bristle brush. For deeper cleaning, a bead blasting cabinet filled with fine glass beads will reveal a uniform, slightly glossy surface-ideal for functional prototypes or jigs. If you plan to dye your parts, bead blasting opens the surface pores and ensures even color absorption.
For functional testing or end-use applications, you might want to strengthen or seal your prints. An immersion in a polymer sealant or epoxy bath can fill surface pores, increase tensile strength, and produce a smoother finish for cosmetic parts. Alternatively, vapor smoothing with a safe solvent can round off layer lines-though it may reduce dimensional accuracy, so reserve this for non-critical shapes.
Safety and sustainability go hand in hand. Dispose of or recycle exhausted powder according to your local regulations-many nylon powders can be repurposed by specialty recycling firms. Maintain your sifting station and filters regularly to minimize airborne dust, and store unused powder in airtight containers away from direct sunlight and moisture.
Experimentation is key. Try blending in a small percentage of glass bead or aluminum powder to create composite parts with enhanced stiffness or thermal conductivity. Test variations in layer thickness to fine-tune surface finish versus build speed. Document each parameter set and result so you can replicate successful prints or diagnose issues swiftly.
That’s the essence of desktop SLS: a blend of digital precision, material management, and hands-on finishing techniques. The rewards include parts with isotropic mechanical properties, intricate lattices, and surface details that rival injection molding prototypes. With the right powder, a reliable sifting station, a bead blasting setup, and protective gear, you’ll unlock a new dimension of additive manufacturing at home or in a small workshop.












