Location
Mount Vernon, WA 98274

Location
Mount Vernon, WA 98274
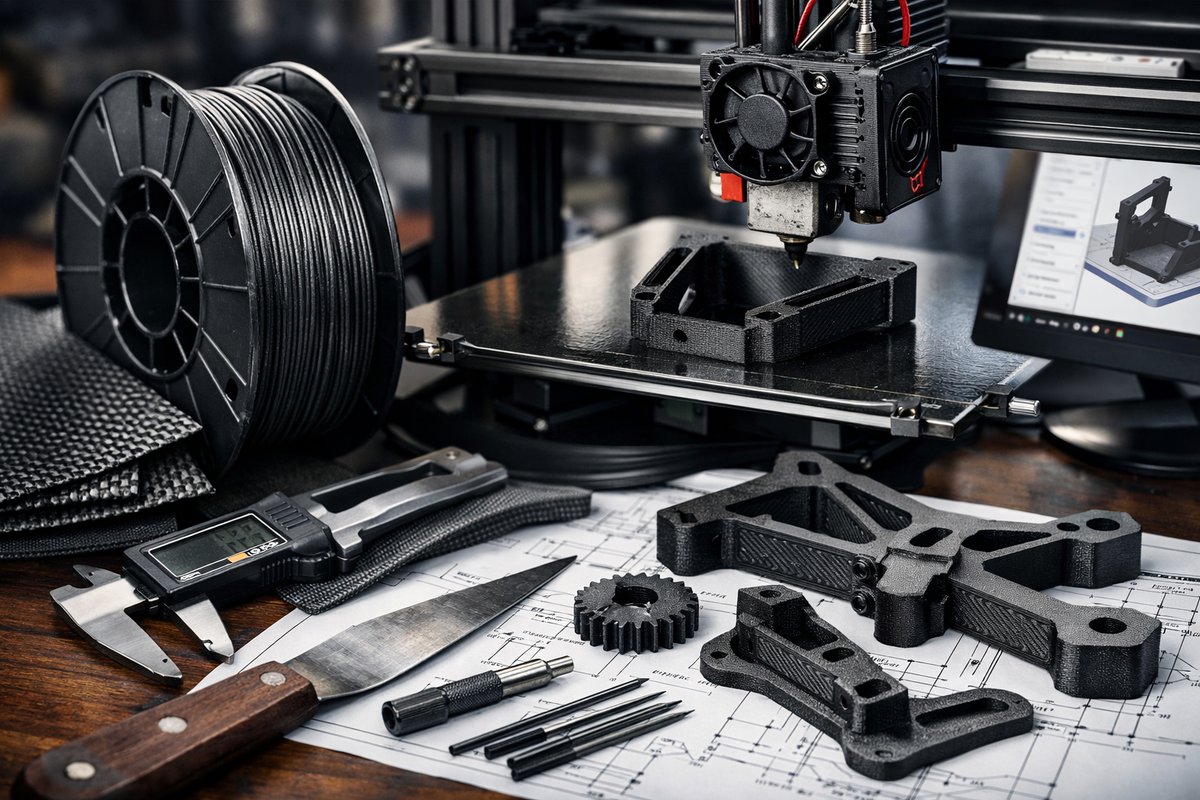
Unlock the strength and precision of carbon fiber-reinforced PLA with this detailed how-to guide. From prepping filament to fine-tuning slicer settings and post-processing, you'll gain the confidence to produce rigid, lightweight prototypes that stand up to real-world testing.
Additive manufacturing has evolved well beyond basic plastic prototypes. Today, hobbyists and professionals alike harness composite filaments-like carbon fiber-reinforced PLA-to produce parts that combine lightweight rigidity and striking surface texture. This tutorial dives into each step of the fused filament fabrication (FFF) workflow, guiding you through hardware selection, material handling, slicing strategy, and finishing touches. By the end, you’ll be ready to print robust brackets, drone frames, functional jigs, and more, all from your desktop 3D printer.
Not every 3D printer is optimally configured for abrasive composite materials. Carbon fiber PLA contains micro-fibers that can wear through standard brass nozzles and lose adhesion on untreated glass beds. In your toolkit, prioritize a reliable FDM machine with a heated bed capable of maintaining 60-80 °C. Equip it with hardened steel or ruby-tipped nozzles in 0.4 mm or larger diameters to resist abrasive wear. A sturdy printer frame and a well-tuned extrusion system will reduce vibrations, ensuring consistent layer lines and preventing nozzle clogging. Don’t forget a digital caliper: precise measurements help verify that printed tolerances match the CAD model.
Moisture is the enemy of composite PLA. Carbon fiber filaments tend to absorb water from the air, leading to steam bubbles, inconsistent extrusion, and brittle layers. Before printing, dry your spool in a filament dryer or a food-safe dehydrator at around 50 °C for two to four hours. Store the dried filament in a sealed bag with desiccant packs whenever the printer is idle. Keep an eye on filament diameter consistency-tight tolerances (±0.03 mm) reduce pressure fluctuations and help maintain smooth flow through the nozzle.
Slicer configuration can make or break a composite print. Here’s how to dial in your parameters:
• Nozzle temperature: Set between 210 °C and 230 °C, starting at the lower end. Composite fibers raise the effective viscosity of PLA, so a modest increase prevents under-extrusion but avoids overheating the polymer matrix.
• Bed temperature: Aim for 60 °C to 80 °C. A slightly warmer bed improves first-layer adhesion, especially with PEI or textured surfaces. Combine a film of glue stick or a proprietary adhesion spray for extra grip.
• Print speed: Slow down to 30-40 mm/s. Composite filaments benefit from gentle flow to let fibers align in the extrusion direction, boosting stiffness.
• Retraction: 3-5 mm at 25-35 mm/s. Adjust to prevent stringing without causing filament grinding inside the extruder.
• Layer height: Use 0.2-0.3 mm. Thicker layers accommodate fiber clusters more comfortably and preserve structural integrity.
• Infill strategy: Consider concentric or gyroid infill patterns at 20-40% density. These patterns leverage the fiber orientation to distribute stress across the part’s interior.
With hardware warmed up and slicer settings locked in, it’s time to launch your first composite PLA print. Begin with a simple geometry-a calibration cube or tensile-test dogbone sample. Watch the initial layers: if lines appear thin or patchy, raise nozzle temperature by 5 °C increments. If you see blobs or over-extrusion, reduce temperature or speed slightly.
Keep your printer’s enclosure closed to stabilize ambient temperature and minimize warping. If you don’t have a full enclosure, position your machine away from drafts. Monitor the print periodically: composite filaments tend to clog when stringy fragments accumulate in the hotend. A quick clean-nozzle cycle every two hours helps maintain flow.
One of composite PLA’s virtues is its ready-to-finish surface. Light sanding with 220-grit paper removes minor layer lines and exposes the matte fibers underneath. For a smoother look, follow up with 400- or 600-grit, then wipe away dust with isopropyl alcohol. If you need airtight or load-bearing parts, apply a thin coat of epoxy resin. This seals microscopic gaps, increases impact resistance, and enhances the visual contrast between black fibers and pale PLA.
Threaded holes printed directly in composite PLA can feel gritty. Tap them gently with a matching tap bit or print sacrificial threads on a secondary nozzle to avoid fiber buildup. For snap-fit joints, design a small expansion tolerance (0.1-0.2 mm per side) to compensate for the stiffer material.
Always print in a well-ventilated area. Although PLA is less noxious than ABS, composite filaments can release ultrafine particles when heated. A basic HEPA filter or fume extractor placed near the nozzle will capture most particulates. Wear a dust mask while sanding to protect your lungs.
Sustainability is another consideration. Composite PLA is not biodegradable once fibers are embedded, so recycle failed prints through industrial services or repurpose them for non-critical applications-prototyping jigs, tool holders, or educational models. Collect spools and packaging for recycling where programs exist.
Once you’ve mastered a simple cube, challenge yourself with functional designs: drone motor mounts, bicycle light brackets, or modular fixtures for woodworking. Many online repositories host free STL files specifically tailored for composite materials, complete with recommended slicer profiles. As you explore, track your successes and failures. A print log helps refine settings for future runs and builds institutional knowledge for your maker community.
To push the envelope further, experiment with multi-material prints-combine carbon fiber PLA with flexible TPU for layered structures that flex in one axis while remaining rigid in another. Adapt print orientation to exploit directional stiffness: vertical walls can bear higher loads when fiber alignment runs parallel to force vectors.
Additive manufacturing is as much art as science. By mastering composite PLA, you join a growing cohort of makers turning digital concepts into durable, real-world objects. Keep exploring new filaments, share your insights, and let the next layer of innovation take shape under your nozzle.












