Location
Mount Vernon, WA 98274

Location
Mount Vernon, WA 98274
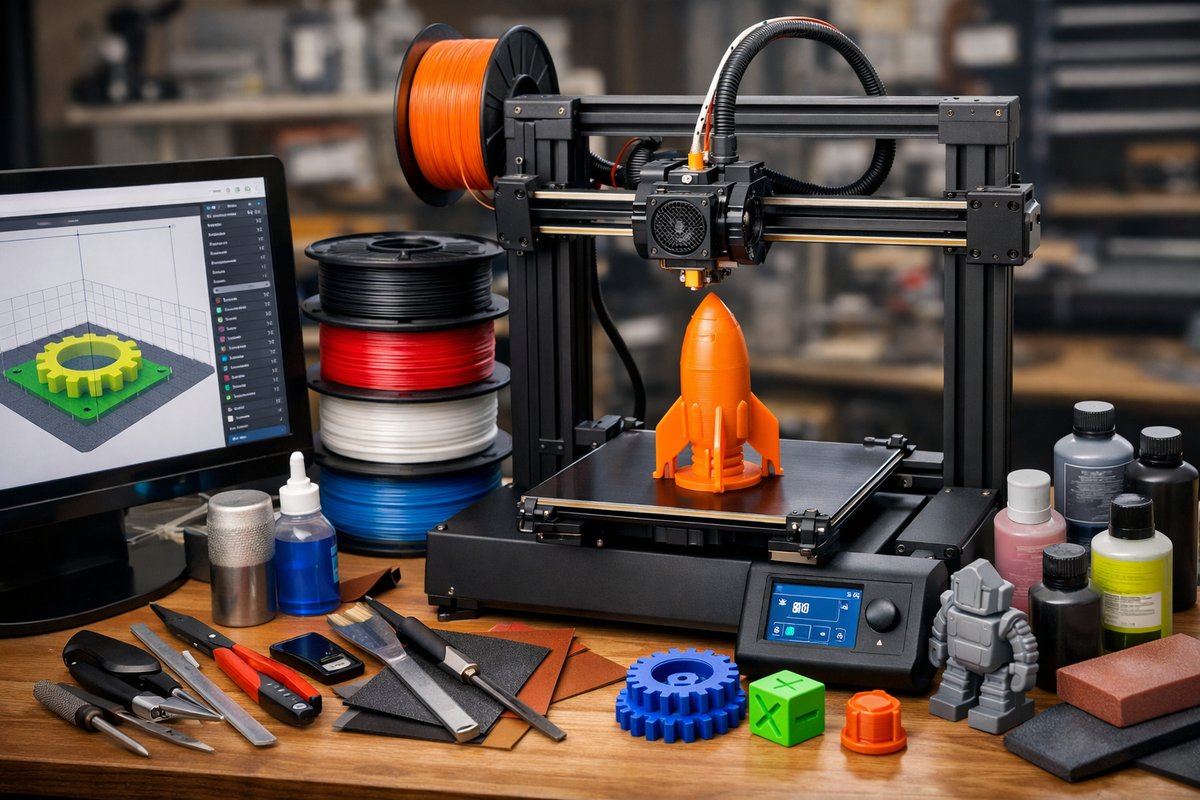
Dive into the world of Fused Deposition Modeling (FDM) with this step-by-step tutorial that reviews key components-printer setup, filament choice, slicer configurations, and post-processing tools. Whether you're a curious newcomer or ready to level up your desktop workshop, discover practical tips to achieve reliable, high-quality prints.
Fused Deposition Modeling (FDM) remains one of the most approachable and versatile techniques in additive manufacturing. By melting and extruding plastic filament layer by layer, FDM printers transform a digital design into a tactile object ready for functional use or further finishing. This guide walks through every stage of the process-from hardware essentials to fine-tuning print settings-and highlights specific components and tools you’ll want by your side.
First, let’s orient ourselves around the core hardware. An FDM printer typically consists of a heated build platform (or print bed), an extruder assembly with hotend and nozzle, motion systems in X, Y, and Z axes, and a control interface. Choices in chassis design (open frame vs enclosed), motion guides (rods vs rails), and build volume will influence your workflow. Beginners often start with a mid-size, enclosed kit that balances accessibility and upgrade potential. An enclosed chamber helps maintain consistent temperatures during printing and reduces warping when using higher-temperature materials.
Once your printer is assembled and powered on, calibration is the crucial first milestone. Leveling the build plate ensures that the nozzle is the optimal distance from the bed across the entire surface. Many modern printers offer assisted or automatic bed leveling sensors, but a manual routine can work just as well. Use a sheet of standard printer paper as your gap gauge: move the nozzle to each corner and the center of the bed, adjusting the bed screws until you feel gentle resistance when sliding the paper under the nozzle. A uniform paper drag indicates that your first layer will adhere evenly.
With the bed leveled, focus on extruder calibration. Heat the hotend to the recommended temperature for your filament (for most PLA variants, around 200 °C). Mark a length of filament-say 100 mm-from the entry point to the extruder gear, then command an extrusion of that length through your printer’s control panel. Measure what actually passed through. If it’s off, adjust the extruder steps per millimeter in firmware or your printer’s settings until the input matches the output. Proper extrusion calibration ensures dimensional accuracy and consistent layer bonding.
Filament selection is the next decision. PLA (polylactic acid) is the workhorse material for newcomers: it prints at lower temperatures, emits fewer odors, and offers good surface fineness. But FDM also supports PETG for strength and impact resistance, ABS for heat tolerance (best printed in a controlled chamber), TPU for flexibility, and specialty blends such as wood-infused or recycled composites. When choosing a filament spool, consider diameter consistency (±0.02 mm is ideal), moisture-control packaging, and certified purity to avoid clogging. A dry box or desiccant storage helps maintain filament quality over time-ambient humidity can lead to bubbles and poor layer adhesion.
Before hitting the print button, you’ll slice your digital model with software that translates geometry into G-code. Popular slicers range from free, open-source tools to commercial packages with enhanced print-optimization features. Key slicer settings include layer height (0.1 mm for high detail or 0.2-0.3 mm for faster builds), print speed, shell count (wall thickness), infill pattern and density, cooling fan control, and support structures if your design has overhangs or bridging challenges. A good starting profile for PLA might be 60 mm/s printing speed, 20% grid infill, and a cooling fan at 100% after the first few layers.
Layer adhesion depends on balancing temperature, speed, and cooling. If layers aren’t fusing, raise the nozzle temperature in 5 °C increments or slow down your print. If edges are curling or small features look stringy, dial back cooling or add a thin brim around the part to anchor filament to the bed. Brims and rafts are sacrificial structures that increase first-layer footprint and reduce warping-just remember to remove them carefully once the print is complete.
Let’s review some tooling that transforms a good print into a great one. A standard scraper or spatula under the build plate loosens parts without damage. Needle-nose tweezers or flush cutters trim support remnants and filament strings. A fine-grit sanding stick or small files smooth layer lines for a refined finish. For color or shine, apply a thin coat of acrylic primer before painting. If you plan to assemble multiple printed parts, plastic-safe super glue or two-part epoxy will bond surfaces securely.
Tackling more advanced materials like ABS or nylon requires additional safeguards. An enclosed build chamber prevents rapid temperature swings that lead to warping; chamber heaters or active port vents help you maintain the 40-60 °C interior. Nylon and other hygroscopic materials must be kept dry in a filament dryer between prints. For flexible TPU, slow down print speeds to around 20-30 mm/s and ensure your extruder path is as direct as possible to avoid filament buckling.
Optimizing your prints also means caring for the printer. Keep rails and lead screws lightly oiled, belts tensioned, and the build surface clean. Replace nozzles when you see signs of wear-blunted nozzles can degrade surface quality and cause over-extrusion artifacts. A spare nozzle set in various diameters (0.2 mm for detail, 0.4 mm for standard work, 0.8 mm for rapid prototyping) widens your creative range.
Sustainability in FDM is gaining traction. Biodegradable PLA and recycled PETG spools give eco-minded makers options that cut down plastic waste. Some hobbyists convert failed prints into filament through desktop shredders and filament extruders, closing the loop on plastic consumption. When possible, reuse support material or experiment with water-soluble supports-though that requires a second-material extruder and post-print wash station.
By the end of this workflow, you’ll have a reliable printing routine: level your bed, calibrate extrusion, load quality filament, slice with optimized settings, and finish prints with targeted tools. Whether you’re prototyping functional gears, crafting miniatures for tabletop games, or engineering custom fixtures for your workspace, mastering FDM opens a world of rapid, cost-effective fabrication.
Feel the excitement when a new part emerges layer by layer, exactly as you envisioned in software. From the first squeak of heated filament to the satisfying snap of a print detaching cleanly, each step builds confidence. Tinker with advanced settings, swap in new nozzle sizes, try flexible materials, and track your successes in a print log. Over time, you’ll refine techniques and discover what combinations of temperature, speed, and cooling produce your signature style.
Gather your components, power on the printer, and embrace the iterative spirit of additive manufacturing. With every calibration tweak, filament trial, and post-processing polish, you’re not just building plastic forms-you’re learning an adaptive, sustainable craft that transforms ideas into physical reality.












