Location
Mount Vernon, WA 98274

Location
Mount Vernon, WA 98274
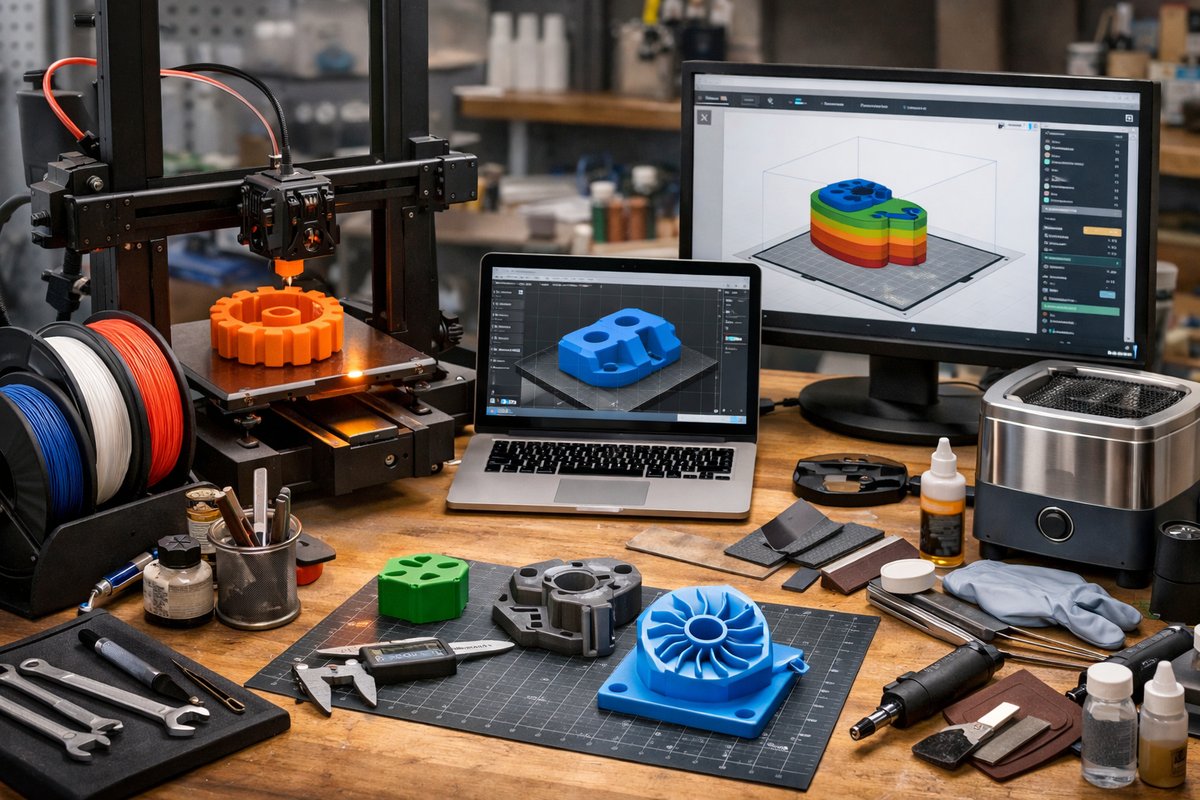
Fused Deposition Modeling (FDM) makes it possible to turn digital designs into physical objects, layer by layer. This hands-on guide walks you through selecting hardware, choosing materials, calibrating your machine, slicing models, managing prints, and post-processing parts-so you can start creating functional prototypes, tools, and custom designs from your desktop.
Additive manufacturing opens up an entirely new world where designs conceived on a computer can spring to life, layer after layer. Among the most accessible and versatile forms of this process is Fused Deposition Modeling (FDM), a technique where a thermoplastic filament is heated and extruded through a nozzle to build objects from the bottom up. From durable jigs and fixtures to playful prototypes and educational models, FDM printers have become staples in maker spaces, workshops, and home studios. In this guide, you’ll learn how to select the right hardware, choose the best materials for your application, calibrate critical settings, and troubleshoot common challenges. Equipped with these practical insights-backed by real-world testing-you’ll gain the confidence to transform your digital ideas into robust physical objects. Whether you’re a curious hobbyist or a budding product designer, these step-by-step instructions will help you unlock the full potential of desktop 3D printing and foster a deeper understanding of how each parameter affects the final result.
When choosing your first FDM printer, consider a few essential factors. Build volume determines the maximum size of your parts, so opt for a platform that aligns with your project goals. A heated bed is almost indispensable for reliable adhesion, especially if you plan to work with higher-temperature plastics like ABS or PETG. Look for a stable frame design to minimize vibration and ensure dimensional accuracy. You’ll also encounter two common extruder setups: direct drive, where the filament feed motor sits above the hotend, and Bowden, which uses a remote motor and guides the filament through a tube. Direct drive systems excel with flexible materials, while Bowden setups can achieve faster deposition speeds. Pay attention to nozzle diameter options as well. Standard 0.4 millimeter nozzles deliver a balance between speed and detail, but having the flexibility to switch to 0.2 millimeter tips for fine features or 0.8 millimeter nozzles for rapid prototyping can broaden your creative toolkit.
Selecting the right material is just as crucial as picking your printer. PLA filament is an excellent choice for beginners, offering low warping, minimal odors, and a wide range of colors. If you need greater toughness or slight flexibility, PETG strikes a balance by combining impact resistance with ease of printing. ABS can handle higher temperatures and is well suited for functional parts, but it demands a fully enclosed chamber and strong bed adhesion to prevent cracking. For projects requiring soft or elastic properties, TPU filament opens the door to custom gaskets, phone cases, or wearable accessories. Remember to store your filaments in airtight containers with desiccant packs to avoid moisture absorption, which can lead to bubbling and poor layer adhesion. Before loading a new spool, preheat the nozzle to the material’s recommended temperature, purge any leftovers from the previous print, and ensure a clean, uniform feed path.
With hardware and materials in place, the next step is slicing-transforming your 3D model into machine instructions. Open-source slicers allow you to adjust layer height, wall thickness, infill density, and print speed. Layer height directly influences surface finish: 0.1 millimeter layers yield smooth curves but increase print time, while 0.3 millimeter layers can halve production time at the cost of visible steps. Wall thickness and shell count determine part strength, so thicker walls and multiple outer shells reinforce structural stability. Infill settings control internal geometry; a 20 percent honeycomb or grid pattern strikes a good balance for many functional parts. Support structures may be necessary for overhangs beyond 45 degrees, and slicers offer options like tree supports that save material and simplify removal. Experiment with brims or rafts to anchor parts prone to corner lifting, then export the G-code file to an SD card or send it directly over USB to your printer.
Precision starts with a level bed and accurate nozzle positioning. Manual leveling using a piece of paper or a feeler gauge at each corner helps establish a consistent first layer gap. If your machine supports an inductive or capacitive probe, fine auto-leveling can drastically reduce setup time. Adjust the Z-offset so that extruded filament slightly flattens against the build surface without digging in. Next, dial in nozzle and bed temperatures one at a time. Many filaments benefit from temperature towers-small test prints that change nozzle temperature at intervals-so you can identify the sweet spot for optimal layer bonding and minimal stringing. Similarly, a flow calibration cube printed at different extrusion multipliers reveals whether your machine over- or under-extrudes. Once these parameters are solid, record them in your slicer profile as a reliable baseline for future projects.
When you’re ready to launch your first print, clean the build surface with isopropyl alcohol to remove oils or dust that can interfere with adhesion. Apply a thin layer of glue stick or painter’s tape if you’re using a glass bed, or explore spring steel sheets with a textured coating for easy part removal. Load the filament and let the hotend heat to the target temperature, then extrude a small amount to confirm smooth flow. Begin the print and keep a close eye on the initial five minutes-this is when bed adhesion and first layer consistency are most critical. If the filament doesn’t stick properly or the nozzle drags through the plastic, pause the print and adjust your Z-offset or bed level. For issues like stringing, lower travel speeds and enable retraction settings in your slicer. Warping can be mitigated by enclosing the print area or using an adhesive spray designed for high-temperature plastics.
No matter how precise your machine, some parts will benefit from a little extra attention after printing. Carefully remove support structures with flush cutters or specialized pliers, then sand visible seams using progressively finer grits of sandpaper. An X-Acto knife can help trim small artifacts, and a polishing compound can give PLA parts a glossy finish. For multi-part assemblies, cyanoacrylate or plastic-specific adhesives create strong bonds without needing complex fixtures. Painting or dyeing offers an opportunity to personalize your project; use primer to fill micro-grooves before applying acrylic paints or spray finishes. If you’re working with ABS, a short vapor smoothing session using acetone can dissolve outer layer ridges for a glass-like surface. Always take proper safety precautions and work in a well-ventilated area when using solvents or paints.
Keeping your FDM printer in top shape extends its lifespan and print quality. Regularly clean the nozzle with a brass brush or specialized steel brush while it’s hot, and consider a cold pull routine-feeding nylon or cleaning filament at high temperature then retracting it to clear residues. Stock spare nozzles in various diameters and materials, such as hardened steel tips for abrasive filaments and fine brass nozzles for high-detail prints. Refresh build plate adhesives or upgrade to a flexible build surface for easier part removal. A digital caliper ensures you can verify dimensions down to a fraction of a millimeter, so printed components fit precisely with hardware or inserts. Finally, store filament spools in sealed containers with desiccant packs to keep humidity at bay and maintain consistent extrusion.
Embarking on your FDM printing journey is a process of curiosity, experimentation, and continuous improvement. Each test print will reveal new insights about temperature, speed, and material behavior. Engage with user forums, share your successes and failures, and download community-designed models to expand your repertoire. As you gain confidence, explore advanced techniques like multi-color prints, flexible materials, or composite filaments. The layered world of additive manufacturing is limited only by your imagination-and armed with the knowledge in this guide, you’re ready to start turning pixels into physical reality.












