Location
Mount Vernon, WA 98274

Location
Mount Vernon, WA 98274
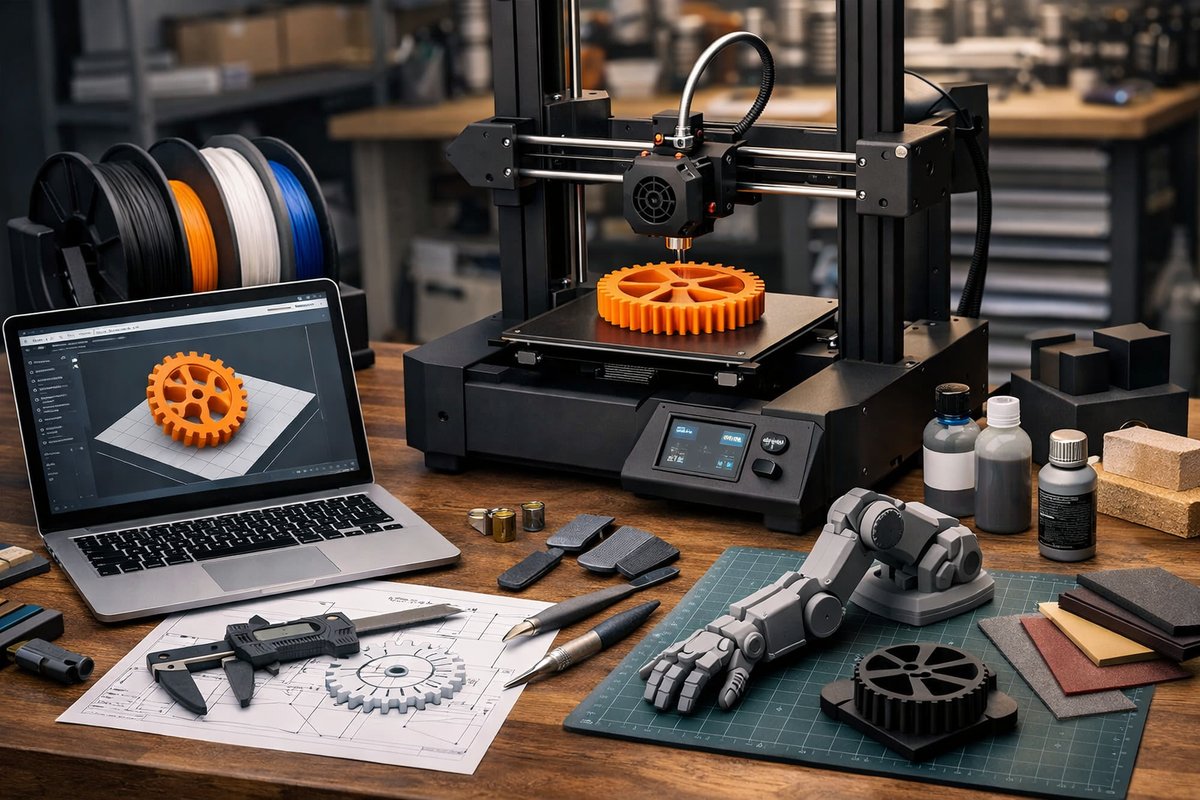
Discover how desktop Fused Filament Fabrication (FFF) brings digital designs into the physical world using readily available materials and tools. This guide walks you through choosing the right components, fine-tuning print settings, and post-processing techniques to achieve reliable, high-quality results.
Additive manufacturing has democratized the process of turning an idea into a tangible object, and Fused Filament Fabrication stands at the forefront of accessible techniques. By extruding thermoplastic filament layer by layer, FFF printers enable makers, educators, and hobbyists to create everything from functional prototypes to decorative models. Embracing this method means understanding the hardware, materials, and software involved-and this guide provides a detailed roadmap to help you get started and build confidence in your prints.
The heart of any FFF setup is the printer itself. Look for a desktop model with a sturdy frame-either aluminum or acrylic-and a heated build plate capable of maintaining consistent temperatures. An all-metal hotend can handle higher-temperature filaments and reduce clogging, while a reliable extruder mechanism ensures smooth feed. Print volume matters: a 200 × 200 × 200 mm build area covers most consumer needs, but larger options are available. Some printers include an enclosure to stabilize temperature and reduce warping with materials like ABS, while open-frame systems work well for PLA and other low-temperature thermoplastics.
Choosing the right filament is the next critical step. PLA remains the most beginner-friendly option: it prints at low temperatures, emits minimal odor, and offers good surface finish. For functional parts requiring greater toughness, consider PETG or ABS blends, which require a heated bed and sometimes an enclosure. Specialty materials such as TPU (flexible), wood-fill (composite), and carbon-fiber-reinforced PLA deliver unique mechanical and aesthetic properties. Always store filament in a dry, resealable container or use a filament dryer to avoid moisture absorption, which leads to poor layer adhesion and print artifacts.
Once your printer and materials are ready, you’ll need slicing software to convert digital models into machine instructions. Popular free tools allow you to adjust layer height, infill percentage, print speed, and support structures. A 0.2 mm layer height strikes a good balance between print time and surface quality, while 20 percent infill typically provides sufficient strength for most objects. Support settings are important for overhangs exceeding 45 degrees-experiment with interface layers and support density to ease removal without scarred surfaces.
Preparing the build plate is often overlooked, but it’s vital to first-layer success. A clean glass or magnetic sheet ensures even adhesion, but adding a thin layer of glue stick or a specialized bed adhesive sheet can improve first-layer grip and minimize warping. Manual or automatic bed leveling routines help guarantee a uniform nozzle-to-bed distance across the entire surface. Take the time to calibrate the Z-offset until a piece of paper slides under the nozzle with slight friction-this simple adjustment reduces print failures and ensures that the first layer lays down smoothly.
Optimizing print parameters is equally important to quality outcomes. Nozzle temperature typically ranges from 190 °C to 220 °C for PLA, with slower speeds (30-50 mm/s) improving detail and accuracy. PETG runs hotter, at 230 °C to 250 °C, and benefits from a cooling fan set to 30-50 percent power after the first few layers. Flow and extrusion multiplier settings may need tweaking if you notice over-extrusion or under-extrusion lines. Retraction distance and speed must be balanced to prevent stringing without causing jams, often around 1-2 mm at 30-60 mm/s for a direct-drive extruder.
During a print, keep an eye on the first few layers to verify adhesion, then check intermittently for filament jams or layer shifts. Many modern 3D printers include built-in cameras or remote monitoring via software, so you can catch issues early even when you step away. If a print shifts or a filament knot forms, pause the job to clear the blockage before continuing. Addressing minor hiccups in real time reduces wasted material and frustration.
After the printer stops, carefully remove the part from the build plate. Flex the magnetic sheet or use a thin spatula for glass beds to lift the model without damage. Support structures can be snapped away by hand or trimmed with flush cutters. For a polished finish, sand rough spots with fine-grit paper, then apply a mild solvent (for ABS) or a smoothing agent to blend layers. Painting with acrylics or filling gaps with lightweight filler expands your finishing options for presentation models or customized parts.
As you gain experience, explore advanced techniques such as dual-extrusion printing for multi-color or multi-material parts. Soluble support materials like PVA make complex geometries easier to post-process, especially for internal cavities. Composite filaments embedded with metal, wood fibers, or carbon fiber add rigidity and aesthetic flair, while requiring hardened steel nozzles to handle abrasion. These specialized materials open doors to end-use applications in robotics, medical modelling, and small-batch manufacturing.
Sustainability and creativity go hand in hand in FFF. Recycle failed prints by shredding old PLA parts into reusable pellets or using third-party filament recycling machines. Experiment with open-source model repositories to remix designs or challenge yourself with parametric models that adapt to your needs. Schools and makerspaces increasingly adopt desktop printers for practical demonstrations of engineering, chemistry, and design principles. Even at home, rapid prototyping lets you tailor bespoke tools, replacement parts, or art pieces that would otherwise require expensive machining.
Embracing fused filament fabrication is both a technical and creative journey. Start with simple calibration cubes and benchy models to dial in your settings, then move on to functional prototypes like custom tool handles or hinge assemblies. Share your results in online communities to gather feedback and discover troubleshooting tips. Safety is paramount-always operate printers on stable surfaces, maintain proper ventilation, and avoid direct contact with hot components.
Whether you’re drawn to additive manufacturing for engineering, education, or artistic exploration, mastery of FFF techniques empowers you to turn digital files into durable, customized objects. By understanding the interplay of printer hardware, filament selection, slicing strategies, and post-processing, you’ll gain confidence in producing high-quality, reproducible results. Gather your tools, select a test model, and take the first step: the world of layer-by-layer creation awaits.












