Location
Mount Vernon, WA 98274

Location
Mount Vernon, WA 98274
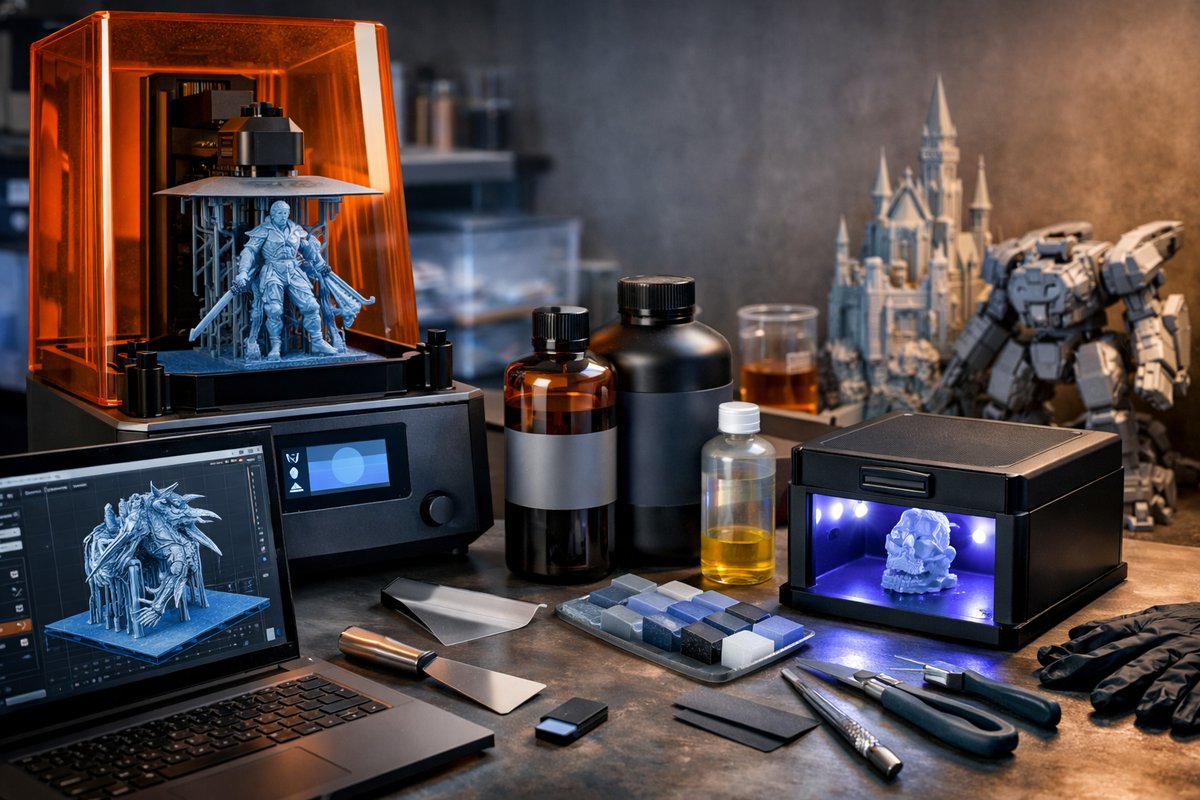
Dive into the world of resin-based 3D printing with an MSLA setup. This guide walks you through selecting the right printer, choosing compatible resins, optimizing slicing settings, and mastering post-processing for highly detailed, durable results.
Resin-based additive manufacturing, often referred to as MSLA (Masked Stereolithography), harnesses an array of UV LEDs and an LCD masking screen to cure liquid photopolymer resin layer by layer. Compared to filament-based methods, MSLA excels at capturing fine details, smooth surfaces, and crisp overhangs, making it ideal for miniatures, dental models, jewelry prototypes, and engineering components. In this hands-on guide, you’ll learn how to build a reliable MSLA workflow-from selecting equipment and materials to dialing in print settings and mastering post-processing techniques.
Finding the Right MSLA Printer
Choosing a printer is the first step in your resin journey. Look for a machine offering a monochrome LCD mask: these displays block UV light selectively to cure each layer, and monochrome screens let more UV wavelengths through, reducing exposure times. A 4K resolution (3840×2160 pixels) on a 5-7-inch screen delivers layer resolutions as fine as 35-40 microns, capturing intricate details like hair strands or surface textures. Ensure the build volume suits your projects-desktop devices often range from 120×70×160 mm to 192×120×200 mm. Beyond resolution and size, consider a robust Z-axis lead screw, a sturdy build plate coating for better adhesion, and user-friendly software bridges that support open-source resin profiles.
Selecting the Right Resin
Resins come in diverse formulations tailored to different use cases. Standard gray or clear resins are forgiving, easy to clean, and budget friendly, making them perfect for beginners. When you need more toughness, ABS-like or engineering-grade resins resist impact and heat. Dental or castable resins bring specialized properties for mold workflows and biocompatible prototypes. Some eco-friendly plant-based resins reduce environmental impact and off-gassing. Always confirm your printer’s UV wavelength-usually 405 nm-matches the resin’s curing spectrum. For high-detail miniatures, look for resins with low viscosity and micron-scale fillers; for functional parts, consider fiber-reinforced or high-temperature variants.
Designing and Preparing Your Model
A successful print starts in the digital realm. In your CAD or sculpting software, avoid extremely thin walls-aim for a minimum thickness of 0.8-1.2 mm, depending on resin strength. Hollow larger models to save resin and reduce internal suction forces; create drain holes of roughly 2-3 mm diameter so uncured resin can escape cleanly. Export your file in STL or 3MF format and import it into slicing software. Position parts at an angle-typically 25-45 degrees-to minimize flat surfaces that stick strongly to the FEP membrane. This orientation also distributes resin pull forces evenly across layers, reducing the risk of print failure.
Optimizing Slicing Parameters
Every resin and printer pairing demands a unique exposure calibration. Begin with the manufacturer’s recommended base exposure (commonly 8-12 seconds per layer) and bottom exposure (usually 30-60 seconds for the first four to six layers). Run a simple test cube or calibration chart to fine-tune the settings: adjust exposure time in 2-second increments until layer adhesion is solid but overcure artifacts-like stringing or rounded edges-are minimal. Keep layer thickness around 0.03-0.05 mm for high-resolution prints. Enable anti-aliasing to smooth pixelated edges, balancing clarity with a slight increase in exposure blending steps. Finally, add tree-like supports that start slim at contact points and fan out upward, reducing scar size and easing support removal.
Preparing the Printer and Resin Vat
Before pouring fresh resin, inspect the resin vat’s FEP film for scratches or cloudiness. Replace the film if you see wear patterns or resin stains cropping up in every print. Level the build plate according to your machine’s procedure-usually by loosening thumbscrews, letting the plate rest on a piece of blank paper over the LCD screen, and tightening until you feel gentle resistance when sliding the paper. Clean stray resin droplets from the vat walls and LCD surface with a lint-free wipe. Pour resin slowly to avoid bubbles, then gently tilt the vat to help air escape. Close the lid to prevent ambient UV from curing the resin prematurely.
Running the Print Job
Once your sliced file is ready on a USB stick or network share, start the print. Monitor the first few layers closely-ideal bottom layers will look slightly overexposed and firmly bonded without tearing. After ten minutes, peek through the tinted cover to ensure no resin leakage or misalignment occurs. MSLA printers are relatively quiet, so you can often leave them unattended for longer jobs, but periodic checks will catch issues early.
Post-Processing and Curing
After the print completes, remove the build plate and gently shake excess resin back into the vat. With nitrile gloves and safety goggles on, scrape the cured piece into an isopropyl alcohol (IPA) bath-90-99% IPA works best. Agitate the part in a dedicated container or ultrasonic cleaner for 2-5 minutes to wipe away surface resin. Avoid dunking supports if you plan to remove them by hand later. Let the model air-dry or pat it gently with a lint-free towel, then place it in a UV curing station. Cure times range from 2 to 10 minutes depending on resin opacity and model size. Rotating or repositioning halfway through can help ensure uniform hardness and minimize internal stresses.
Support Removal and Surface Finishing
With the model fully cured, clips or flush cutters can snip away supports cleanly. Start by cutting at the base of each support, then slowly peel residual nubs with needle files or sanding sticks. Progress from medium-grit (200-400) sandpaper to fine-grit (800-1200) for a glass-smooth finish. If you need to fill pinholes or stubborn marks, apply a thin coat of fine-detail primer or light putty, sand again, and re-prime before painting. A spray-on automotive primer works well for resin parts, providing a consistent base coat and revealing surface imperfections.
Safety and Sustainability Practices
Working with photopolymer resin demands respect for safety protocols. Wear nitrile gloves, a respirator rated for organic vapors, and eye protection. Ensure your workspace has good ventilation or run an air purifier to capture volatile organic compounds. Collect spent resin in a sealed container for proper disposal according to local regulations-never pour it down the drain. Filter and reuse hardened resin chips or offcuts by grinding them into filler for non-load-bearing prints. Consider bulk purchasing eco-certified resins or exploring recycled resin filament alternatives to reduce environmental impact.
Troubleshooting Common Issues
If layers begin to delaminate, check that the Z-axis is calibrated accurately and the build plate is perfectly level. Excessive suction leading to layers peeling off can signal an overexposed first layer-lower its exposure by 5-10 seconds. Fine horizontal ripples on smooth surfaces often stem from a worn FEP film; replace it to restore clarity. When prints fail halfway, inspect the vat for cured resin islands-use a plastic scraper to clear them before restarting. For adhesion problems on tiny footprints, apply a thin layer of resin-resistant adhesive spray to the build plate or switch to a glycol-modified PET (Glycol-PET) coating for extra grip.
Community and Continuous Learning
Resin printing thrives on shared profiles, user experiments, and collaborative improvement. Join online forums or social platforms dedicated to MSLA users to swap resin settings and discover niche materials like transparent engineering grades or castable wax-like resins. Many slicing applications support custom scripts to automate exposure changes or post-print drain routines-learning these tools takes your workflow to the next level. Document your successes and failures in a digital print log to track exposure curves, resin batch variations, and seasonal temperature impacts on curing.
Your Next Steps
With this guide under your belt, you’re ready to tackle scaled miniatures, functional prototypes, or even short-run production runs. Blend engineering-grade resins with silicone molds for direct part casting, or experiment with dual-cure adhesives to bond dissimilar materials. The marriage of precision optics, photopolymer science, and creative design makes MSLA printing a powerful bridge from your digital visions to tangible masterpieces.












