Location
Mount Vernon, WA 98274

Location
Mount Vernon, WA 98274
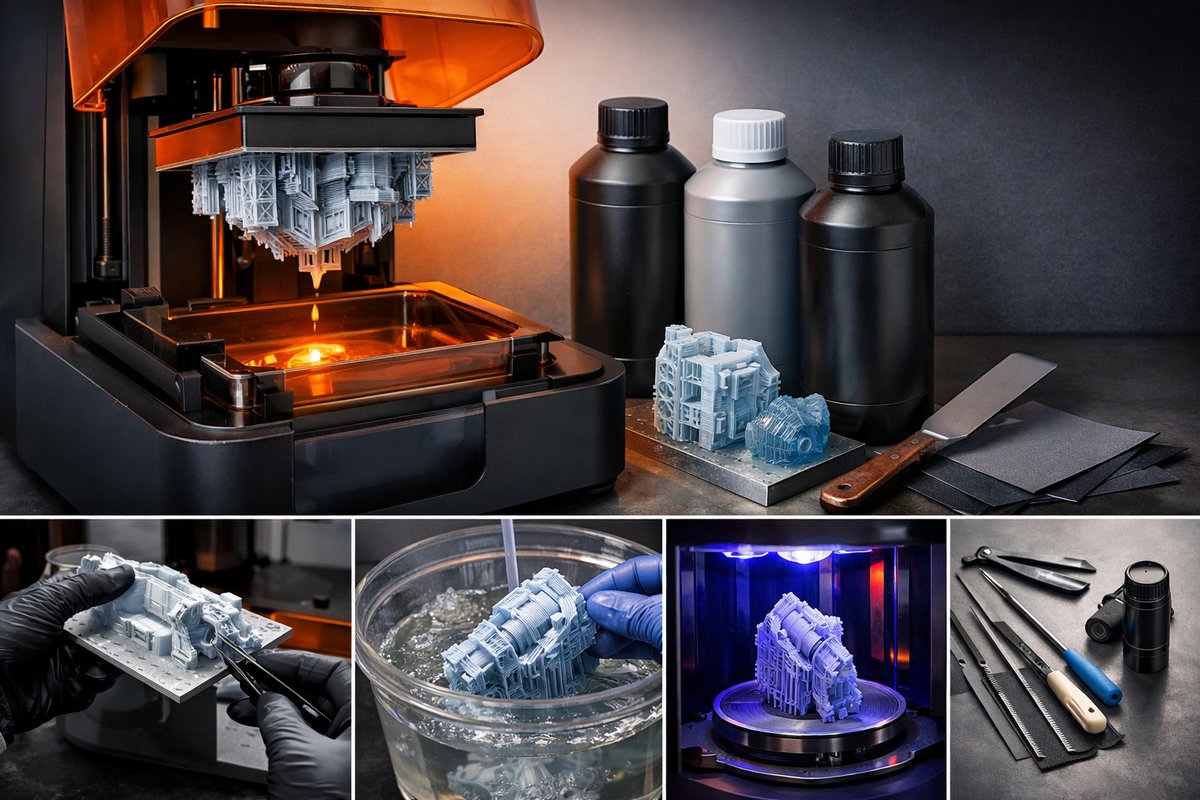
Discover the step-by-step process of stereolithography (SLA), a resin-based additive manufacturing method renowned for high-detail parts. From resin selection to post-curing, this guide covers essential tools and techniques to help you achieve smooth surfaces and crisp features in your next 3D-printed prototype.
Stereolithography, often abbreviated SLA, stands out among additive manufacturing methods for its exceptional surface finish and ability to capture intricate details. By curing liquid photopolymer resin layer by layer with an ultraviolet laser or projector, SLA transforms digital models into tangible parts whose features would be challenging for other techniques. Whether you’re prototyping functional components, dental models, or fine art figurines, mastering SLA can open new possibilities in design iteration and production.
Selecting the right resin is your first step toward success. Standard engineering resins balance strength and ease of printing; flexible resins allow for bendable parts; castable resins burn out cleanly for jewelry or investment casting. Pay attention to resin viscosity, color, and recommended layer thickness. A lower-viscosity resin flows more easily across the build platform but may require stricter temperature control. High-detail resins with smaller additive particles deliver crisp edges, albeit at a modest premium.
Your printer’s build platform and resin vat are the foundation of a stable print. A level build platform ensures each cured layer adheres uniformly, minimizing warping or layer shifts. Many printers include a calibration routine, but you can fine-tune manually with a sheet of printing paper to achieve a uniform gap. A scratch-resistant resin vat with a durable FEP film base prevents damage during part removal, prolonging the vat’s lifespan and reducing the risk of leaks or delamination.
Software preparation begins with a high-resolution 3D model saved in a compatible file format, typically .STL or .OBJ. Import your model into slicing software tailored to resin printing, then orient it to minimize unsupported overhangs. Adding support structures is crucial: thin resin parts require tree-like supports to brace delicate features, while bulkier models may use straightforward linear supports. Fine-tune support density to balance print success with ease of removal.
Layer settings define how thick each cured slice will be. Thinner layers yield smoother surfaces and finer detail but increase print time. A typical SLA print uses 25 to 50 microns per layer. Set exposure times according to resin manufacturer recommendations: underexposure can lead to weak layers, while overexposure may cause feature blurring or excessive material curing. Perform a test print of a calibration object to dial in these parameters before committing to complex models.
During the print, monitor the first few layers carefully. Successful adhesion of the base layers prevents catastrophic failures mid-print. Once you see a solid raft or adhesion pad ready, you can step back and let the machine run its course. Keep an eye on resin level and temperature; some resins perform best heated to a specific range. If you notice peeling or abnormal resin behavior, pause the print, drain and filter the resin, and inspect the vat for cured debris.
When the print completes, it emerges coated in uncured liquid resin. Wear nitrile gloves and eye protection as you remove the part from the build platform. Use a plastic scraper to gently pry the part free, taking care not to flex or snap thin features. Rinse the model in isopropyl alcohol (IPA) to remove residual uncured resin. A dual-bath system-one for a quick rinse, another for a final clean-can help achieve a spotless finish without recontaminating the solvent.
Dry the part thoroughly before moving to post-curing. A UV curing station accelerates final polymerization, locking in mechanical properties and dimensional stability. Arrange parts on the station’s turntable to receive even irradiation. Typical curing times range from two to six minutes per side, depending on resin chemistry and station output. Over-curing can make brittle parts, while under-curing retains tackiness.
Support removal is the final mechanical step. Snap supports off at their thinnest junction points using flush cutters or precision pliers. Avoid twisting or pulling vigorously, which can gouge the part surface. Sand scars lightly with fine-grit sandpaper if needed, and polish or paint to achieve your desired aesthetic. For watertight or transparent parts, consider clear coat or resin submersion techniques.
Troubleshooting common issues keeps your workflow efficient. If prints lift from the platform, check calibration and exposure settings. Layer lines or banding may indicate inconsistent light power or resin contamination. Uneven curing in one region can point to a dirty optical path-regularly clean mirrors, lenses, and the vat window. A routine maintenance schedule, including resin filtration and vat inspection, extends component lifespans and reduces downtime.
Safety and sustainability go hand in hand. Always work in a well-ventilated area to limit inhalation of resin fumes. Store resin in an opaque, sealed container to prevent premature curing. Capture and recycle IPA through a distillation unit or by allowing used solvent to settle before pouring off the clear layer. Dispose of uncured resin and contaminated cartridges at certified electronic waste or hazardous waste facilities.
Embrace iterative experimentation. Print simple test geometries-towers, overhang benchmarks, or torture-test models-to explore new resin blends or printer upgrades. Document each adjustment: resin brand, exposure time, layer height, support pattern. Over time, you’ll build a personalized materials library and parameter database, accelerating future projects and ensuring consistent outcomes.
By combining careful material selection, precise calibration, and disciplined post-processing, stereolithography can deliver parts with unmatched detail and surface quality. Whether you’re crafting dental guides, engineering prototypes, or intricate miniatures, SLA transforms your digital vision into a tactile reality. Gather your tools, dial in your parameters, and let resin layer by layer reveal the next generation of additive manufacturing possibilities.
Consider these recommended components to build or upgrade your resin printing setup and achieve professional-grade results every time.
Elevate your craftsmanship one layer at a time-your next high-precision prototype is waiting to emerge.












