Location
Mount Vernon, WA 98274

Location
Mount Vernon, WA 98274
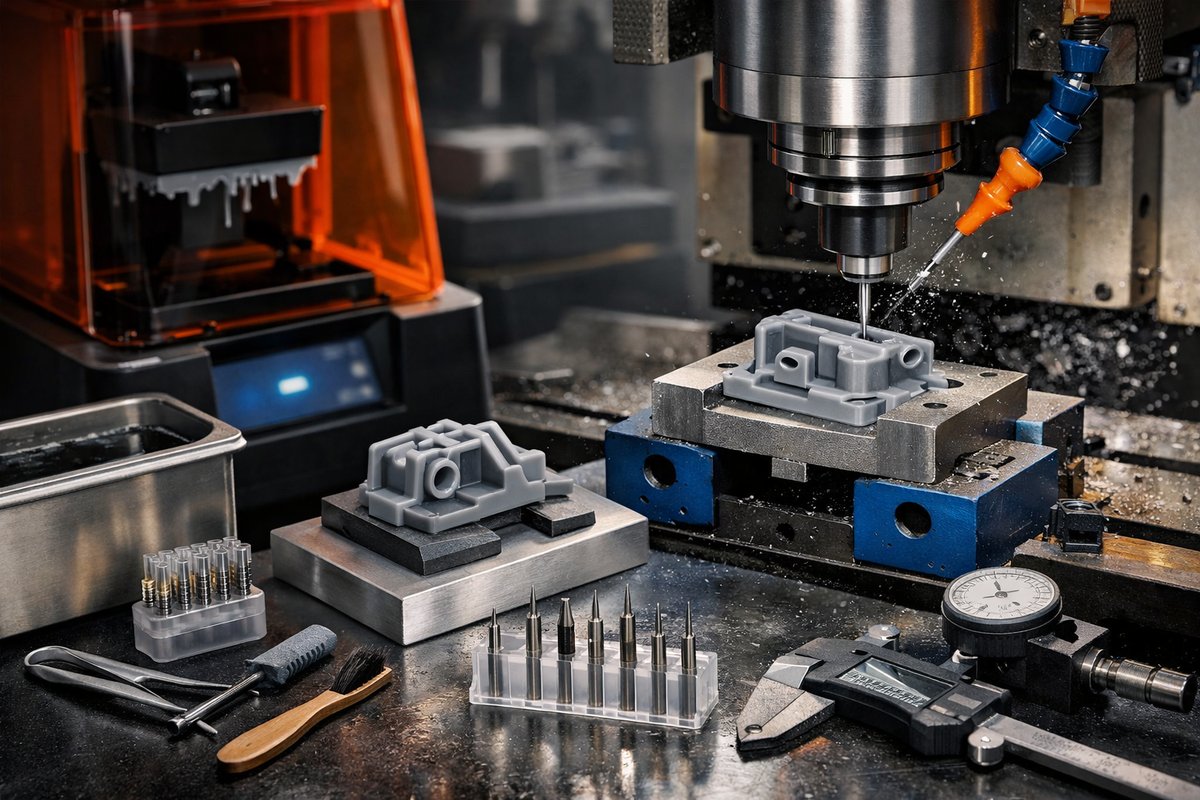
Discover a hands-on workflow that fuses desktop resin 3D printing with CNC milling to elevate surface finish and tolerance on your parts. Learn how to prep, print, clean, and mill SLA models using micro end mills and essential tooling for crisp edges, flat mounting faces, and functional fits.
Additive manufacturing has revolutionized how we turn digital designs into physical prototypes, and desktop resin printing-specifically SLA (stereolithography)-stands out for its fine detail and smooth surface finish. Yet even the best layer resolution can’t guarantee perfectly flat mounting faces, slotted holes at tolerance, or mirror-like edges. That’s where a touch of subtractive precision comes in. By integrating a compact CNC milling machine and a set of micro end mills into your post-print workflow, you can uncover crisp edges, calibrated bores, and flat critical surfaces in a single setup. This guide walks you through each step of an SLA-to-CNC hybrid process, from printer calibration to end-mill selection, to help you produce production-ready parts out of a hobbyist workstation.
First, let’s identify why resin prints and CNC milling are natural partners. SLA parts excel at organic shapes, tiny details, and overhangs that would stall traditional subtractive tooling. But the physics of layer curing tends to leave slight variations in height and surface texture-especially on horizontal planes. A minimal CNC pass can remove just enough material to reveal perfectly flat planes, sharp corners, and accurately sized holes, all while preserving the intricate geometry formed by your printer. The result is a component that combines the best of both worlds: complex, high-resolution features plus industrial-grade tolerances on functional faces.
To get started, you’ll need a desktop SLA printer with a stable Z-axis lead screw, a batch of UV-curable resin optimized for rigid applications, and slicing software capable of generating hollow sections and fine supports. Begin by leveling the build plate carefully-an uneven plate translates to variable layer heights, which only amplifies the amount of material you must remove later. In your slicer, use a thin layer height (50 microns or less) to capture the finest features. Place your part so that critical mounting faces lie within five degrees of horizontal: this reduces support scarring where you’llmill later. Generate minimal supports under overhangs, steering clear of areas you plan to machine.
Once the model is printed, transfer it to a washing station and rinse in isopropyl alcohol until resin haze disappears. Air-dry or spin-dry the part to avoid puddling. Next, move to a UV curing chamber and follow the resin manufacturer’s guidelines for time and orientation-typically two to three minutes per side. Proper curing not only locks in mechanical properties but also prevents residual tackiness for safer handling in your CNC setup.
Before you mount the part on the mill, inspect support scars and sand away any major artifacts using fine sandpaper or a small rotary tool. Clamp the piece in a low-profile vise, or use a vacuum table if your machine supports it. For repeatable results, reference an edge or face that you trust from the print-this becomes your zero datum for toolpath alignment.
Selecting the right cutting tool is crucial. A micro ball-nose end mill (0.5 to 1.0 mm diameter) excels at fine contour cleanup along curves, while a 2 mm flat-end mill is ideal for surfacing horizontal faces. Carbide bits are recommended for durability and heat resistance when working with cured resin materials. Load your G-code program-either generated in CAM software or hand-edited for precise passes-and set conservative spindle speeds (12,000 to 18,000 rpm) with moderate feed rates (50 to 100 mm/min) to prevent melting or chipping.
As the mill engages, watch for signs of melting resin buildup on the cutter and stop if layers start to smear. A touch of compressed air directed at the cutter helps clear chips and maintains a crisp cut. Take multiple light passes (0.1 mm depth per pass) rather than a single deep cut-this ensures a smooth surface without stressing the part. If your CNC software allows it, experiment with climb milling on horizontal surfaces to achieve a glass-like finish.
Once the milling cycle completes, unclamp the part and inspect all critical dimensions with a set of digital calipers. Compare hole diameters and flatness against your 3D model tolerances. Smaller bore sizes can be reamed or spot-drilled again if necessary. Finally, give the part a quick wash in warm water to remove any residual chips and let it air-dry.
A few practical tips will help you refine this workflow over time. Always keep your end mills sharp and free of resin buildup-ultrasonic cleaning in isopropyl alcohol can restore bit performance. Rotate your vising strategy to avoid placing stress on fragile features. Keep a log of your spindle speeds and feed rates for different resins so you can dial in settings without guesswork. And don’t overlook the ergonomic benefits of a well-lit enclosure and magnification when aligning tiny details for fixturing.
By blending the layer-by-layer freedom of SLA printing with the pinpoint accuracy of CNC milling, you’ll create high-resolution prototypes and functional parts that meet or exceed production standards. This hybrid approach unlocks features that neither process can achieve alone: pristine mounting faces ready for bolt-down assemblies, press-fit holes with exact tolerances, and smooth edges that need no further sanding. With the right calibration and tooling, your desktop workshop can rival industrial manufacturing floors, all while preserving the creative flexibility of additive design.
Whether you’re developing jigs, enclosures, precision brackets, or complex optical mounts, this SLA plus CNC finishing routine will elevate your results. Gather your printer, resin, milling machine, micro end mills, and go from a digital file to a production-quality part in just a few hours. The next time you need crisp, reliable surfaces on a 3D-printed component, you’ll know exactly how to draw on both additive and subtractive disciplines for a perfect finish.












