Location
Mount Vernon, WA 98274

Location
Mount Vernon, WA 98274
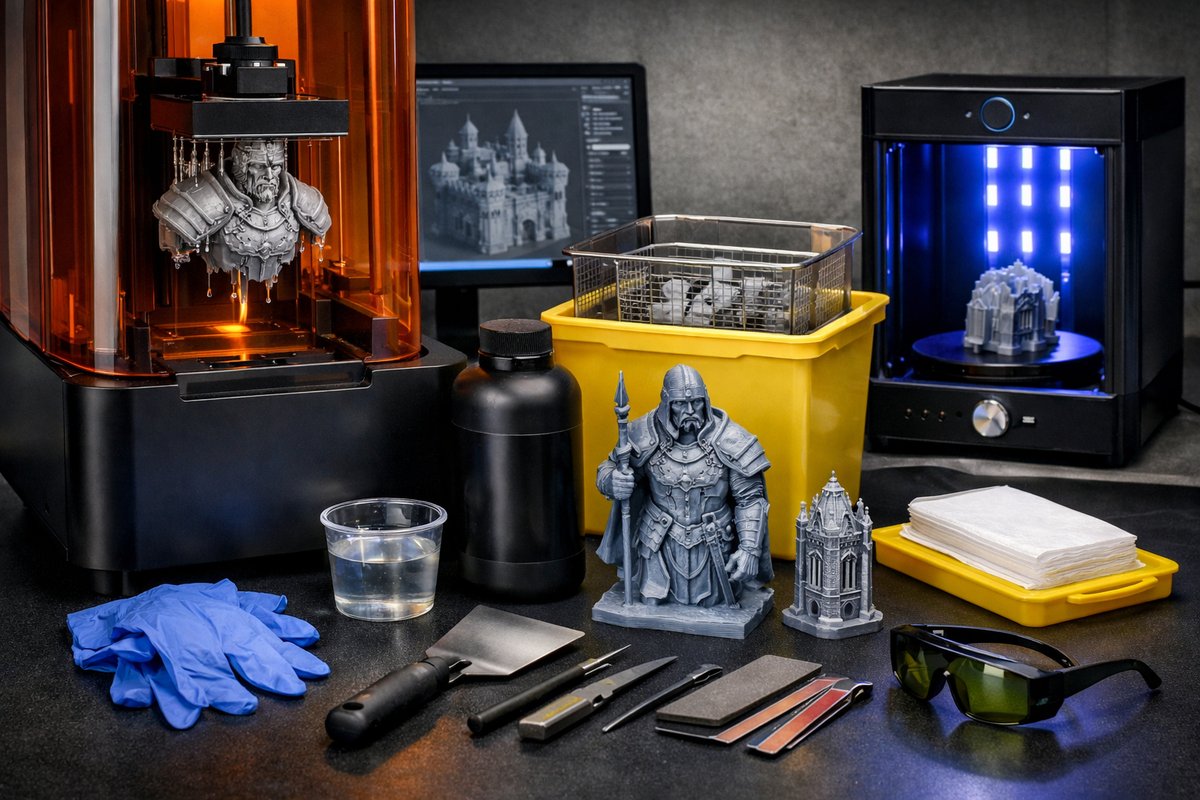
Discover how stereolithography (SLA) transforms liquid resin into high-detail 3D prints. This guide walks you through every stage-from model preparation to post-curing-while highlighting essential tools and materials to streamline your workflow and achieve crisp, durable results.
Imagine shaping objects layer by layer with pinpoint precision: SLA (stereolithography) uses a focused light source to solidify thin films of liquid resin, delivering fine details and smooth surfaces. Resin-based printing unlocks possibilities from intricate jewelry prototypes to functional mechanical parts, and even medical models. This guide provides a clear roadmap-dive into each step, equip yourself with the right supplies, and gain confidence in resin printing.
Begin by selecting a resin-compatible desktop SLA printer with a precision UV projector or laser. Look for models offering at least 50-micron XY resolution if you aim for fine details. A sturdy build platform, a replaceable resin vat, and a touchscreen interface make calibration and operation smoother. While budget options exist, consider future-proof features like replaceable optical modules and Wi-Fi connectivity to simplify firmware updates and remote print monitoring.
Your journey starts in CAD or sculpting software. Export the design as an STL or 3MF file. Before printing, run a slicing program that supports resin workflows. Adjust layer height (25-100 microns), exposure time, and lift speed. Fine layers increase resolution but extend print time; thicker layers print faster but lose surface smoothness. Add supports strategically: resin prints can overhang only a few degrees without support. Use tree or linear supports for optimal surface contact and easy removal. Position the model at an angle that balances support distribution, minimizing flat areas to reduce suction forces during peeling.
Resin is a reactive polymer that cures when exposed to UV light. Always work in a well-ventilated area. Wear nitrile gloves and protective goggles. Keep resin containers sealed to prevent contamination and odor. Shake the resin bottle gently to redistribute pigments or additives, then pour into the vat without overfilling-stay within the maximum fill line to avoid spills.
Proper platform leveling ensures the first layer bonds uniformly. Most SLA printers provide an automated leveling routine: start with an empty vat, move the build platform to home position, then run the auto-level sequence. If manual leveling is required, place a sheet of clean paper on the resin vat, lower the build plate until you feel slight resistance, and tighten screws in a crisscross pattern until the paper moves snugly under the plate. Confirm uniform contact at all corners.
Layer Exposure Time: Begin with manufacturer-recommended exposure times-commonly 6-12 seconds per layer for standard resins. For highly pigmented or specialty resins, adjust exposure upward.
Lifting Speed and Distance: Set a two-phase peel sequence if available: a slower initial lift (e.g., 2 mm/s for 3 mm) to reduce suction, followed by a faster retract.
Bottom Layers: Increase exposure time and number of bottom layers (e.g., 8-10 layers at 30 seconds each) to ensure strong adhesion to the build platform.
With settings dialed in and resin poured, start the job. Monitor the first few layers closely. If you see peel patches or partial layer cures, pause the print, re-level the platform, and clear any cured resin debris from the vat film.
Once printing finishes, use a dedicated wash station to remove uncured resin. Perform an initial rinse in a tray filled with fresh isopropyl alcohol (IPA) at 90% or higher. Gently agitate the print for 2-3 minutes or use a magnetic stirrer to accelerate cleaning. Transfer the model to a second tray of clean IPA for a final rinse. This two-stage process maximizes clarity and reduces sticky residue.
After washing, move the model to a UV curing chamber or a DIY UV station (UV LED strips in a rotating enclosure). Cure for 5-15 minutes per side, depending on resin type and chamber intensity. Curing polymerizes any residual resin, increasing hardness and stabilizing dimensional accuracy. Rotate the part halfway through to ensure uniform exposure.
Use flush cutters or a razor blade to trim supports flush with the surface. Wear gloves and eye protection to avoid injury from sharp resin shards. Sand any remaining nubs with fine-grit paper (400-800 grit). For a mirror-smooth finish, follow with ultra-fine polishing compounds or a brief bead-blast cycle if your material supports it. Fill deep seam lines with a light-curing resin or putty, then re-cure locally under UV light.
Filter and store leftover resin through a fine mesh filter to remove cured particulates before returning it to the bottle. Decant IPA through filters and replace when cloudy. Replace the vat’s FEP film periodically-for a busy user, every 20-30 prints-to prevent layer distortions and leaks. Clean build platforms after each run using IPA and a scraper to remove stubborn resin spots. Regular maintenance preserves print accuracy and prolongs the life of your equipment.
Experiment with specialty resins-elastic, high-temperature, dental, or castable-to discover new applications. Adjust print orientation to balance detail and structural strength. For miniature figures, position ankles and thin limbs parallel to the build plate to reduce support marks on visible surfaces. When printing engineering parts, monitor dimensional accuracy with calipers and compensate with small scale adjustments in your slicing software.
SLA unlocks centimeter-scale to sub-millimeter features that traditional FDM can’t match. Its smooth surfaces reduce post-processing labor when compared to layer-etched plastic. Whether you’re outfitting a prototype workshop, crafting model railroad scenery, or creating functional jigs, SLA’s precision, material versatility, and rapid iteration cycle empower creative professionals and hobbyists alike. With careful handling and quality components, you’ll produce striking, reliable prints that showcase the true potential of additive manufacturing.












