Location
Mount Vernon, WA 98274

Location
Mount Vernon, WA 98274
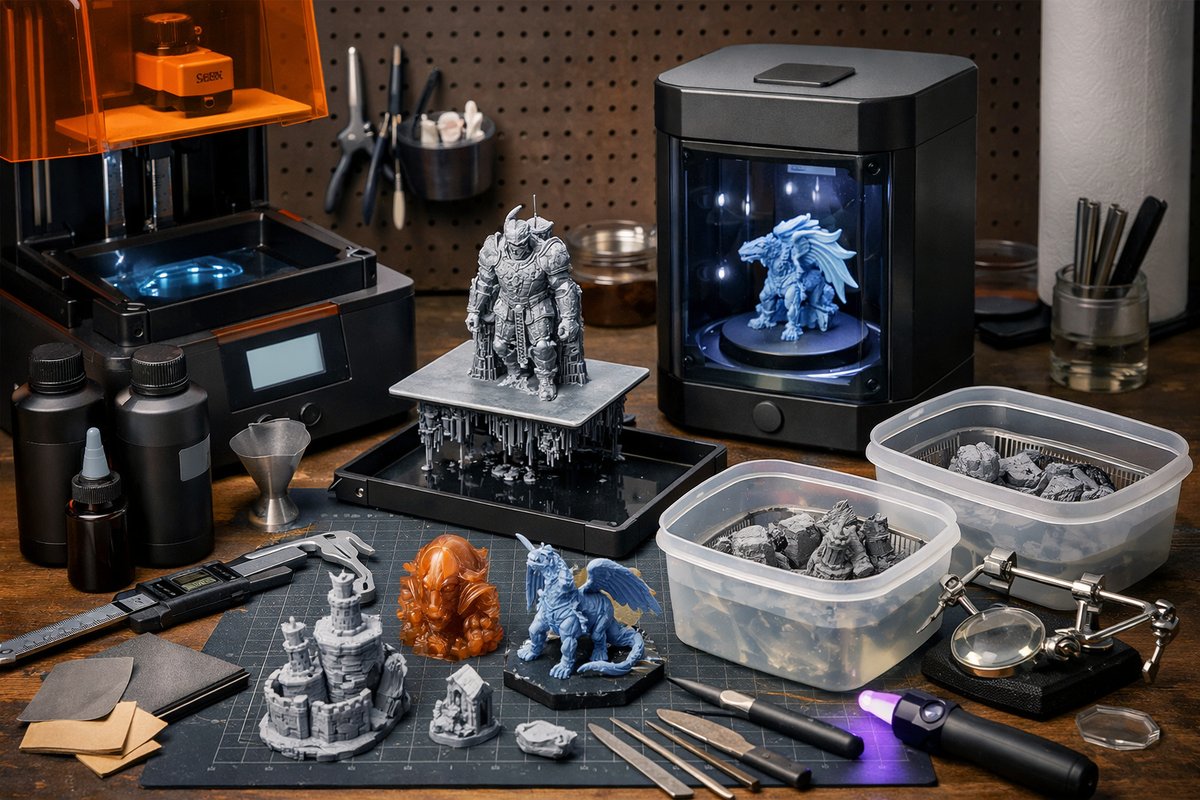
Discover the step-by-step process of desktop MSLA resin printing, from choosing the right photopolymer resin to post-processing fine details. This guide highlights essential tools and tips to help curious makers and hobbyists achieve high-resolution results and master every phase of the workflow.
Additive manufacturing has opened doors to producing intricate forms once reserved for industrial labs. Among its many flavors, LCD-masked stereolithography (MSLA) brings photopolymer resin to life with astonishing precision. Unlike filament-based approaches, MSLA cures entire layers at once under a UV array masked by an LCD screen. The result is crisp features, smooth surfaces, and rapid layer transitions-perfect for miniatures, dental models, and small-batch functional parts. In this guide, we’ll review the end-to-end workflow on a desktop MSLA resin printer, emphasize the usefulness of core components, and equip you with practical know-how to start printing ambitious designs in your own workspace.
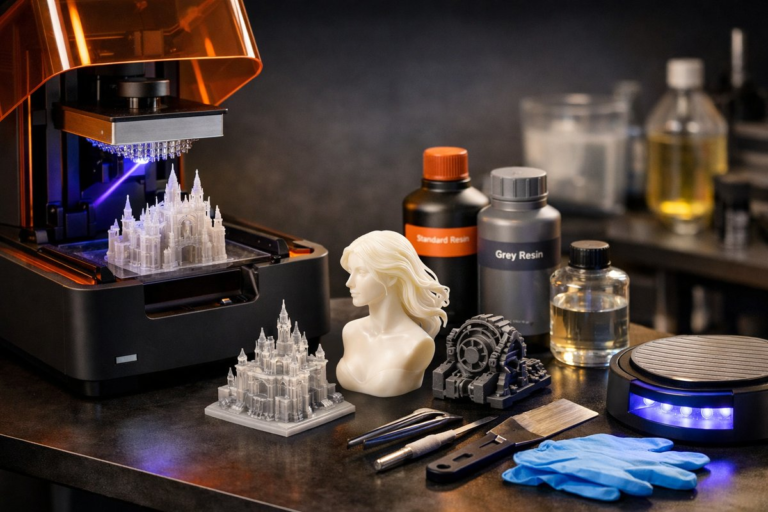
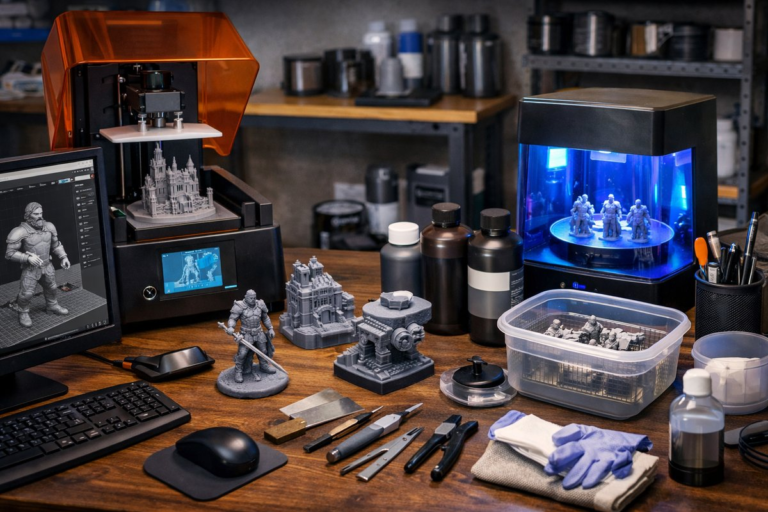
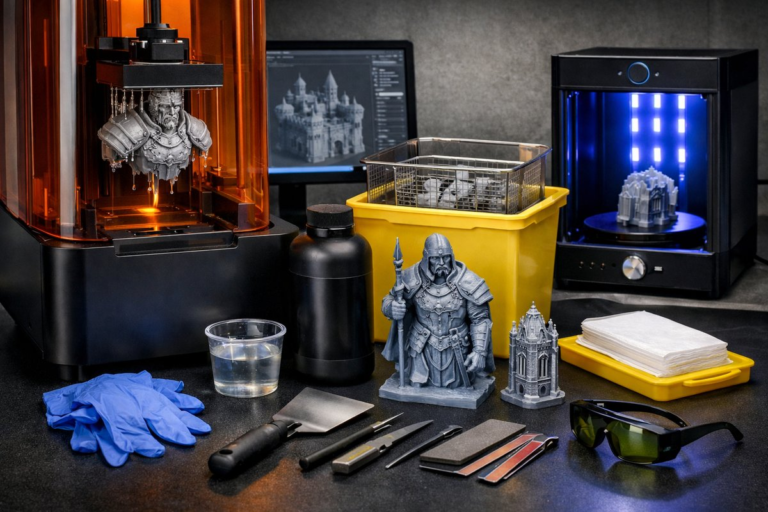
Before you dive into slicing software or press the print button, assemble a well-rounded toolkit. You’ll need:
Each component plays a vital role. The FEP sheet must be tensioned properly to avoid leaks, while a quality resin formula ensures even layer cures and reduces brittleness. The UV curing station finishes the job by driving out residual monomers-both a safety and performance step.
Resin choice hinges on your target application. Standard grey resins deliver balanced detail, cost efficiency, and easy paint adhesion. High-temp resins resist deformation under heat, ideal for molding applications. Flexible resins yield rubbery parts suited for gaskets or wearable prototypes. When reviewing specifications, focus on viscosity (lower is better for flow), recommended exposure time, and shore hardness. Many manufacturers publish data sheets with test cubes printed at different layer heights (25-50 microns). By comparing cured versus uncured weight, you can fine-tune exposure settings in your slicer. Always stir or gently shake resin before each use to redistribute pigments and photoinitiators evenly.
Once you’ve selected a suitable 3D model, import it into slicing software compatible with your printer. Orientation matters: tilt overhanging surfaces away from the build plate at 30-45° to reduce support volume. Generate supports with thicker bases near the plate and finer touch-points at the model’s surface to ease removal. Set layer thickness between 25-50 microns-thinner layers yield finer surface finish at the cost of longer print times. Input exposure times as recommended by resin documentation, then fine-tune by printing small test blocks. Verify bottom layer count (usually 3-6 layers) so the print adheres securely during the peel motion. Preview sliced layers to catch any gaps or missing supports before committing to a full build.
With the build plate and resin vat in place, power on the machine and access the leveling menu. Loosen the build plate screws, lower it to touch the FEP film lightly, then tighten back in a cross-pattern to secure. Remove any debris on the glass backing plate and ensure the FEP sheet is flat without wrinkles. Pour resin into the vat up to the fill line to avoid overflows. During the first layer, watch the peel cycle closely-the Z-axis should move up slowly to let the newly cured film release cleanly. If the first layer is too thin or fails to stick, slightly increase bottom exposure time by 5-10 seconds. A well-adhered first layer is the foundation of a successful print.
Desktop MSLA prints often run for two to six hours, depending on part complexity. Keep the workspace ventilated to disperse resin vapors. Avoid direct inhalation and don’t touch uncured resin. Periodically check resin levels in the vat-turbulence during the peel cycle can cause splashes. If resin falls below the recommended level, top it off gently through a funnel to avoid spills. Some printers offer remote monitoring via a built-in camera; if yours does, watch for layer shifts or unexpected jerks. Catching a failure early saves time and resources.
Once the print finishes, slide the build plate out and drain excess resin back into the bottle through a fine mesh filter. Use a plastic scraper to lift the model from the plate, then rinse it in an IPA cleaning station. A dual-tank rinse system-one tank for an initial wash, the second for a final rinse-helps remove stubborn residues. After a thorough air dry (or blow-dry with compressed air), place the model in a UV curing chamber for 5-15 minutes, rotating as needed for even light exposure. Proper curing raises ultimate tensile strength and prevents tackiness. For giggly surfaces, extend curing time in 2-minute increments until the touch test yields a firm, non-sticky feel.
With a cured model in hand, you can sand away support point nubs using fine grit (400-800) or employ precision files for delicate areas. Apply primer and acrylic paint for a professional-grade finish. If you notice layer lines on flat surfaces, try a light mist of filler primer between sanding steps. For persistent adhesion problems, clean the build plate and FEP sheet with mild detergent, then re-level. Yellowing or brittleness in cured parts often indicates over-curing-reduce UV time slightly. Resin fogging or cloudy spots can result from too much IPA in the rinse; swap to fresh solvent if clarity suffers.
By now you’ve handled everything from resin selection to final sanding. Experiment with alternative resin types-flexible, dental, or castable-to expand your project scope. Tinker with orientation angles to optimize strength in stress-bearing parts. Consider adding an external enclosure with a HEPA filter for a cleaner, odour-controlled environment. Share your learnings with online maker communities and crowdsource exposure settings for new resins. Additive manufacturing is as much art as science; each iteration unlocks fresh potential. With the right components and a growth mindset, you’ll translate complex digital designs into reality-one luminous layer at a time.