Location
Mount Vernon, WA 98274

Location
Mount Vernon, WA 98274
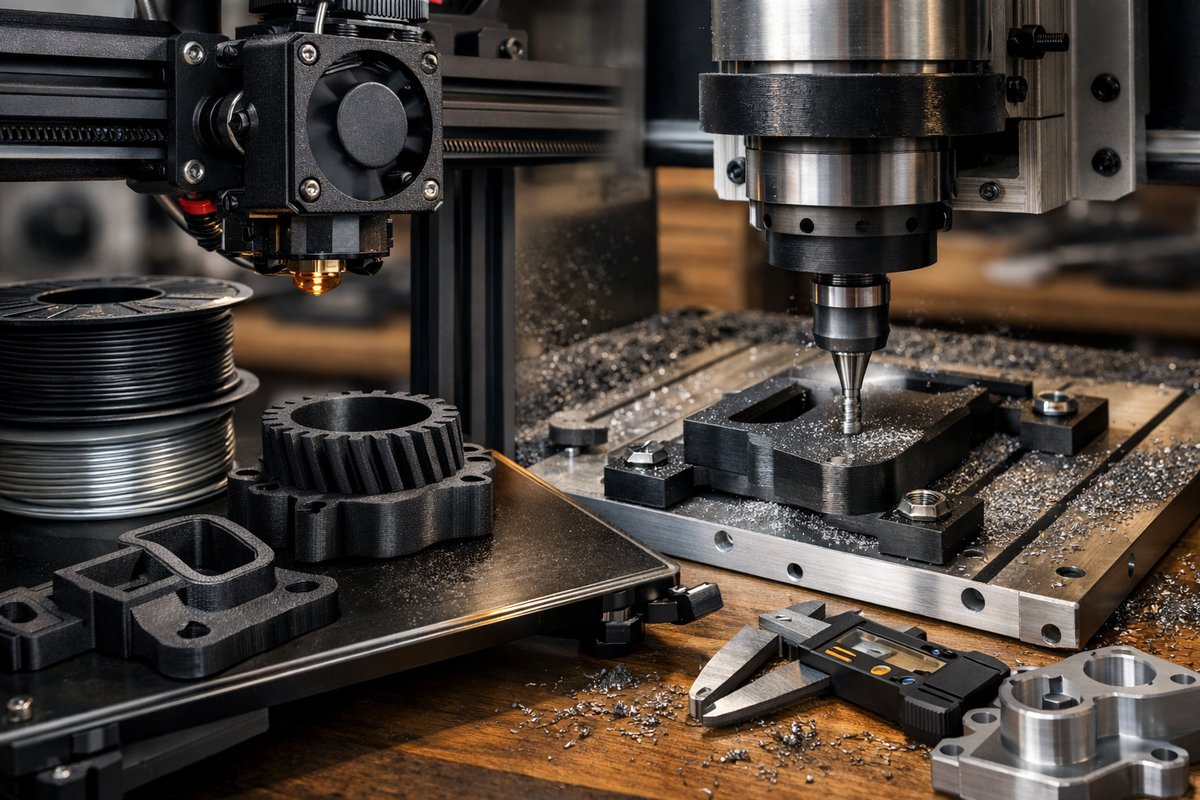
Combine the accessibility of Fused Deposition Modeling with the precision of CNC routing to produce functional, high-fidelity parts. Learn how upgrading to a hardened steel nozzle for abrasive filaments and finishing surfaces with a desktop CNC router can unlock new levels of durability and surface quality in your workshop.
Fused Deposition Modeling (FDM) has democratized manufacturing, transforming thermoplastic filament into complex geometries with nothing more than an extruder, a build plate, and open-source slicing software. But to take your parts beyond prototypes-toward strong, precision components-you need to optimize your toolchain. In this guide, we’ll explore how a hardened steel nozzle upgrade can expand your material choices and durability, then show you how to use a desktop CNC router and a 1 mm carbide end mill bit to achieve smooth, functional surfaces without losing fine detail.
Why Hardened Steel Nozzles Matter
Standard brass nozzles excel at general-purpose printing, but abrasive filaments-carbon fiber, glow-in-the-dark, metal-filled blends-grind through brass in hours. A hardened steel nozzle resists wear, maintains a consistent orifice diameter, and lets you experiment with advanced filaments for structural or aesthetic benefits. Carbon-fiber PLA, nylon composites, and conductive filaments all demand a nozzle that’ll endure hundreds of printing hours without developing chatter marks or clogging.
Key Benefits:
– Longevity: Hardened steel retains orifice dimensions far longer than copper or brass.
– Material Versatility: Print abrasive blends for improved stiffness, heat resistance, or electrical conductivity.
– Consistent Flow: A precisely ground steel tip ensures uniform extrusion, reducing blobs and under-extrusion.
Installing and Calibrating Your Nozzle
1. Heat the hot end to printing temperature for current filament (usually 200 °C). This softens any residual plastic before removal.
2. Power off and wait for the block to cool below 80 °C. Hand-loosen the existing nozzle with a wrench; then remove it fully once cool enough to handle.
3. Screw in the hardened steel nozzle by hand until snug, then heat the block again to printing temperature and finish with a quarter-turn using a torque-controlled wrench.
4. Re-level the build plate. Hardened steel nozzles often have slightly different tip heights. Run a live Z-offset calibration to ensure a perfect first layer.
5. Print a thin single-wall cube at 100 % extrusion width to check for under-extrusion or gap lines. Adjust flow rate by ±2 % until walls are solid.
Recommended Slicing Settings:
– Layer Height: 0.2 mm for standard nozzles, 0.1 mm for detailed parts.
– Print Temperature: Increase by 5 °C when printing abrasive blends to account for slower flow in steel nozzles.
– Retraction: 1 mm longer than your brass-nozzle profile to clear steel’s slightly larger thermal mass.
Mastering Desktop CNC Routing for Finishing
Additive steps can achieve near-net shape, but subtle layer lines and slight dimensional inaccuracies remain. That’s where CNC routing comes in: use a small desktop machine to lightly skim surfaces, square faces, and carve mounting features with micrometer precision.
Choosing Your CNC Setup
Opt for a compact 300 × 180 × 45 mm desktop CNC router with a rigid frame-often sold as a “3018 series” kit. These machines deliver enough rigidity for light plastic finishing and can handle soft metals if you adjust speeds. Paired with a 1 mm two-flute solid carbide end mill, you’ll remove up to 0.2 mm per pass at feed rates around 800 mm/min, preserving part geometry while smoothing layer lines.
Part Fixturing and Toolpaths
Secure your printed part to the spoilboard with double-sided tape or nylon strap clamps. For consistent results, veneer a thin MDF sheet under your part to protect the wasteboard from stray passes. Import your design into CAM software, then:
– Set your stock dimensions to match actual print measurements measured with a digital caliper.
– Define a facing operation across each flat surface with a 0.5 mm step-over-about half the cutter diameter-to avoid chatter and heat buildup.
– For pockets or slots, program a helical plunge rather than direct plunging to extend tool life.
– Finish with a final contour pass at 0.1 mm depth to ensure a polished edge.
Optimizing Speeds and Feeds
Feed and spindle speeds vary by material:
– PLA and PETG: 800 mm/min feed, 12,000 RPM spindle.
– Nylon: 600 mm/min feed, 10,000 RPM. A mist coolant or air blast keeps chips clear and prevents re-melting.
Monitor spindle load; if vibrations appear, slow the feed by 10 % and increase spindle speed by 20 % to maintain cutting engagement.
Bridging Additive and Subtractive Workflows
The true power of hybrid manufacturing lies in choosing which sections of geometry to print and which to route. Print textured grip surfaces or lightweight lattice infill, then rout precise mounting holes, bearing bores, or flat reference faces. Use carbon-fiber PLA for structural shells, then mill mating surfaces to H7 tolerance using quality carbide tooling. This division of labor reduces cycle times, conserves material, and elevates part robustness.
Safety and Maintenance
– Always wear eye protection during CNC operations. Small plastic chips can eject at high speed.
– Clean hardened steel nozzles with a fine wire brush when cold; avoid metal picks that can damage the orifice.
– Lubricate the CNC Z-axis lead screw bi-weekly with light machine oil to prevent backlash.
– Change your spoilboard sheets as needed; a worn spoilboard can introduce run-out and sloppy finishes.
Getting Started with Your Own Hybrid Lab
By combining a hardened steel nozzle upgrade for FDM printing with a desktop CNC router and the right end mill, you’ll unlock tougher materials, sharper edges, and machined reference planes-all from a modest bench setup. Start by printing a test block in carbon-fiber PLA, then face the top surface with a 1 mm carbide bit. Note the improvement in flatness and finish compared to sanding. As you refine your settings, you’ll balance additive freedom with subtractive precision, forging parts that look-and perform-far beyond entry-level capabilities.
Whether you’re building functional jigs, custom housings, or end-use brackets, hybrid manufacturing elevates both your craft and your parts. Install that hardened steel nozzle, dial in your extrusion flow, then carve away layer lines with surgical CNC passes. Precision, durability, and creative freedom are all within reach-ready for you to explore.












