Location
Mount Vernon, WA 98274

Location
Mount Vernon, WA 98274
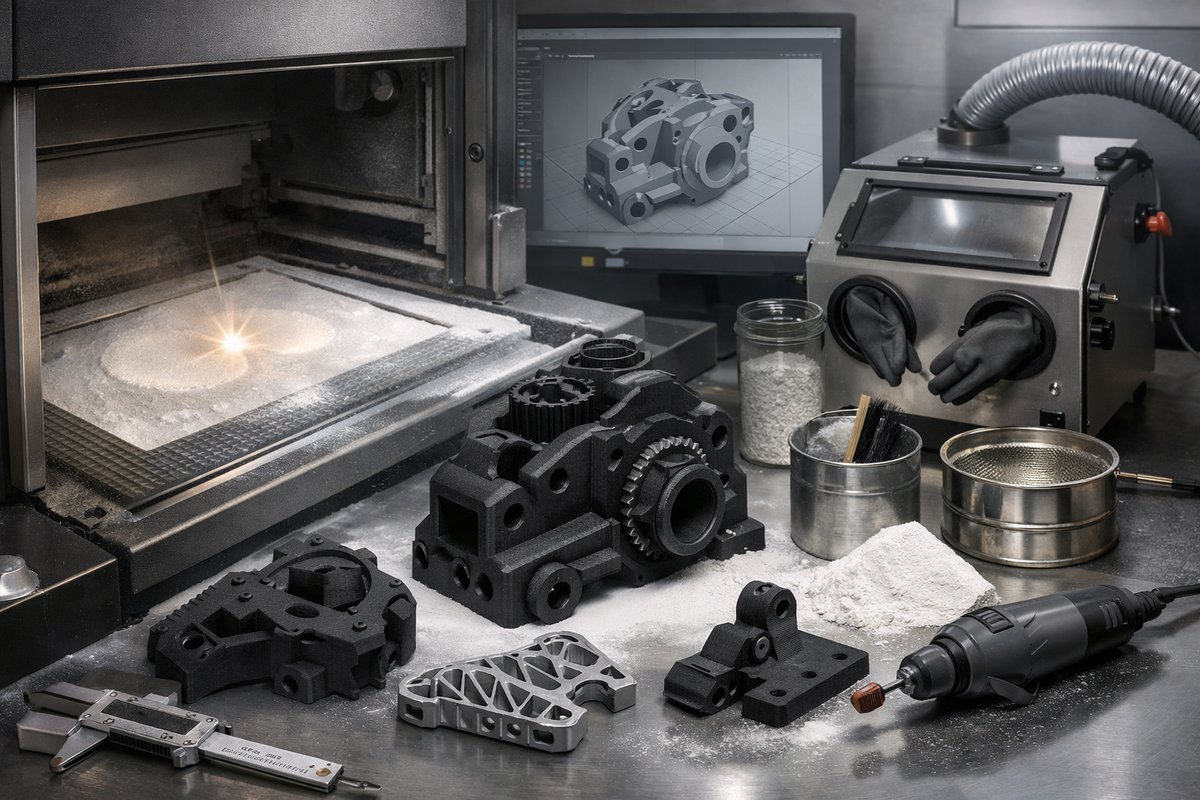
Selective Laser Sintering (SLS) with Nylon powder offers unmatched mechanical properties and fine feature resolution for prototypes and end-use parts. This guide walks you through every stage-from digital preparation to post-processing-while highlighting key components and tools that make the technique accessible and reliable for curious makers.
Selective Laser Sintering (SLS) stands out in the additive manufacturing landscape by fusing fine polymer powder layer by layer with a laser beam, producing parts with excellent strength, thermal stability, and complex geometry. Unlike extrusion or vat-based methods, SLS requires no support structures, enabling designs with intricate internal channels or overhangs up to 90 degrees. In this article, we explore how a compact SLS setup can deliver professional-grade Nylon parts on a benchtop footprint, and we review essential components to help you get started confidently.
At its core, an SLS system comprises four subsystems: a fine Nylon powder reservoir, a recoater mechanism that spreads powder layers up to 120 µm thick, a high-power laser scanner that selectively sinters each cross-section, and a heated build chamber that maintains powder temperature just below melting point-typically around 170 °C for PA12 Nylon. By reviewing these modules and walking through each step of the process, you’ll see how to optimize print quality and workflow efficiency.
Digital preparation begins with a 3D model exported as an STL file. Since Nylon powder shrinks slightly when sintered, it’s good practice to scale models by about 0.5-1 percent in all axes, or to run a small test print to measure actual shrinkage. Orientation matters: placing flat surfaces parallel to the powder bed minimizes stair-stepping, while angling parts at 30-45 degrees can improve heat distribution and reduce curling. Use dedicated SLS slicing software to nest multiple parts in the build volume, adjusting layer thickness (80-120 µm) and hatch spacing for your desired surface finish.
Once the digital job is ready, load PA12 Nylon powder into the machine’s feed station. For best results, choose a powder with a narrow particle size distribution, typically 20-60 µm, which promotes even layering and consistent sintering. A recoater blade or roller then spreads a uniform layer of powder across the build platform. During initial setup, confirm flatness by running a dry spread test: spread ten successive layers without firing the laser, then measure thickness with a feeler gauge to ensure repeatability across the build area.
The laser module is the heart of the SLS technique. Most compact systems employ a CO₂ laser in the 10-30 W range, though higher-power options accelerate sintering on larger builds. Adjust scan speed between 1500 and 3000 mm/s depending on your powder’s melt behavior. A slower scan yields denser parts but increases print time. Many operators tune laser power in 5 percent increments until surface finish and mechanical strength reach a sweet spot. Real-time monitoring cameras can help detect under-sintered regions or power fluctuations, while an external power meter verifies consistent output across sessions.
Maintaining build chamber temperature is equally vital. The target bed temperature keeps the powder just below its crystallization point, reducing thermal gradients that cause warping. Affordable benchtop SLS printers often include integrated heaters and feedback-controlled thermocouples. For retrofits, an external infrared thermocouple gun can verify local temperature uniformity across the bed. If you detect hotspots or cold zones, slow down scan speed or raise bed temperature by 5-10 °C to improve layer adhesion.
Once all layers are sintered, the build station enters a controlled cooldown phase. Allow the chamber to drop to about 50 °C before opening to prevent part distortion from thermal shock. This waiting time can range from one to several hours depending on chamber mass and ambient conditions. While you wait, prepare post-processing tools such as a powder recovery vacuum fitted with a HEPA filter and a sieving mesh set to reclaim unsintered powder for future builds.
After cooldown, extract the build block and carefully break away excess powder. A low-pressure powder recovery vacuum cleans the parts and collects loose powder into a sealed canister. Pass reclaimed powder through a sieving mesh-typically 80 µm, 100 µm, and 200 µm screens-to remove agglomerates. Label and seal filtered powder in airtight containers to protect from humidity, which can cause clumping in Nylon and affect sintering behavior.
Post-processing brings out the final detail. Glass bead blasting at 30-40 psi removes fine powder residue and gives a matte, uniform surface. Adjustable nozzles let you target tight corners and internal cavities without damaging delicate features. For deeper texturing, follow blasting with dyeing in hot water baths-Nylon readily absorbs color when heated to 80 °C for 20 minutes-making it a favorite for custom housings or artistic prototypes.
Safety cannot be overstated when handling fine polymer powders. Wear powder-handling gloves, long sleeves, and a dust mask rated N95 or higher to avoid inhalation of nanoparticles. A filtered powder vacuum keeps airborne particulates to a minimum. In enclosure or lab setups, consider local exhaust ventilation or a dedicated fume hood to mitigate dust accumulation and maintain air quality.
Getting your first test print on an SLS system often feels like unlocking a new dimension of design freedom. Simple calibration cubes reveal layer bonding quality, while tensile test bars help determine mechanical performance under real-world stress. As you dial in laser power, scan speed, and bed temperature, keep detailed notes in a build log. Tracking parameter variations against part outcomes helps you build a reliable profile library for different powder batches or part geometries.
For those looking to step up from low-cost SLA or FDM printing, compact SLS systems strike a balance between affordability and industrial-grade output. Entry-level units range from 20,000 to 50,000 in price, making them accessible to advanced hobbyists, small design studios, or university labs. Maintenance involves periodic recoater blade replacement, laser calibration, and chamber cleaning-tasks that most users can handle with a few hours of training.
The material cost per part varies with geometry and packing density but generally falls between 0.10 and 0.25 per gram of powder consumed. Recycled powder can be blended at ratios of up to 50 percent without significant strength loss, lowering overall consumption. Consider running small validation prints after a powder refill to ensure consistent performance, as slight variations in humidity or powder aging can influence sintering dynamics.
By mastering the SLS workflow and equipping your workspace with the right components, you’ll unlock design possibilities that once required expensive tooling or specialized factories. From aerospace brackets featuring internal cooling channels to organic jewelry shapes that defy traditional milling, Nylon SLS expands the creative and functional range of additive manufacturing. If you’ve been curious about leveling up your prototyping or small-batch production, now is the perfect time to explore the capabilities of this versatile technique.












