Location
Mount Vernon, WA 98274

Location
Mount Vernon, WA 98274
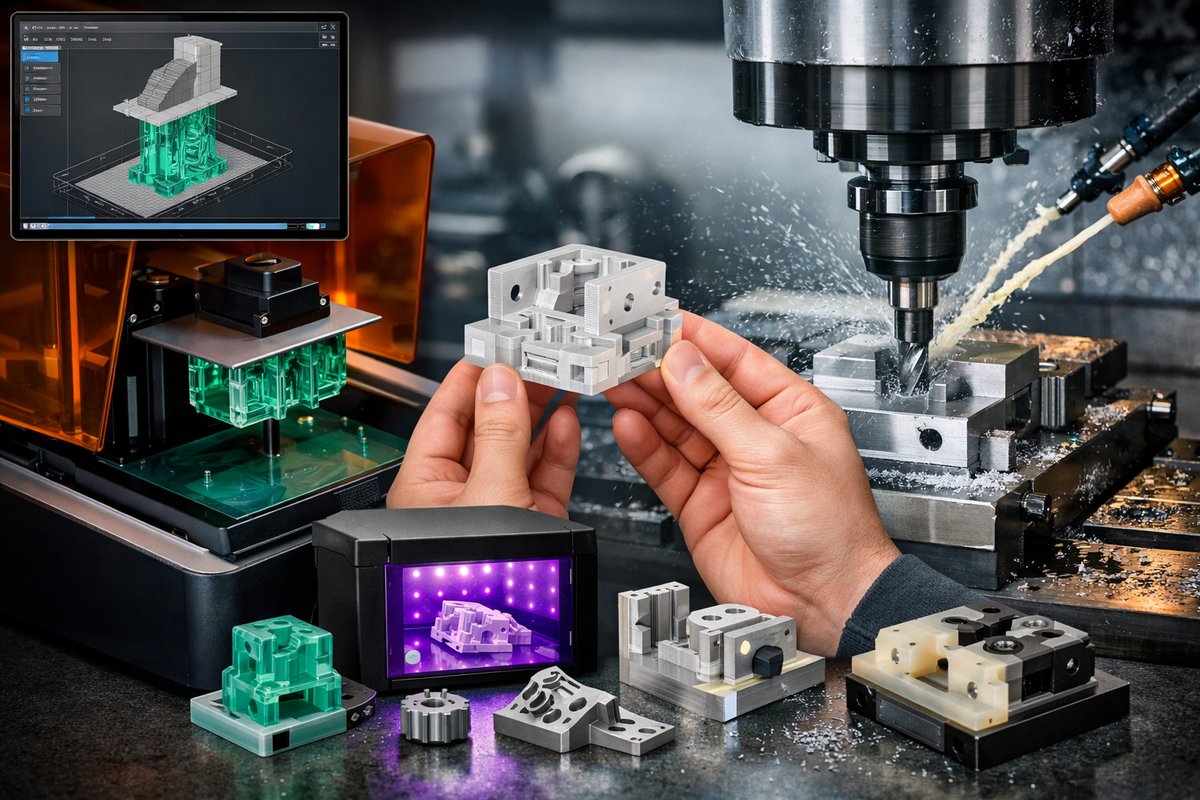
Discover how to combine resin vat photopolymerization with CNC machining to produce high-precision jigs, fixtures, and prototype parts. This step-by-step guide covers everything from design and slicing to post-curing and finishing passes, empowering you to unlock micron-level tolerances and mirror-smooth surfaces.
In the realm of additive manufacturing, resin vat photopolymerization shines for its unmatched resolution and surface detail. Yet even the finest resin prints may fall short of industrial tolerances or the crisp edges required for jigs and fixtures. By integrating a subtractive CNC finishing workflow, you can refine vat-printed parts into functional, precision components. This guide walks you through each stage-design, printing, washing, curing, and CNC finishing-while highlighting the key materials and tools that make the process reliable and repeatable.
Early-stage planning begins in CAD software. Define tolerances, snap fits, or mounting holes with the end milling cutter in mind. Design your part so that critical surfaces face upward in the build orientation; this reduces support marks where CNC finishing will be most demanding. Where possible, use flat reference faces in your model to streamline fixturing in the CNC vise later on.
Once the digital model is ready, load it into slicing software tailored for resin printing. Adjust layer height between 25 and 50 microns for a balance of detail and build speed. Generate supports with minimal contact area on non-critical faces. These fine touchpoints are easier to remove and leave smaller marks before CNC passes. Choose a photopolymer resin that dries to a hard, semi-brittle state-this yields stable dimensions and stands up to milling forces without tearing or smearing.
Transfer the sliced file to your desktop resin vat printer. Level the build plate and fill the vat to the recommended resin height. Launch the print job and monitor the first few layers closely. Proper adhesion here prevents failures later on. While the print is running, gather your post-processing station: isopropyl alcohol for washing, a soft brush for support removal, and a UV curing station for final hardening.
When the print completes, gently detach it from the build plate. Submerge the part in an isopropyl bath, either in a dedicated rinse station or a simple jar, and agitate until uncured resin rinses free. Remove support structures using flush cutters and a soft nylon brush. After washing, place the part in a UV curing chamber for the recommended duration. Fully cured resin exhibits stable dimensions and resists abrasion during CNC finishing.
With the part fully cured and cleaned, turn your attention to fixturing. A rigid CNC vise mounted to your machine table provides the stability needed for precision work. Position the printed component so that one of your flat reference faces sits parallel to the machine’s XY plane. Lightly tighten the vise, taking care not to crush the resin. If necessary, insert soft jaws-made of aluminum or plastic-between the resin and steel vise jaws to distribute clamping pressure evenly.
Select a precision ball end mill for finishing compound curves or a flat end mill for planar surfaces. Consider a two-flute carbide cutter with a small diameter-1 to 3 millimeters-to match the fine detail inherent in SLA parts. Install the tool in your CNC spindle and zero the axes against the part’s reference face. A touch probe can speed this process and ensure accurate tool setting without repeated manual measurements.
Program a finishing pass that skim-cuts layers at 0.05 millimeters depth, moving at moderate feed rates to avoid chatter and vibration. Because photopolymer resin is harder than many plastics, tune spindle speed higher-around 15,000 to 20,000 RPM-while keeping feeds conservative. Dry milling works well for resin, but watch for heat buildup. If your machine supports air blast, direct a steady stream of compressed air at the tool-work interface to clear chips and cool the cutter.
For flat surfaces, use parallel toolpaths spaced just outside the cutter diameter. For curves or organic shapes, employ radial finishing passes that follow the part’s contours. Each pass removes support artifacts, layer lines, and minor surface blemishes. After milling, inspect critical dimensions with a digital caliper. If tolerances are still loose, program a final polishing pass with a 0.02-millimeter step-over and the same cutter, applying a light, uniform finish across all faces.
Once the CNC finishing is complete, deburr edges by hand using fine abrasive sticks or micro-files. Soft brushes or buffing pads can remove any residual dust and impart a smooth tactile feel. If your application demands a glossy finish, consider a thin coating of spray-on clear lacquer or epoxy sealer. This also enhances durability and moisture resistance.
With the part polished, verify hole locations, alignment pins, or dovetail joints against mating components. Precision resin parts refined with CNC machining serve brilliantly as lightweight jigs, inspection fixtures, or production aids where metal would be overkill. The combination of high-resolution resin printing and subtractive finishing opens doors to rapid prototyping and low-volume manufacturing that once required expensive metalworking setups.
Embrace the interplay of additive and subtractive methods. Resin vat photopolymerization delivers detail and complexity, while CNC machining enforces dimensional accuracy and surface integrity. By selecting compatible resins, precision end mills, and reliable fixturing techniques, you’ll produce parts worthy of functional tests and end-use applications. The workflow outlined here can adapt to various geometries, materials, and machine platforms-empowering novice admins and seasoned craftsmen alike to explore new frontiers in precision manufacturing.
Whether you’re creating alignment fixtures for PCB assembly, ergonomic handles for lab equipment, or agile jigs for robotics cells, this hybrid approach maximizes the strengths of both worlds. Take the plunge: design a test piece, fire up your resin printer, and schedule a finishing pass on your CNC. The journey from raw resin to a polished, millimeter-perfect part awaits your next project.












