Location
Mount Vernon, WA 98274

Location
Mount Vernon, WA 98274
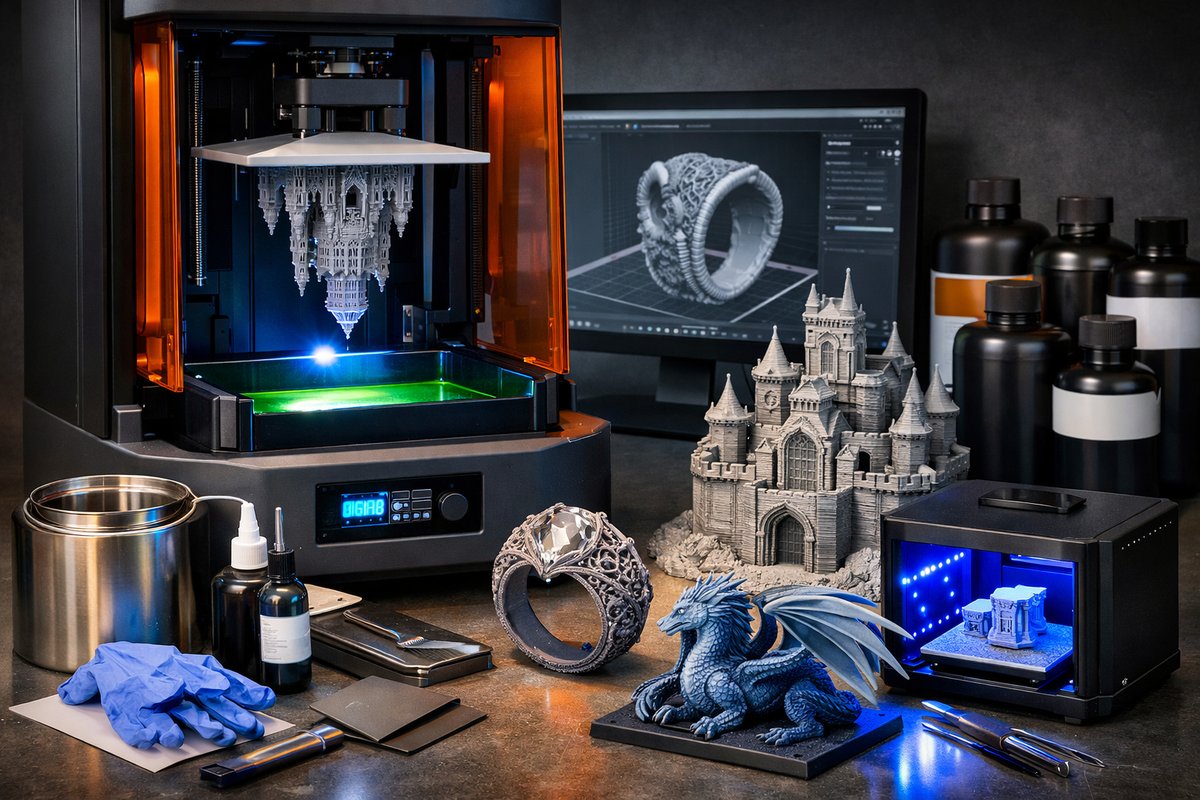
Digital Light Processing (DLP) brings laser-sharp detail and smooth surfaces to desktop 3D printing by curing liquid resin one layer at a time. This guide dives into hardware essentials, resin selection, print preparation, post-processing workflows, and troubleshooting tips to help you master DLP and bring intricate designs to life.
Digital Light Processing (DLP) has emerged as a versatile technique in the world of additive manufacturing, transforming liquid photopolymer resin into solid forms with exceptional detail and surface finish. Unlike filament-based processes, DLP exposes entire layers to patterned UV light, curing each slice of a digital model in seconds. For hobbyists, jewelry designers, and small-batch manufacturers, DLP offers an accessible path to parts with sharp edges, fine features and smooth faces that require minimal post-printing cleanup.
At its core, a DLP setup consists of four key elements: the UV light source and projector, the build plate, the resin vat with a transparent FEP film bottom, and the control electronics with slicing software. The projector casts an image of each layer onto the resin surface, triggering photoinitiators that harden the polymer. Because an entire layer cures at once, DLP printers can achieve consistent layer adhesion and rapid build speeds compared to laser-based stereolithography. When shopping for a DLP printer, look for a projector resolution above 1080p, a reliable Z-axis mechanism, and an open resin vat system that allows easy cleaning and film replacement.
Choosing the right resin is equally important. Standard photopolymer resins deliver a balance of tensile strength, flexibility, and ease of handling, while specialty formulations introduce high-temperature resistance, biocompatibility, or castable properties for investment casting. Pay attention to resin viscosity and cure wavelengths-most desktop DLP machines use 405 nm LEDs. High-viscosity resins may require slightly longer exposure times and more powerful light sources. Transparent, opaque, and pigment-infused resin blends can introduce artistic flair or match functional requirements, but always consult the manufacturer’s exposure charts for optimal layer cure times.
Before your first print, calibrate the build plate distance from the FEP film. A properly leveled build plate ensures even layer thickness and prevents partial adhesion or failed prints. Start with a fresh sheet of paper or a leveling tool provided by the printer maker. Lower the build plate until it just contacts the FEP film, then retract it slightly by the thickness of one layer. Tighten the leveling screws while holding the plate steady, and rotate through each corner to maintain a uniform gap. A well-leveled platform reduces resin leakage, minimizes stress on cured layers, and extends the life of your FEP film.
Slicing software is your interface between a digital model and a physical object. Popular programs allow you to import STL or 3MF files, orient the model for minimal support footprints, and generate sliced layers tailored to your resin. Start with a layer thickness of 50-100 microns for balanced detail and print speed. Adjust the bottom layer exposure time-often double the normal layer exposure-to ensure strong adhesion to the build plate. Carefully arrange support structures, focusing on overhangs greater than 45 degrees and delicate features. Too few supports can cause warping, while too many can increase cleanup time and leave unsightly marks.
When you hit the print button, the build plate dips into a thin film of resin and the projector bathes the exposed areas in UV light. Be patient and resist the urge to peer under the prints during the first few layers. Monitor resin temperature-most resins perform best between 20 °C and 28 °C-and avoid drafts that could cool the vat unevenly. Between prints, stir or gently shake the resin bottle to redistribute any settled pigments or additives. A consistent resin mix prevents curing anomalies and ensures uniform mechanical properties across multiple batches.
Post-processing transforms a sticky, partially cured object into a crisp, hardened final part. Start with an isopropyl alcohol (IPA) wash to remove uncured resin from crevices and surfaces. You can use a manual spray bottle or a small ultrasonic cleaner for more efficient agitation. After a thorough rinse, let the part air-dry or pat it with lint-free wipes. The next step is secondary UV curing, which completes polymerization and maximizes material properties. A dedicated LED curing station with turntable delivers even light exposure; curing for 2-5 minutes per side typically yields a robust part ready for handling.
Finishing touches can elevate a printed object from prototype to polished component. Fine-grain sandpaper (400-800 grit) helps remove support scars, while micro-mesh pads achieve a glass-smooth surface. Apply a thin coat of primer before spray painting or hand-brushing to enhance adhesion and conceal layer lines. For clear or transparent parts, polishing compounds and plastic polish can restore optical clarity. If your design demands threaded connections or inserts, you can heat-set brass or stainless steel inserts into pre-drilled holes for durable mechanical joins.
Troubleshooting is part of the journey. If your model separates from the build plate, check that you’re using the correct bottom layer exposure and that the plate is level. Excessive suction or peeling noises during layer changes often indicate an overly thick resin layer or a worn FEP film that clings too strongly. Warping at the base can be mitigated with wider raft structures or by slowing the Z-axis lift speed. If fine details fuse together, reduce layer exposure time in 1-second increments until features resolve cleanly.
Sustainability matters in resin printing. Collect unused resin from failed prints or leftover batches and filter it through a fine mesh before returning it to the bottle. Store resin in opaque containers at stable room temperature away from direct light to prolong shelf life. Dispose of IPA baths by allowing them to evaporate in a well-ventilated area and recycling residue according to local hazardous waste guidelines. Consider using biodegradable resin options where available, and recycle cured support structures into filler pellets for future composite printing projects.
Mastery of Digital Light Processing opens the door to intricate miniatures, functional prototypes with fine tolerances, and end-use parts that rival injection-molded components. By investing time in calibration, slicing, and post-processing routines, you’ll turn abstract digital designs into tangible reality with unrivaled detail. Gather the right tools, practice your workflow, and embrace experimentation-success lies in the details, layer by layer.
Your next step is to source quality components, fine-tune your settings, and start printing a small test piece-perhaps a chess pawn or a lattice cube-to dial in exposure times and support strategies. As you build confidence, scale up to more complex geometries, explore new resin formulations, and push the limits of desktop additive manufacturing. With careful setup and a bit of patience, Digital Light Processing can deliver professional results on a hobbyist budget.












