Location
Mount Vernon, WA 98274

Location
Mount Vernon, WA 98274
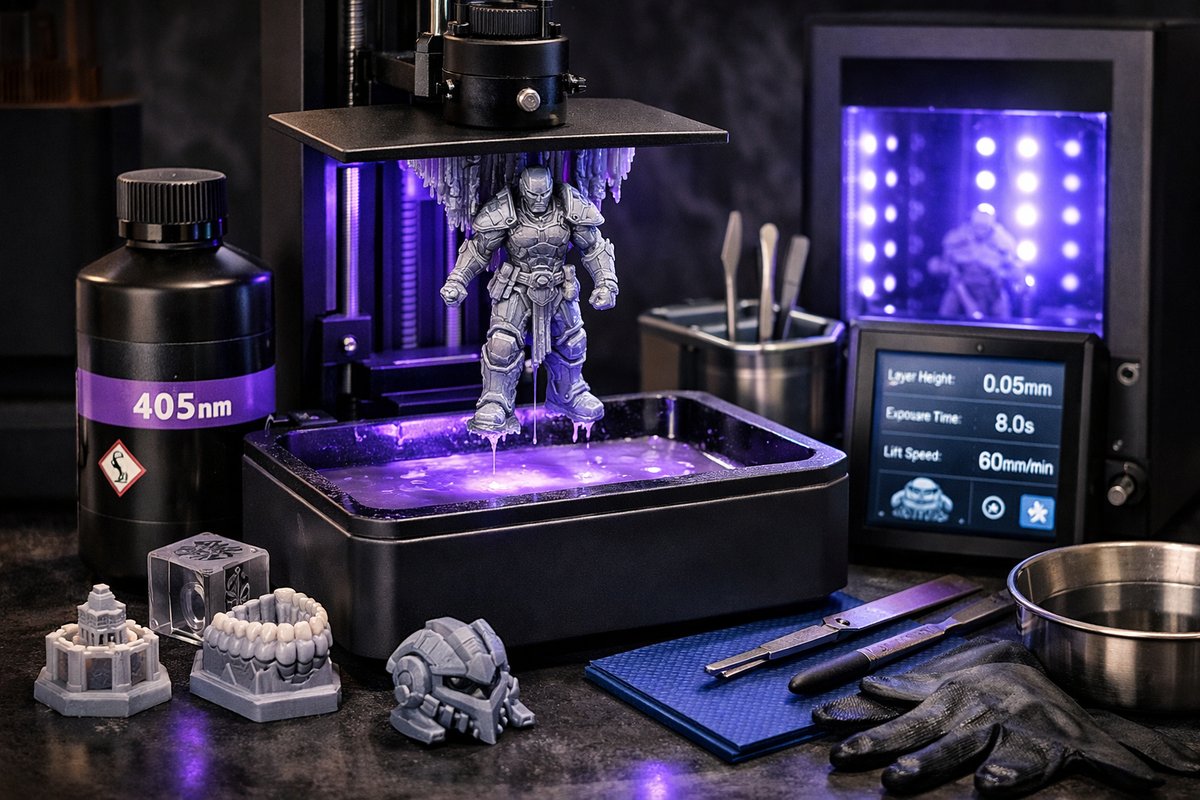
Discover the ins and outs of vat photopolymerization in this hands-on guide. From choosing the right 405 nm UV resin to fine-tuning print settings and post-processing techniques, you'll gain the confidence and know-how to turn digital concepts into durable, high-detail prototypes.
Bringing a digital design into the physical world with resin 3D printing can feel like magic. A liquid polymer cures under patterned UV light, emerging layer by layer as a remarkably detailed, functional part. Long prized by jewelers and dental labs for its precision, vat photopolymerization has matured into an accessible tool for engineers, educators, and makers. In this guide, you’ll learn how to prepare your model, select materials, calibrate your printer, and post-process finished parts. By the end, you’ll have the knowledge to craft high-quality prototypes that look and perform like injection-molded or machined components.
The first step is understanding what makes resin printing unique. Unlike filament systems that melt plastic through a nozzle, resin printers selectively harden liquid photopolymer in a transparent vat. A UV light source-either a laser or an LCD masked array-shines through the bottom of the vat, pinpointing each cross-section of your model. The build platform lifts out of the resin bath after each layer cures, and fresh resin flows back in to form the next slice. This bottom-up method yields extremely fine detail (down to 25 microns on many machines) and smooth surface finish, especially on curved or organic shapes. On the flip side, resin systems require more careful handling of liquid chemicals, tight control of temperature, and diligent post-processing to remove uncured resin and fully cure parts to their maximum strength.
Before you hit print, prepare your digital file. Export your CAD design as an STL or OBJ, then import it into slicing software. A critical decision at this stage is support structure placement. Unlike fused filament layers, resin layers peel away from the vat bottom, and large flat surfaces can trap suction forces. Properly oriented models with slender supports minimize failures. Tilt parts at 10°-15° from the build platform and place supports under overhangs wider than 45°. Many slicers offer automatic support generation, but manual adjustment will often yield cleaner contact points and easier removal. Always inspect potential contacts on fine features to avoid deformation when you snap off supports.
Choosing the right resin is equally important. Standard clear or gray resins are great for form-and-fit prototypes, letting you see internal channels or confirm dimensions. Tough or engineering resins can approximate the mechanical properties of ABS or nylon, ideal for snap-fit enclosures or functional gears. Castable resins burn out cleanly for investment casting, while flexible formulations bend without breaking for rubber-like prototypes. When handling bottles of 405 nm UV resin, always wear nitrile gloves and a respirator rated for organic vapors. Work in a well-ventilated area and keep a sealed storage cabinet for your chemicals. Gently shake the bottle before each print to mix in any settled pigments or fillers, but avoid vigorous agitation that can introduce bubbles.
Printer calibration is your next priority. Leveling the build plate and setting the correct Z-offset ensures the first layer adheres reliably. Many machines use a manual leveling routine: lower the platform to the vat bottom, slide a sheet of paper under it, and tighten until you feel slight resistance when pulling the paper. Other printers feature automated sensors or probe arrays. After leveling, run a quick test print of a calibration pattern-a simple square or a small test cylinder-to verify that layers stick and detach cleanly. If you see “elephant’s foot” bulging or layers shifting, adjust your Z0 offset by tiny increments (0.05 mm at a time) until the base is smooth and true.
With the printer prepped and your resin mixed, fine-tune the slicing parameters. Standard layer heights range from 50 microns for balance of speed and detail to 25 microns for incredibly smooth surfaces. Exposure time per layer depends on resin pigment and printer power; start with the manufacturer’s baseline (often 2-3 seconds per layer) and tweak based on real-world results. If layers under-cure, you’ll see shaky edges or poor bonding. Over-exposure can cause loss of fine detail or unintended crosslinking. For the bottom layers that form the foundation, increase exposure time by 150-200% to ensure strong adhesion to the build plate. Most slicers let you define bottom layer count and time separately from the main print sequence.
Once the print completes, remove the build platform and use a plastic scraper to gently lift off parts. Carry the platform to a dedicated wash station. Submerge prints in a tub of 99% isopropyl alcohol or an enclosed ultrasonic cleaning system to dissolve uncured resin. Two to five minutes of agitation usually suffices; remove the part and inspect for sticky residue, repeating a quick rinse if needed. Use a soft brush or cotton swab to clean tight areas. Let the parts air-dry briefly before moving on to UV post-curing. Place prints inside a UV curing chamber or under a 405 nm LED lamp for several minutes, rotating to expose all surfaces evenly. Fully cured parts achieve their rated strength, resist yellowing, and can be safely handled without hazard.
After curing, remove supports with flush cutters or a hobby knife, taking care not to gouge delicate edges. Sand contact points starting with 220-grit paper, then progress through 400 and 800 for a silky finish. If color consistency matters, apply a thin spray of primer to hide sanding marks before painting. For functional prototypes-snap fits or mechanical assemblies-test fit components while still slightly under-cured; a little spring in the part can make snap features easier to install. Once you dial in the ideal cure time, full-strength pieces will lock together precisely.
Troubleshooting common issues is part of mastering resin printing. Layer separation often indicates low exposure time or dirty vat film. If parts warp or peel, examine your build plate leveling and bottom layer settings. Failed prints where resin pools around the base may point to clogs in the vat FEP film; cleaning or replacing that film regularly prevents flakes of cured resin from causing defects. Yellowing of clear parts suggests excessive UV exposure in the chamber or prolonged direct sunlight-store finished parts in a dark box if optical clarity is critical. Keeping an organized supply of spare film sheets, replacement VAT screws, and a fresh bottle of cleaning alcohol will save you downtime when maintenance is due.
With these techniques under your belt, you can create prototypes that rival machined parts in both detail and performance. Whether you’re iterating device housings, producing custom medical models, or crafting intricate art pieces, vat photopolymerization offers unmatched surface quality and speed. Take the plunge into resin printing with confidence: a modest desktop system combined with the right materials and workflow can transform your ideas into tangible reality. Share your successes, adjust parameters, and continually refine your approach-soon you’ll be pushing the boundaries of what’s possible with additive manufacturing.












