Location
Mount Vernon, WA 98274

Location
Mount Vernon, WA 98274
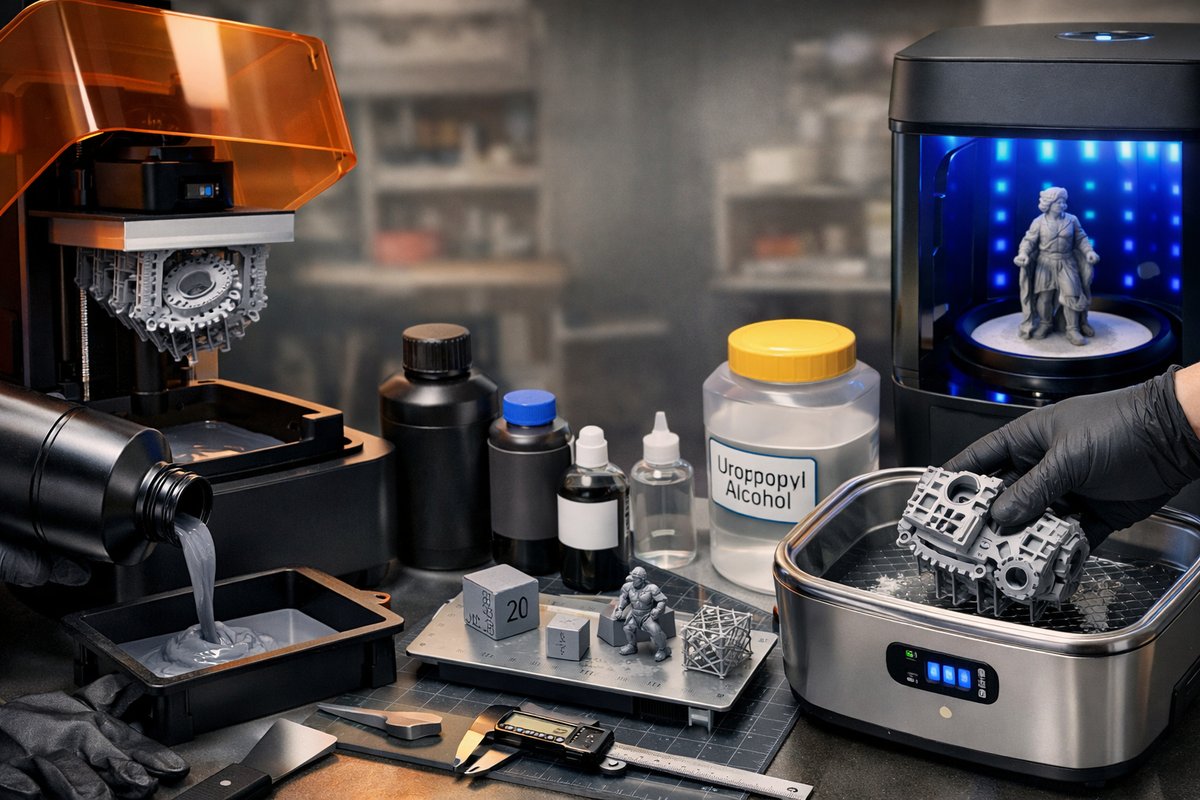
Explore the precision and surface quality of desktop stereolithography in this hands-on guide. You'll learn how to select and handle photopolymer resin, calibrate your printer, and complete post-processing for strong, detailed parts.
Stereolithography (SLA) brings high resolution and smooth surface finishes to desktop 3D printing. By curing liquid resin layer by layer with a UV light source, SLA systems capture minute details that filament-based machines often miss. This guide walks through each phase-material selection, printer setup, print optimization, and post-processing-while recommending essential components to help you achieve reliable results.

When you start with SLA, the first decision is choosing the right resin. Standard photopolymer resin offers balanced mechanical strength and surface clarity, making it an ideal entry point. If you need parts that withstand higher temperatures or mechanical stress, high-temperature or engineering resins expand the possibilities. Flexible resin can produce elastic prototypes for gaskets or wearable items. Understanding resin properties helps you tailor prints to your project’s demands.
Next, prepare your workspace with safety and cleanliness in mind. Resin is sensitive to ambient light, so work in a semi-dark area or cover windows to prevent premature curing. Wear nitrile gloves and a respirator mask rated for organic vapors to protect your skin and lungs. Arrange an isopropyl alcohol bath for cleaning printed parts and have paper towels or lint-free cloths on hand.
Leveling the build platform is crucial for first-layer adhesion. Follow your printer’s instructions: typically you lower the build plate until it contacts a sheet of calibration paper on the resin vat, then tighten leveling screws. Some systems feature automatic leveling sensors-verify those calibrations as well. Once leveled, perform a test print of a simple calibration object to confirm consistent layer adhesion across the plate.
Resin printers use parameters like layer exposure time, bottom layer count, and lift speed. Start with the manufacturer’s recommended settings for your resin. If layers separate or small features fail, increase exposure by 2-4 seconds per layer. If you smell resin or notice over-cure artifacts in fine details, dial back exposure or reduce lift speeds to lessen peeling forces. A well-tuned balance prevents failed prints and preserves resin economy.
Over time, resin viscosity can change with temperature. Aim to keep your resin between 20 °C and 25 °C by using a heated enclosure or warm water bath under the vat. Cooler resin cures more slowly, risking incomplete layers; warmer resin can warp or over-cure. Monitor ambient conditions and adapt bed temperatures accordingly.
Supports hold overhangs in place during printing. Use automatic support generators in your slicing software as a starting point, then manually add or remove supports around delicate features. Thin stalks and tree-style supports reduce material usage and simplify removal. Orient parts to minimize supports on visible surfaces. After printing, remove supports gently with flush cutters or a scraper, taking care not to scratch the model.
When your print is complete, drip excess resin back into the vat. Transfer the part to an isopropyl alcohol bath and gently agitate it for two to five minutes. Use a soft brush to remove trapped resin in crevices. Dry the part thoroughly on a paper towel or lint-free cloth.
Final curing bonds layers and boosts mechanical properties. Place the cleaned part in a UV curing station or under a UV flashlight for six to ten minutes per side, depending on part thickness. Rotate the part to ensure even exposure. Well-cured parts exhibit stable geometry and resist deformation under load.
If your first layers fail to adhere, re-level the build plate and check that the resin vat film is not scratched or worn. Layer shifting can indicate loose gantry screws or mechanical binding-tighten screws and lubricate rails. Surface blemishes often point to contaminated resin; filter your vat through a fine mesh screen and decant into a sealed resin bottle to maintain clarity.
Ghost lines or visible layer steps suggest over-curing or too large a layer height. Try a thinner layer height (e.g., 0.025 mm) and fine-tune exposure times. Properly balancing these settings delivers razor-sharp details and seamless surfaces.
Take advantage of specialty resins: castable resin for jewelry and dental applications burns out cleanly in investment molds, while biocompatible materials suit light medical prototypes. Color-changing resins react under UV light or heat, adding a playful dimension to creative projects.
Integrate digital calipers to verify dimensional accuracy. Measure key features and compare them to your CAD model, then adjust scale factors in your slicer to compensate for shrinkage or expansion. Over time, you’ll build a database of custom settings for each resin, ensuring reliable prints at scale.
SLA generates liquid waste and used alcohol; dispose of these materials according to local regulations. Let residue settle in sealed containers, then separate clear liquid from sediment. Many recycling centers accept cured resin pieces, so run old or failed prints through a final UV cure and discard them responsibly.
Filter and reuse isopropyl alcohol until it becomes cloudy, then replenish your supply. A closed-loop cleaning station with two containers-one for initial wash and one for rinse-extends alcohol life and reduces overall consumption.
With desktop SLA mastered, you can tackle architectural models with hair-fine lattices, custom medical guides, intricate art pieces, and miniatures for tabletop games. As resin formulations evolve-becoming tougher, safer, and more sustainable-the door swings wide open for new applications.
Why not design a custom enclosure for your electronics projects or print complex fluid channels for research prototypes? The dimensional accuracy and surface finish of SLA make it a standout choice for parts that need to fit or seal precisely.
Additive manufacturing with resin is an immersive craft. It demands attention to detail but rewards you with parts that rival injection molding at small scales. By honing your resin selection, calibration technique, support strategy, and post-processing workflow, you’ll transform digital ideas into tangible reality.
Experiment, document your settings, and share your successes in online communities. With every layer you cure, you’ll deepen your understanding of photopolymer chemistry and UV optics-and unlock possibilities that were once out of reach for desktop makers.












