Location
Mount Vernon, WA 98274

Location
Mount Vernon, WA 98274
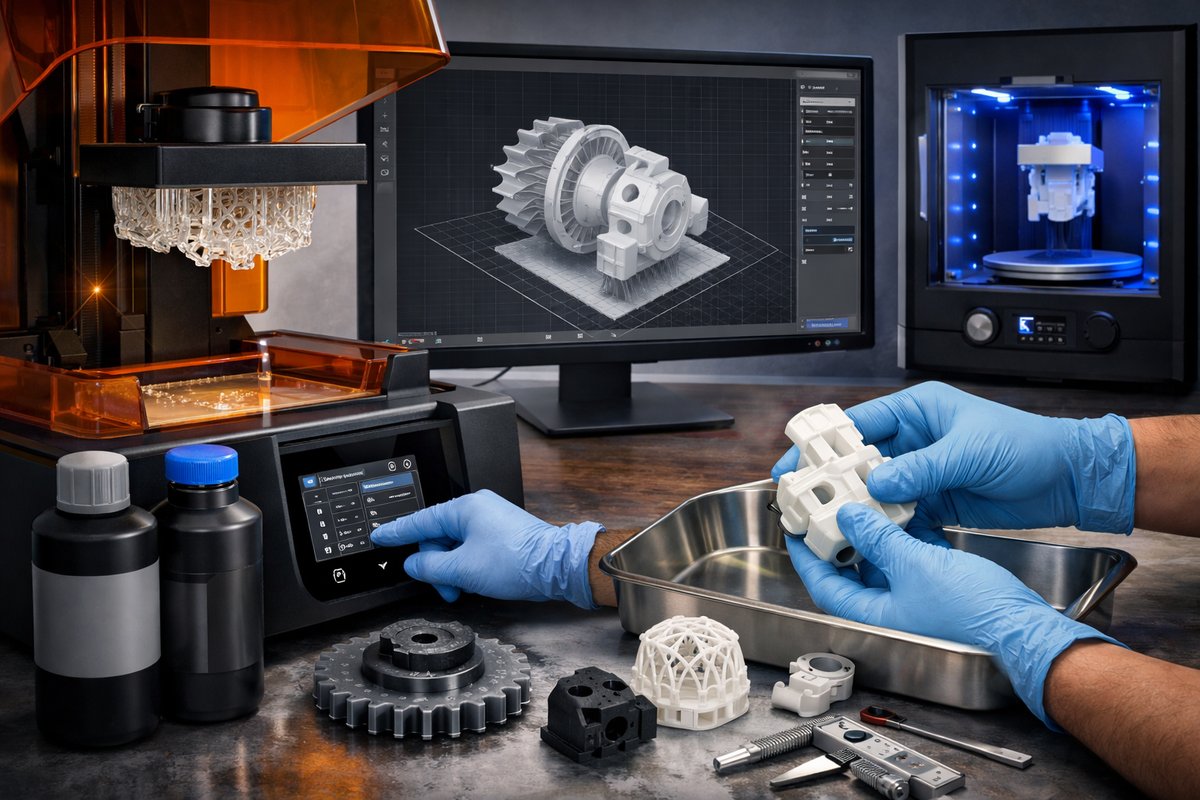
Discover how Stereolithography (SLA) transforms digital designs into high-precision physical parts. This guide walks you through every step-choosing resin, tuning printer settings, post-processing, and quality checks-to help you turn virtual models into detailed, functional prototypes.
Every successful resin 3D print begins long before the first layer cures beneath a beam of light. Stereolithography (SLA) leverages a photosensitive resin vat and a precise UV light source to harden successive layers of liquid into complex geometries with sub-100-micron detail. Unlike filament-based extrusion, SLA excels at thin walls, smooth surfaces, and fine features-ideal for dental models, jewelry prototypes, microfluidic channels, and figurines. If you crave razor-sharp corners, organic curves, or functional assemblies straight off the build plate, SLA could be your additive-manufacturing sweet spot.
Before you power on your printer, assemble these essentials:
• UV-sensitive Resin: Choose a standard clear resin for general prototyping or an engineering-grade resin (tough, flexible, high-temperature) when function matters. Ensure compatibility with your SLA machine’s wavelength (typically 405 nm).
• Resin Vat and Build Platform: A well-leveled, clean vat keeps resin exposure uniform. A sturdy build platform clamps tightly and removes prints without gouging the surface.
• Resin Cartridge or Bottle: Presealed cartridges simplify handling, while bottles reduce cost per liter-pick the system that fits your lab or hobby bench.
• UV Curing Station or UV LED Lamp: Post-print curing solidifies resin fully, boosting mechanical properties and eliminating tackiness.
• Isopropyl Alcohol (IPA) or Biodegradable Wash Solution: Removes uncured resin from surfaces. A dedicated wash station minimizes spills and exposure.
• Nitrile Gloves and Safety Goggles: Resin is an irritant. Wear disposable gloves and splash-resistant eyewear throughout mixing, pouring, and cleaning.
• Precision Scraper or Flexible Spatula: Gently dislodge cured parts from the build plate without gouging or bending.
• Digital Calipers: Verify critical dimensions and tolerances. A quick measurement helps you tune exposure times and layer heights for future prints.
1. Model Inspection: Open your STL or OBJ in slicing software. Look for non-manifold edges, intersecting faces, or inverted normals. Most slicers include a “repair” tool-use it to avoid print failures.
2. Orientation and Supports: Tilt your part 20-45° relative to the build plate to balance surface finish and support count. Underhangs deeper than 45° generally require supports. Generate custom supports around delicate features-small cylindrical pads, lattice structures, or tree-style supports-ensuring they connect at low-stress points.
3. Layer Height and Exposure: For ultra-fine detail, set layer height between 25 and 50 microns; for rapid prototypes, 100 microns suffices. Adjust exposure time per layer based on the resin manufacturer’s recommendations. If you’re off by even a second, thin features may under-cure or over-cure adjacent surfaces.
1. Level the Build Platform: Secure the platform, then use the printer’s leveling routine-often an automatic Z-home sequence combined with a test exposure or paper shim technique. A level plate ensures consistent layer thickness.
2. Pour and Prefilter Resin: Gently shake the resin bottle to homogenize pigment and oligomer. Pour slowly through a fine mesh filter into the resin vat to catch cured flakes or dust. Filling to the manufacturer’s recommended minimum ensures the wiper or recoater blade won’t run dry.
3. Temperature Control: Ideal resin performance occurs between 20°C and 25°C. If your workspace is cooler, consider an enclosure with a small heater pad. Too warm or too cold and you’ll see inconsistent layer adhesion.
1. Start the Print: Initiate the job from your slicer-exported file. In the first few layers-commonly called the “raft” or “base layers”-the printer uses longer exposure times to anchor parts firmly. Watch for good adhesion: the cured shape should look complete and firmly attached.
2. Layer Progression: Keep an eye on the resin’s surface. If you notice streaks, cloudiness, or peeling parts, pause and clean the vat or re-level the platform. Small resin particles can accumulate beneath the film, causing thin spots in successive layers.
3. Interrupt and Resume: Some printers allow safe pausing to top up resin or clear debris. Always cleanse the build platform of uncured resin before resuming to avoid layer inconsistency.
1. Initial Rinse: When your print finishes, lift the build platform and let excess resin drip back into the vat. Wearing gloves, transfer the platform to a wash station filled with IPA or eco-friendly cleaning solution. Agitate gently or use a built-in agitation cycle.
2. Support Removal: After washing, let parts air dry or use compressed air at low pressure. Carefully clip off supports with flush cutters. Trim scars or residual nubs with a hobby knife or micro-file for a smooth finish.
3. Final Cure: Place the cleaned, support-free parts in a UV curing station. Rotate at 90° intervals every few minutes to ensure even exposure. Typical cure times range from 5 to 20 minutes, depending on resin type and lamp intensity. A fully cured print won’t feel tacky and achieves maximum strength and heat resistance.
4. Surface Treatments: For ultra-smooth surfaces, sand in ascending grits (200-2000). Polish with a fine polishing compound or brush on a thin coat of clear lacquer. This step is crucial for optical clarity or injection-molded tooling prototypes.
1. Dimensional Check: Use your digital caliper to verify critical features-hole diameters, slot widths, wall thicknesses. Log any deviations and adjust XY scaling or exposure times in your slicer.
2. Mechanical Testing: For functional parts, perform simple stress tests: bending, tensile pull, or thermal cycling. Note whether failures occur at layer lines or within cured resin bulk.
3. Continuous Improvement: Resin behavior shifts over time. Document water absorption, pigment settling, and viscosity changes after repeated prints. Rotate or replace resin every few months to maintain peak performance.
• Print Peeling from Platform: Increase base layer exposure by 5-10 seconds or add more raft layers. Check that your platform is clean and scratch-free.
• Supports Breaking During Wash: Switch to a denser support pattern or thicker touch-point diameter. Experiment with tree-style supports that flex during cleaning.
• Uneven Layer Lines: Inspect the FEP film in the vat for scratches or clouding. Replace every 50-100 print hours to avoid light scattering.
• Resin Drips and Stringing: Decrease retraction time between layer lifts or slow the lift speed. Ensure the wiper blade isn’t overloaded with settled pigment.
Elevate your SLA practice by experimenting with specialty resins-castable formulations for lost-wax jewelry workflows, biocompatible grades for medical modeling, or ceramic-filled resins that fire to rigid ceramics. When you’ve mastered standard prints, these advanced materials open doors to product design sprints, custom prosthetics, or high-temperature functional parts previously unreachable with desktop tools.
SLA additive manufacturing combines technical precision with creative agility. As you refine your process-tuning exposure, optimizing supports, and mastering post-cure-you’ll find new applications: tiny gears for robotics, topographical models for environmental planning, or intricate lattice cores for lightweight structural prototypes. Document each iteration, capture before-and-after measurements, and share process notes to build a community knowledge base around machine-specific quirks and breakthrough recipes.
Take your first SLA print as the start of a journey rather than a single triumph. A well-lit, smooth-walled prototype is evidence of both digital craftsmanship and hands-on finesse. Harness the full potential of your printer by adding precision tools, high-performance resins, and systematic calibration. Because additive manufacturing isn’t just about making parts-it’s about layering possibility onto imagination.












